/
Reassigning a Work Order from the List View

Reassigning a Work Order from the List View

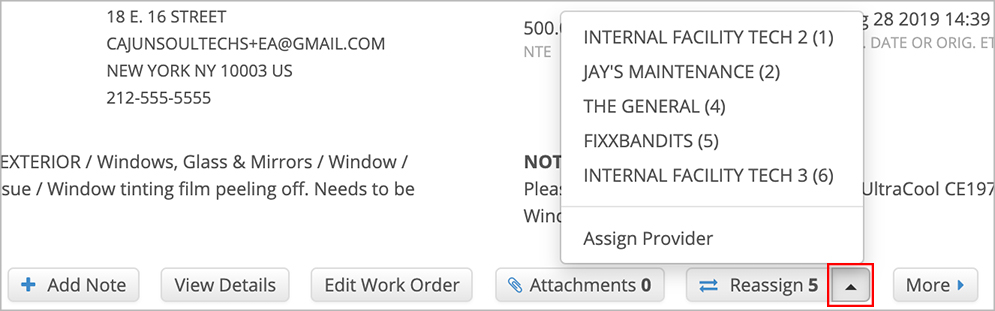
From the list view, you can easily reassign a work order to another provider and quickly add a Provider Assignment when a provider is not assigned to that location/trade. You can also reassign work orders in bulk

To reassign a work order to a provider in a different trade, see Reassigning a Work Order from the Detail View.

You can reassign a work order from an email notification about a declined service request. Click Reassign in the email to navigate to the Work Orders List where you can dispatch the service request to another provider. Read below for detailed instructions on how to do this.

 Click here to learn more about the email notification.

In the email about a declined work order, you can see the key details of the service request and the location it was created for. Clicking either Reassign or View Work Order takes you to the Work Orders List.

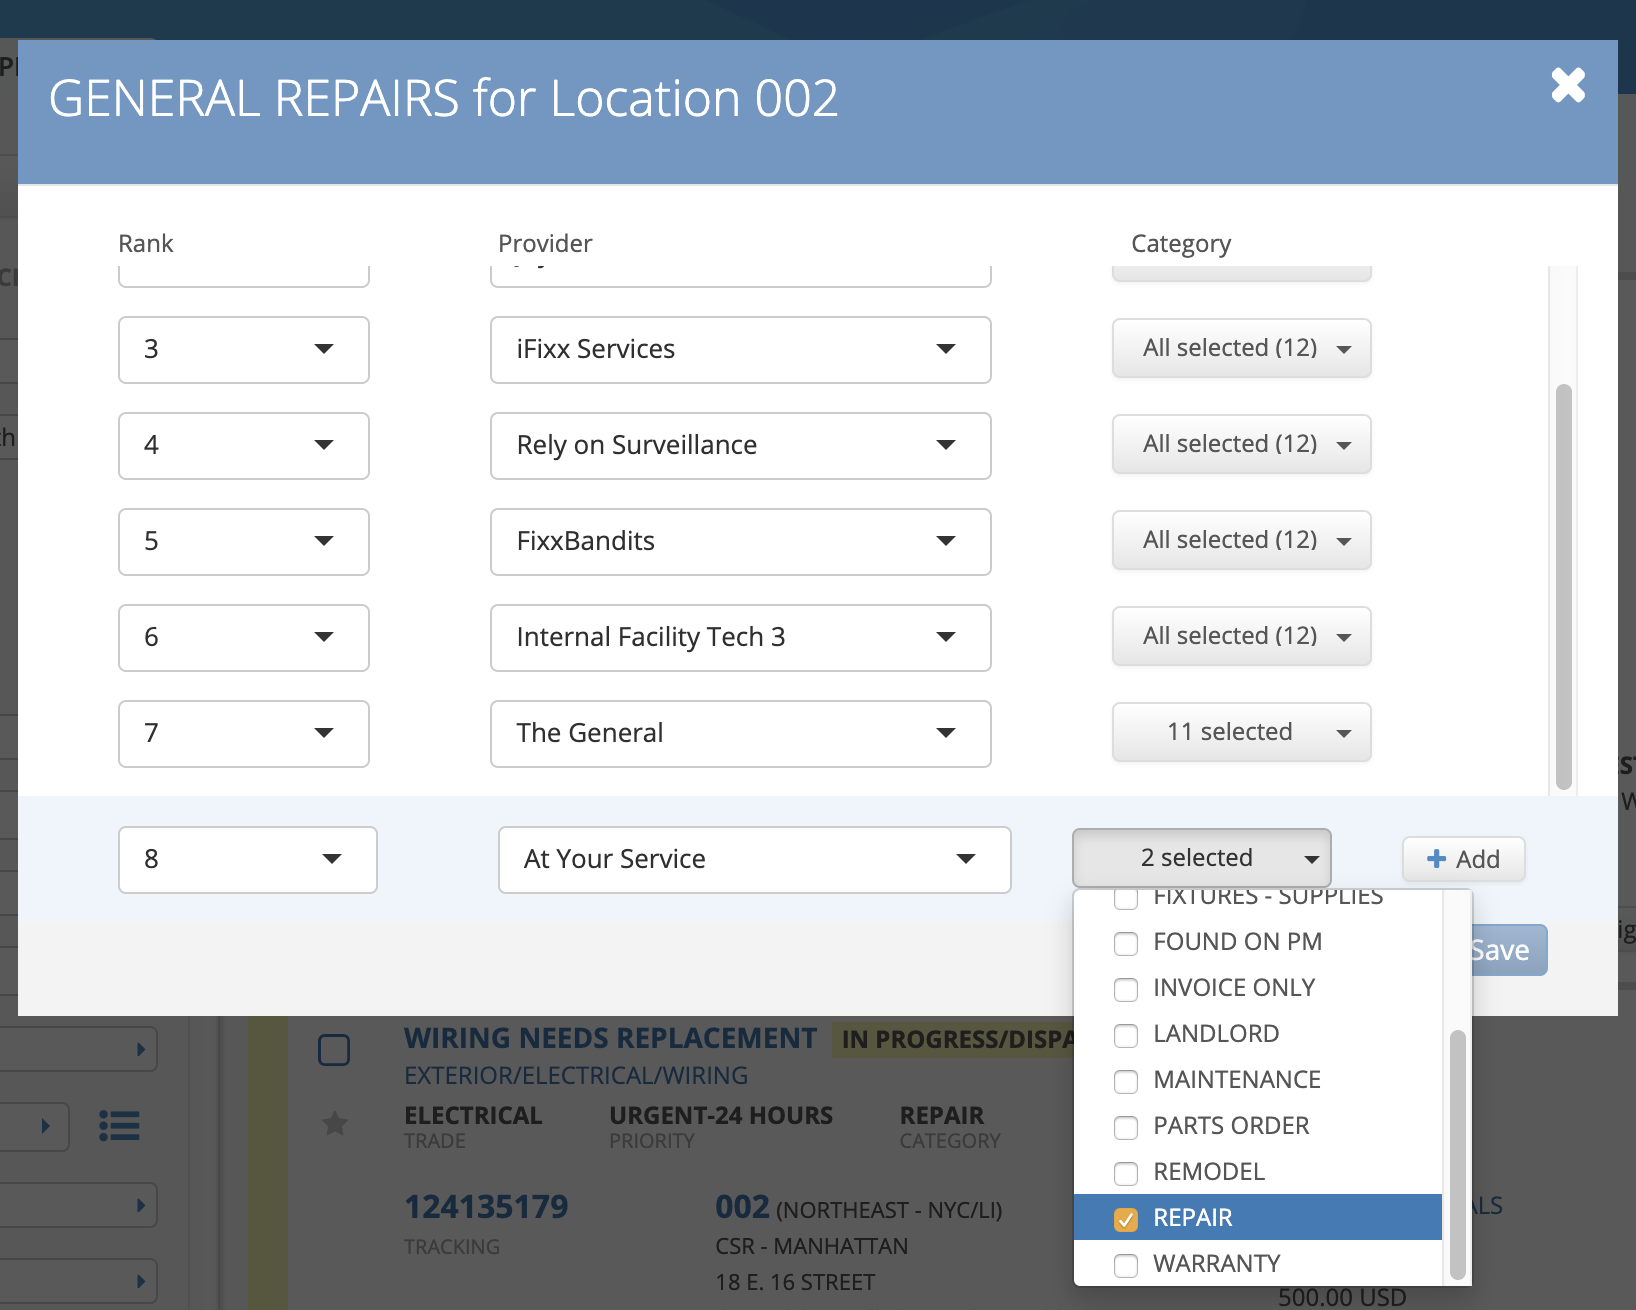
For trades with auto-reassignment rules configured, when a provider declines a work order, and the next ranked provider to whom the request was reassigned also rejects it, you are only notified of the second rejection.

Email notification about a declined work order

Reassigning a Work Order to Another Provider from the List View

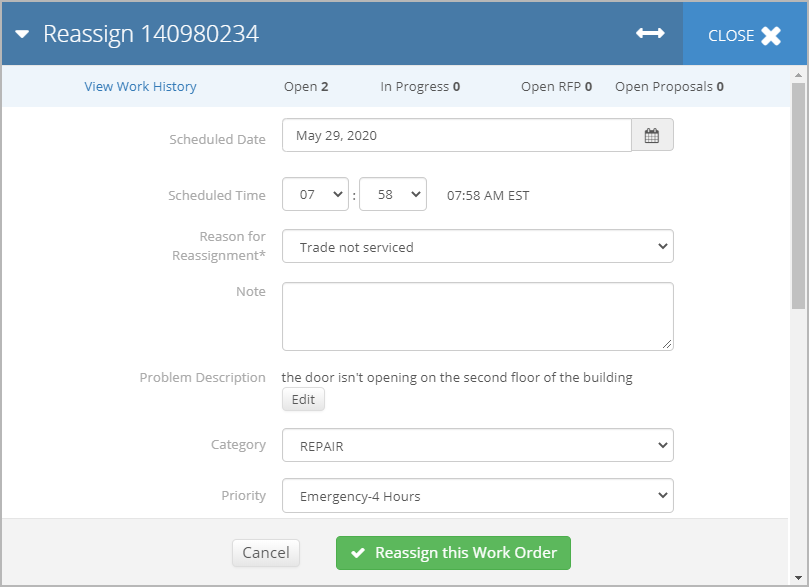
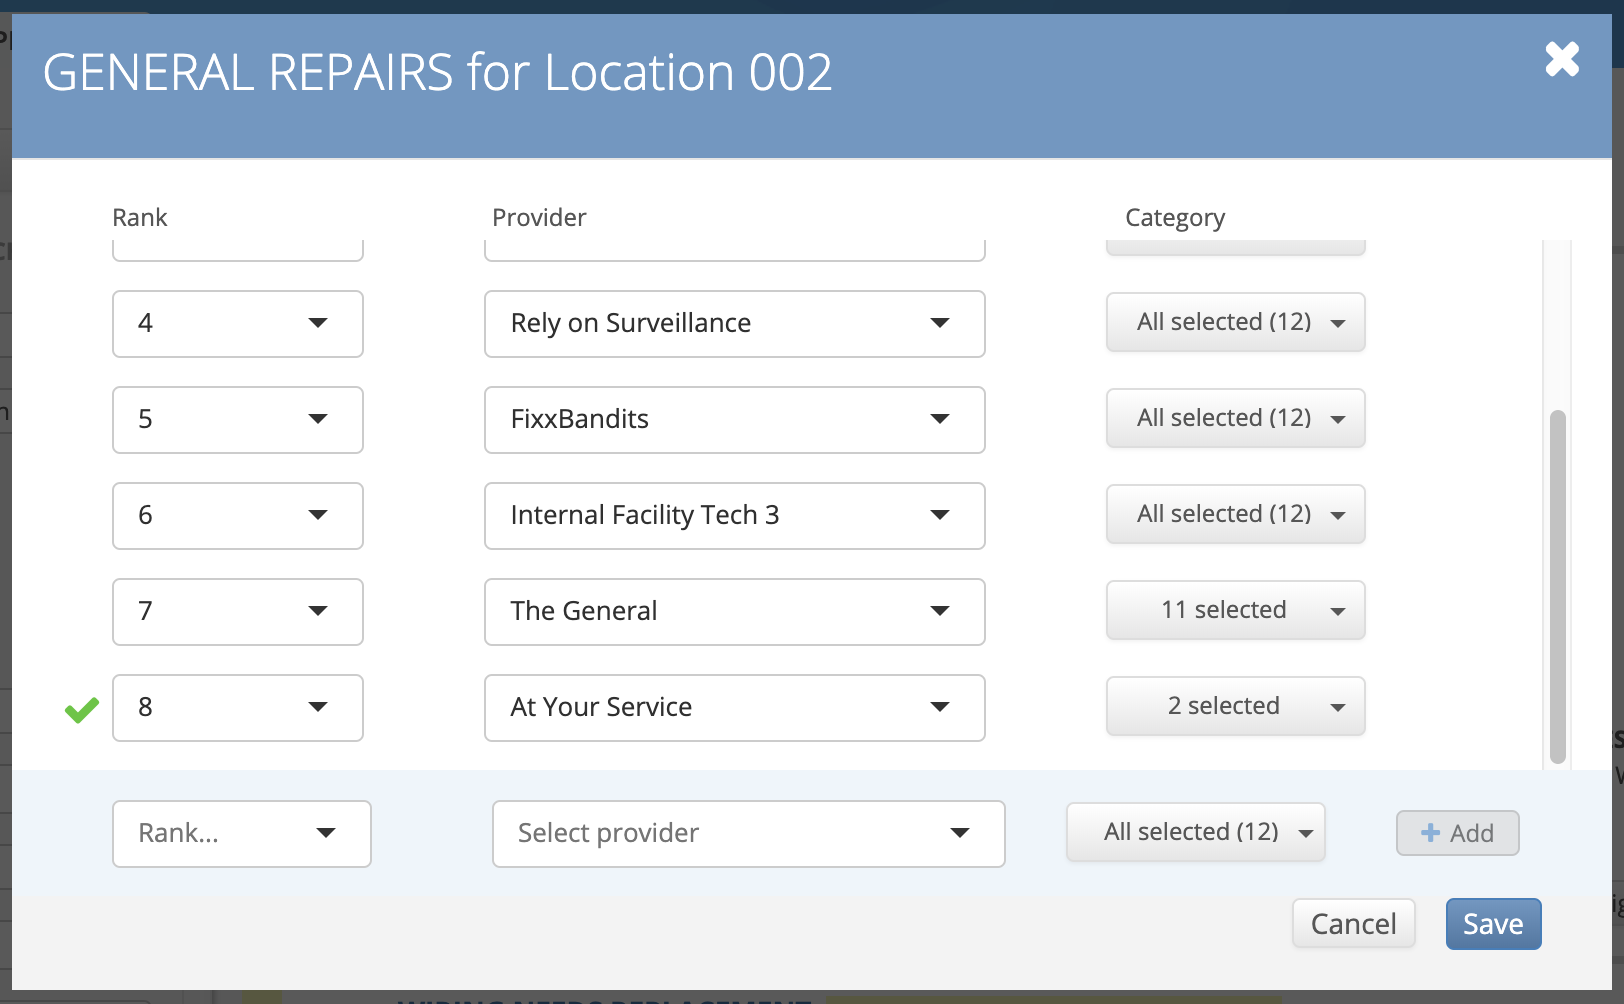
In cases where the assigned service provider cannot make the estimated time of arrival (ETA), or when the provider does not service the trade, permissioned users may reassign a work order to another service provider.

Important

Only work orders in Open or In Progress/Dispatch Confirmed statuses can be reassigned to another provider from this view, as it is assumed that work has already begun. To reassign work orders where work has already begun, you must edit the work order and change the status. See Reassigning a Work Order from the Detail View for more information.

Button for reassigning a WO to another provider from the WOs list

⦿ How to Reassign a Work Order from the List View
  1. Locate the desired work order from the list, and then click Reassign #. The Reassign modal appears.

  2. (Optional) Modify the scheduled date and time.

  3. Select the appropriate Reason for Reassignment.

    You can now customize your reassignment reasons that suit your business needs. Speak to your ServiceChannel Representative.

    Please do be aware that once you retire a reassignment reason, it will show up in the history of a work order, but it will no longer be a selectable option.

  4. (Optional) Enter a Note describing the reassignment reason.

  5. (Optional) Modify the Problem Description.

     Expand this section to view how to edit the problem description

    1. Click the Edit button next to Problem Description. The overlay for updating the problem description opens.
    Overlay for updating the WO problem description2. Select the Dashboard, Area, Problem Type, Asset Type, and Problem Code as desired.
    3. Update the Problem Description, and click Save.

  6. (Optional) Update the CategoryPriority, Trade, NTE, or Purchase Order Number.

  7. (For Recall Work Orders) Check Yes, This is a Recall from Tracking #, and enter the tracking number in the box that appears.
    Marking a WO as a recall in the overlay for editing the WO

  8. (For Accounting, Optional) Update the GL Code.

  9. Select the New Provider. The email of the selected provider appears in the Request will be sent to and Send a copy to fields.

    Providers that are grayed out in the Select New Provider drop-down list cannot be selected. These providers are flagged as “Do Not Dispatch” in Compliance Manager and cannot be assigned new work orders until they prove to be compliant. Learn more about Managing &ldq