Filtering Work Orders and Saving Filters
Filters help you find work orders you need to view or take action on. The following options to filter work orders are available:
- Filter By tab located on the left panel of the Work Orders List
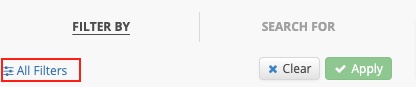
- All Filters popup appears when you click the All Filters link
Most of the filters are available in both options, but the All Filters popup has a few additional filters.
You can also save selected filters for later use, select a default filter, as well as clear all filters to show all work orders.
Filter Criteria
You can filter work orders by date, amount, location, trade, category, provider, and other criteria.
The most common reason filtering comes up empty is because the criteria have been entered too specifically. Should initial filtering come up empty, perform a broader search, and narrow it from there.
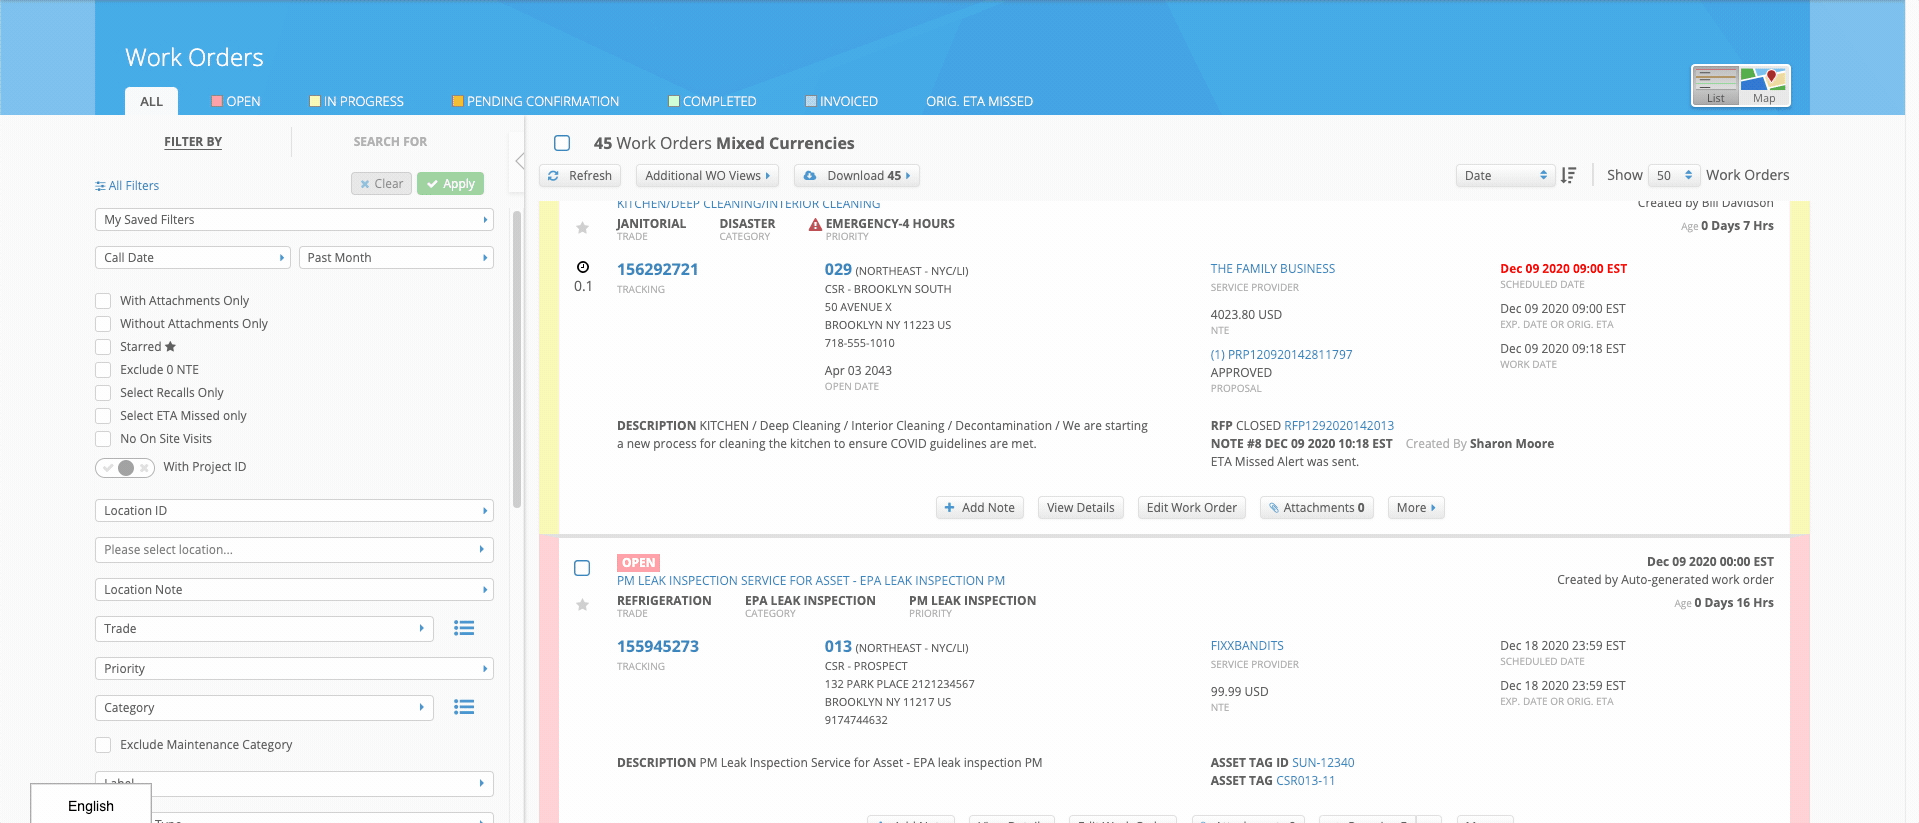
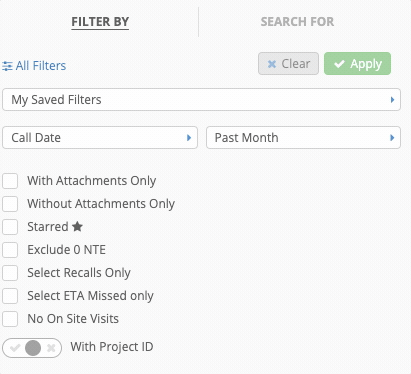
Filtering Work Orders Using the Filter By Tab
The Filter By tab is located on the panel to the left of the Work Orders List. This panel is expanded by default, but you can collapse it to view work orders better. Click the left arrow icon to collapse the panel, and click the arrow icon again to return to the expanded view.
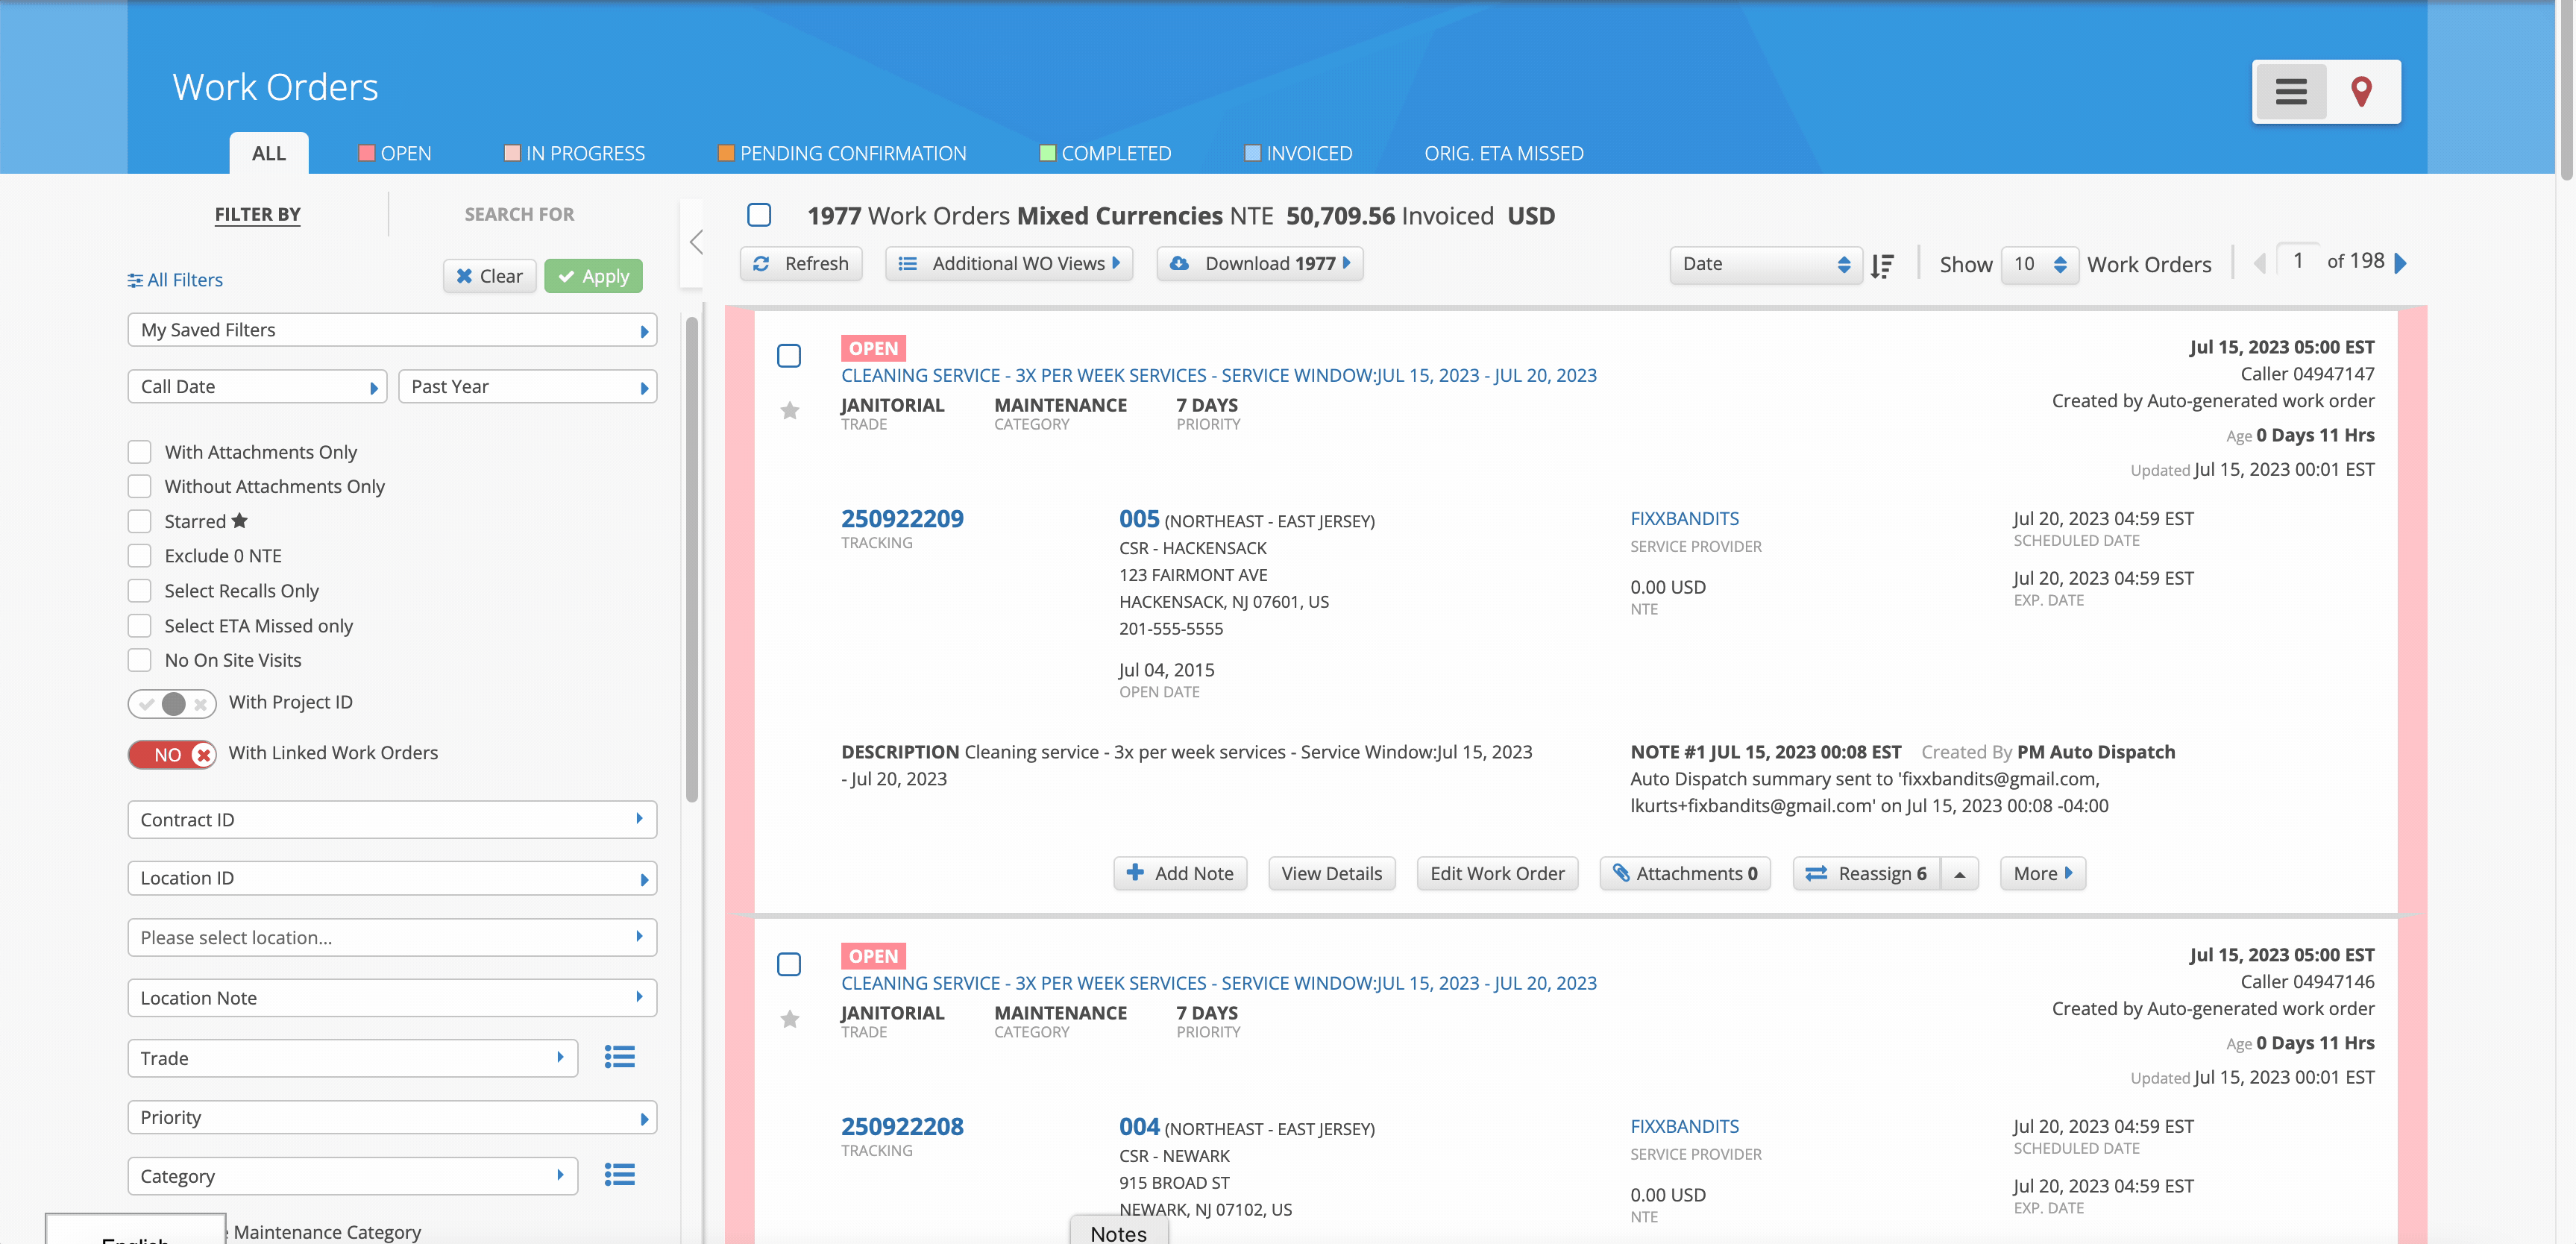
When on the Filter By tab, you can apply filters one by one — every time you select a filter, the Work Orders List refreshes and gives you results on the fly. Use this option when the number of work orders to filter is not large, and the number of filters to apply is small.
Filtering Work Orders Using the All Filters Popup
The All Filters includes all the filters that are available on the Filter By tab but also has extra filtering options. Use this popup when you want to select multiple filters and apply them all at once. In that case, the Work Orders List refreshes to display results matching all selected criteria.
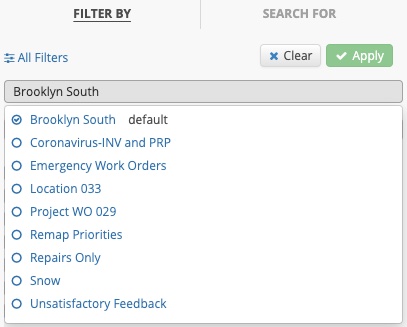
Saving Filters and Managing Saved Filters
In your everyday work, you may need to apply the same set of filters over and over again.
For this purpose, once you select the filters you need, you may save them as a set and use this set later on. Also, you can select which of your saved filter sets should appear on QuickView. You can edit or even delete saved filters when you don’t need them anymore.
Your saved filters are only available to you. Saved filters cannot be shared with others.
You can create and manage saved filters on both the Filter By tab and in the All Filters popup.
- Select the desired filtering criteria.
- At the bottom of the filters list, click Save Current Filter. A text field appears.
- Enter the filter set name, and click Save Filter.
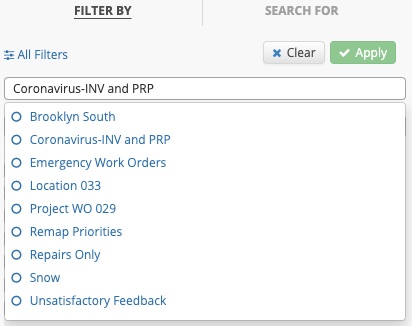
The filter is saved, and its name is displayed in the My Saved Filters drop-down list.
After you save a filter set, you may need to edit some of its options.
- In the My Saved Filters drop-down list, select the filter set you want to edit. The Work Orders List refreshes applying the selected filter set.
- Add or remove any filtering criteria as needed.
- At the bottom of the filters list, click Save Current Filter. The name of your selected filter appears in the text field.
- Click Update Existing Filter.
The filter set is updated.
When you don’t need a saved filter anymore, you can delete it.
- Click Edit Filters at the bottom of the left panel or the All Filters link. The popup with a list of saved filters appears.
- Click the trash icon next to the desired filter, and click Save.
The filter is deleted.
Creating a Default Filter
Once a created filter is saved, it can be used as a Default Filter. This gives you the opportunity to create a filter that is preferable to your needs and/or viewed on a consistent basis. For instance, you create a filter and select it as the default filter. You decide to leave the work order list page and return, the selected default filter will display with the necessary work orders associated within that filter. Perhaps, you logout of service automation and return the next day, the work order list page will display the selected default filter. You still can select another saved filter to view work orders without changing the default filter selection. The default filter will remain the filter of choice until you decide to change or remove the filter.
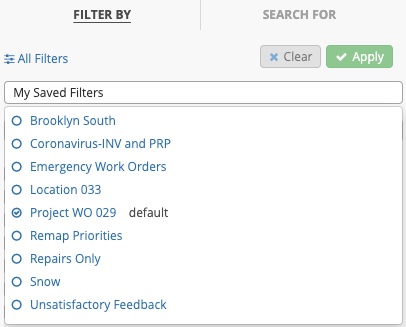
- From the My Saved Filters drop-down list, click the arrow to expand the list.
- Select a saved filter by clicking the Radio button to the left of the filter name and the page will load with work orders associated with the selected filter. The radio button has a Checkmark inside and the word Default is to the right of the chosen filter.
Changing the Default Filter
A default filter can be changed at any time. You can change the filter to one that has been created in the past or create a new filter and choose it as the default filter.
- From the My Saved Filters drop-down list, click the arrow to expand the list.
- Select a different saved filter by clicking the Radio button to the left of the filter name and the page will load with work orders associated with the selected filter. The radio button has a Checkmark and the word Default is to the right of the chosen filter.
Removing the Default Filter
You can remove the selected default filter at any time. This will create a generic view when a saved filter is not selected as a default filter.
- From the My Saved Filters drop-down list, click the arrow to expand the list.
- Click the Radio button to remove the Checkmark and the page will load with a generic list view. You will no longer see a selected saved filter as the default filter.
Clearing Filters
Once you are done with filtering work orders, you may deselect all applied filters by clicking Clear All Filters at the bottom of the Filter By tab, or All Filters popup. When you need to clear a specific filter, deselect the filter checkbox, or click X next to the filter.
![]()