Creating a Work Order in ServiceChannel Provider

The ability to create work orders via SC Provider for internal technicians is one of the key features that sets the FTM solution apart. 

A work order is a ticket dispatched to a service provider to perform repair or maintenance services. Generally, the work order details what the issue is, where the issue occurred, when to go to a location, and the maximum cost allowed. In ServiceChannel Provider, technicians can create work orders that are dispatched to either internal or external providers.

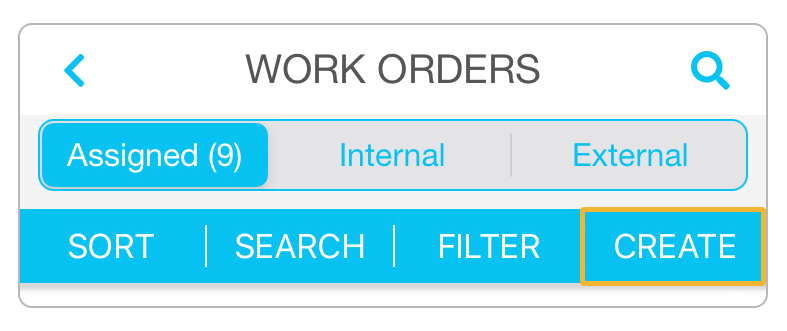
  • The Create button becomes available to you in the Work Orders module only if your administrator has granted you the corresponding permission.Create button on the work orders screen allows techs to create a new work order
  • In addition to enabling the permission, it is important to ensure that you, as an FTM technician, is also assigned by your administrator to the required dashboard issue list.
⦿ How to Create a Work Order
  1. On the work orders list screen, tap Create.Create button on the work orders screen allows techs to create a new work order
  2. Select the location where the issue is taking place.
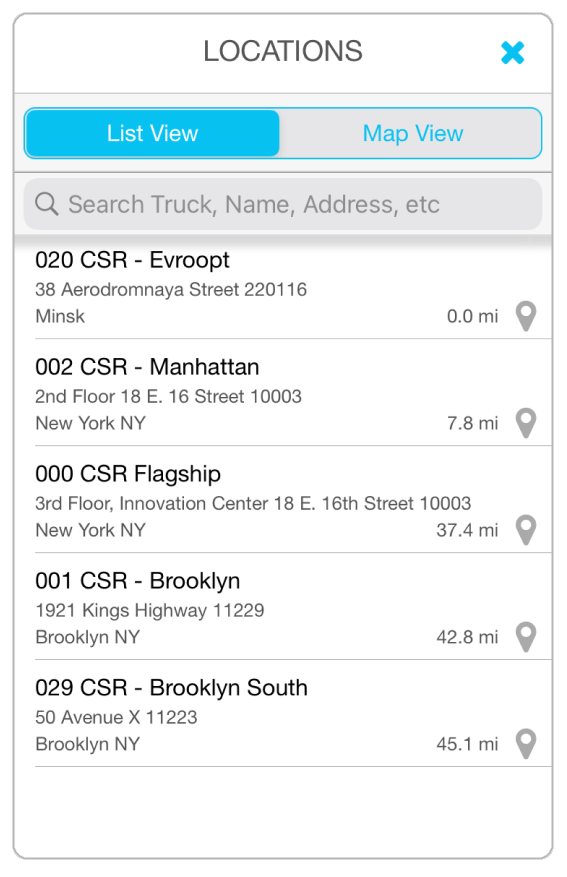
    Locations to pick from when creating a new work order

    You can create work orders only for those locations that you are assigned to service per the client’s Provider Assignment rules.

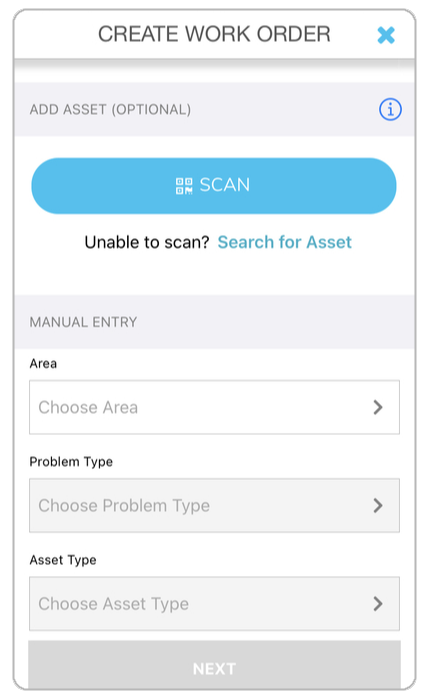
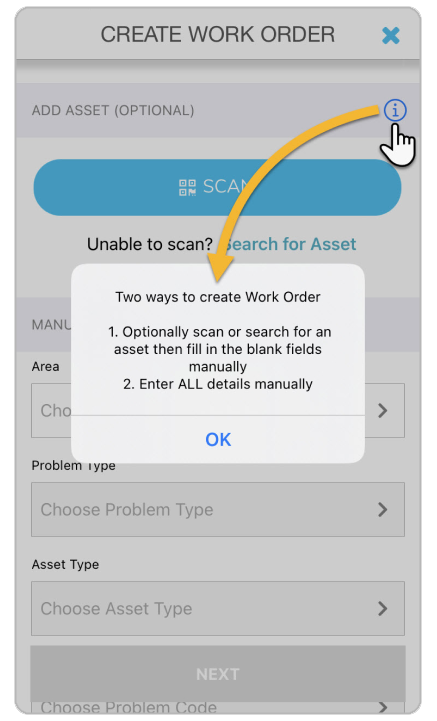
  3. On the Create Work Order screen, you may be given the following two options to create a work order:
    1. By scanning an asset that requires repairs: Learn more about Scanning an Asset Upon Creating a Work Order
    2. By entering the problem description manually: The steps below will describe how you can manually provide all the work order details.

      Screen for creating a work order

      Tap the info icon in the upper-right corner to view the two methods for creating a work order

  4. Tap the drop-down menus (one by one) to choose the appropriate Area, Problem Type, Asset Type, and Problem Code.
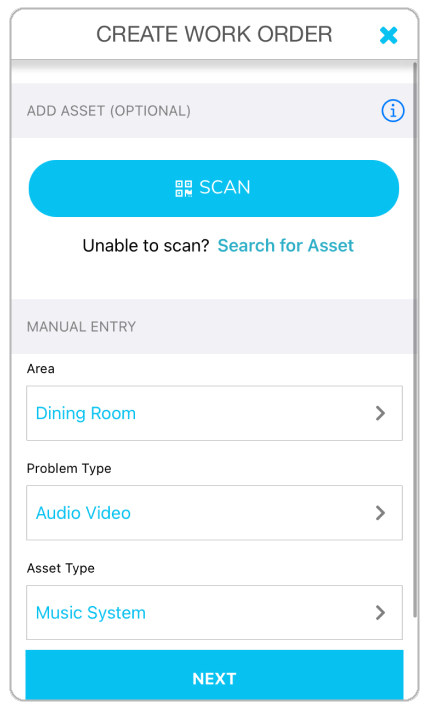
    Options in each of these drop-down menus reflect the dashboard issue list configured by your client.

    Filled out issue choice fields

  5. Tap Next.
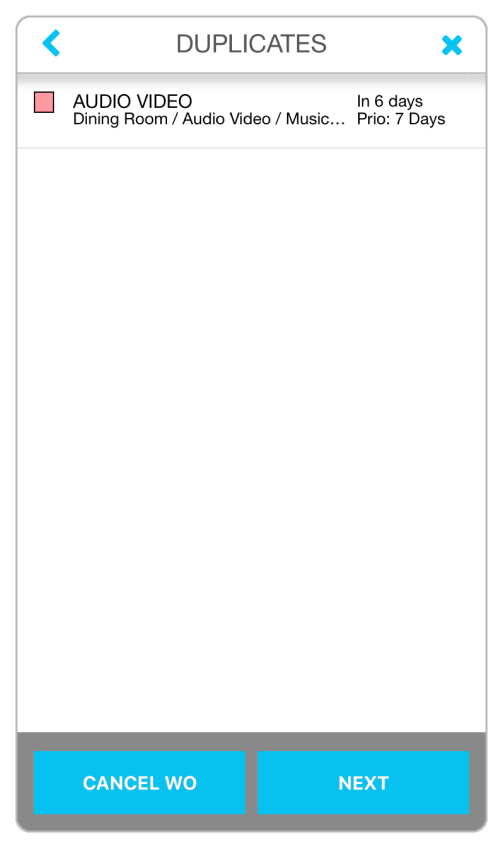
  6. Should the Duplicates screen appear, this means a work order was already entered for the issue you are currently creating. Tap the work order to review the details. 
    • (When the issue is a duplicate) Tap Cancel WO. The work order is not created; you are returned to the work order list for that location.
    • (When the issue is NOT a duplicate) Tap Next to continue creating a work order.Duplicate work orders screen
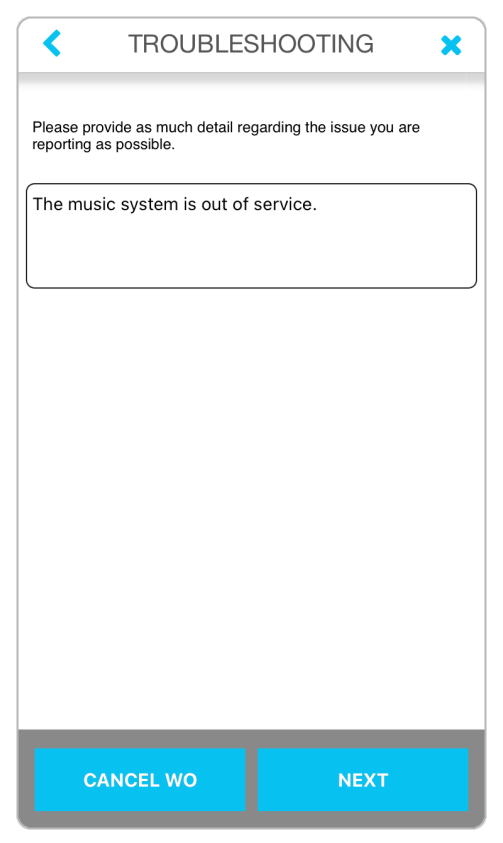
  7. (Where applicable) On the Troubleshooting screen, enter the relevant information in the text box. Fully describe the problem so the service provider is as knowledgeable about your request as possible. 
    • Answer any Interactive Troubleshooting questions you encounter to assist in detailing the issue.
    • Should a Message appear, you cannot continue entering the work order. Follow the instructions on the screen, where applicable, and tap Cancel WO.Troubleshooting screen
  8. Tap Next. The Add Note screen appears. You can add any additional information to the problem description on this screen as you see fit.
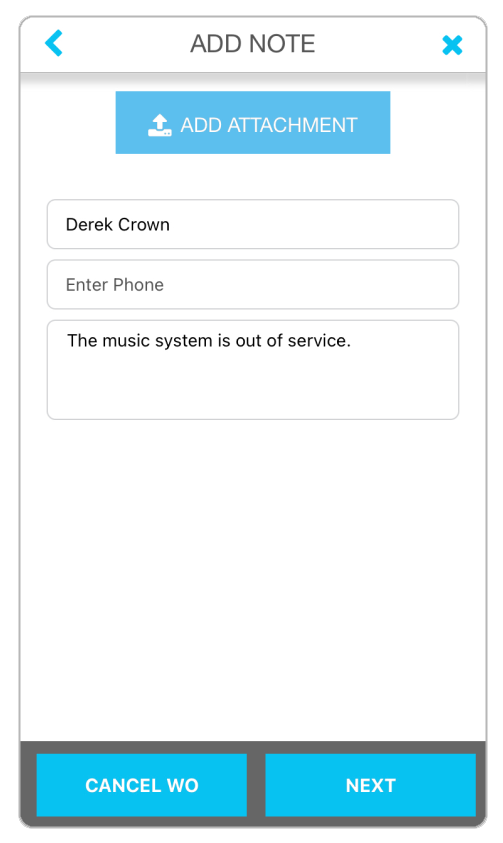
    Be very careful to review the photo/video you are appending to the work order. Once the work order with the photo/video is sent, it cannot be removed from the mobile app.

    Screen for adding a note, attachment, and phone number

  9. (Optional) Tap Add Attachment to either take a new photo or video of the issue or upload a photo or video of the issue you have already taken.
  10. (Optional) Enter your phone number in the text field.
  11. Tap Next. The Confirm Information screen appears.
  12.  Review the service request for accuracy, and then tap Confirm / Create WO.
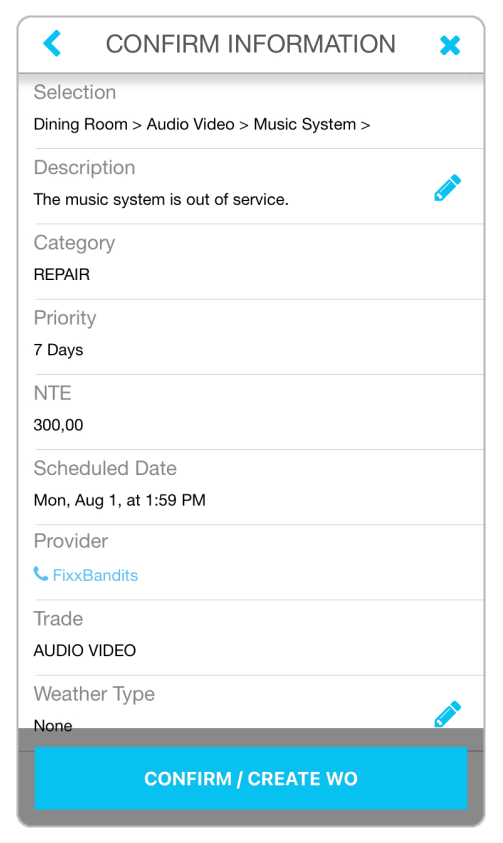
Work order creation confirmation screen
The work order is generated and dispatched to the assigned service provider. You will see a pop-up window indicating the
tracking number.

13. Tap Close.
Work orders assigned to your internal technician team will appear under the Internal tab. Those assigned to external providers will be available under the External tab.