Frequently Asked Questions
- Anastasia Troichuk (Unlicensed)
.
.
Most frequently asked questions about the FTM solution have been grouped into several larger categories to the right. Use these categories to find your question and the available answer faster!
.
.
Access to the App
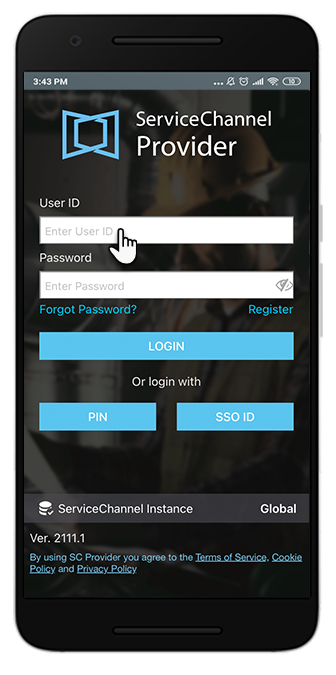
Use your user ID and password to log in.
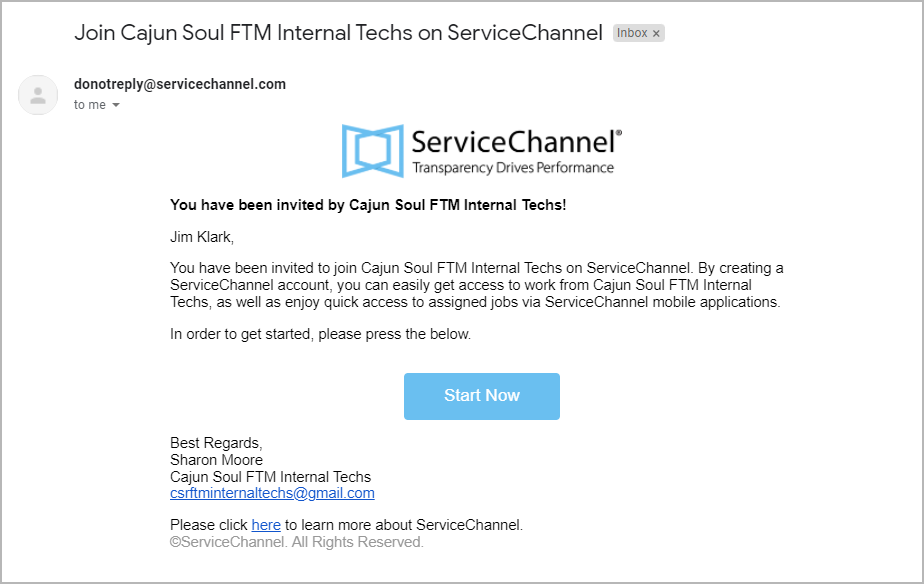
Before logging in, make sure you’ve activated your account. Check your inbox to view the invitation email from ServiceChannel. From that invitation, you will be able to create your password. Learn more about Using ServiceChannel Provider Mobile for the First Time.
LOGGING IN
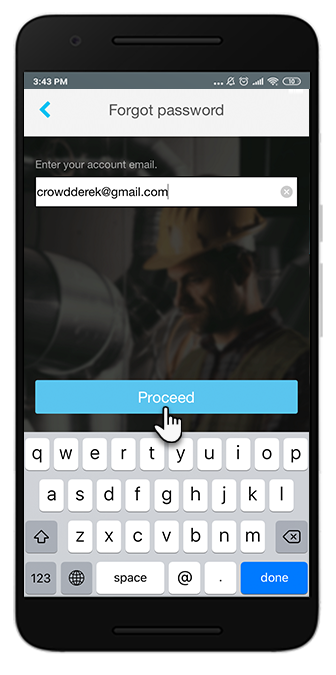
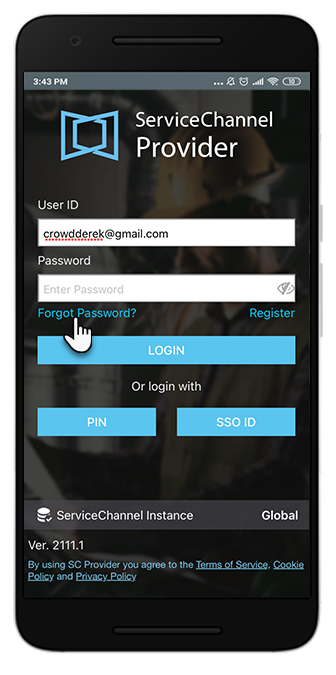
- On the login screen, tap the Forgot Password? link. This will prompt you to a new screen to enter your account email.
- After entering your email, tap Proceed.
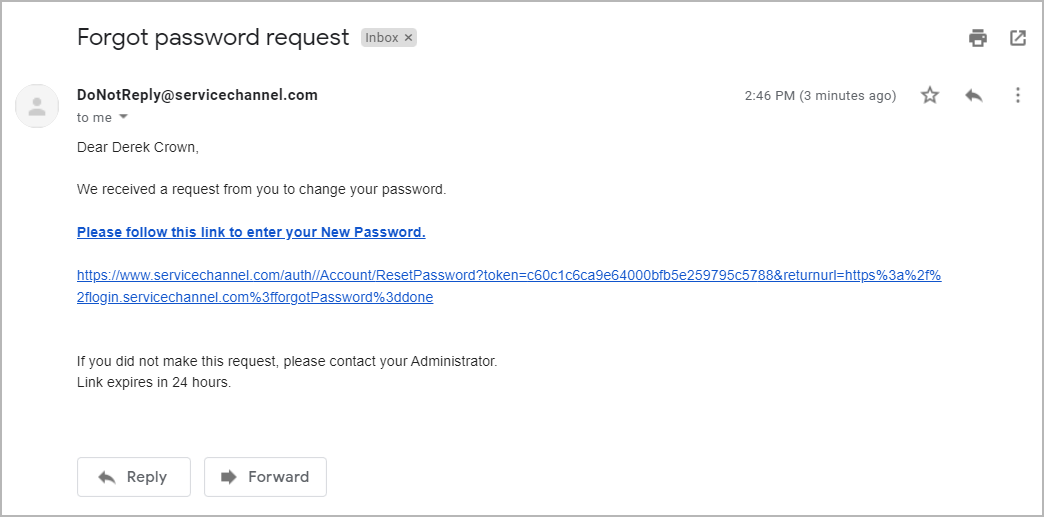
The system will then send you an automated email to reset your password. Follow the link in the email to reset your password.
FORGOT MY PASSWORD
For iOS devices:
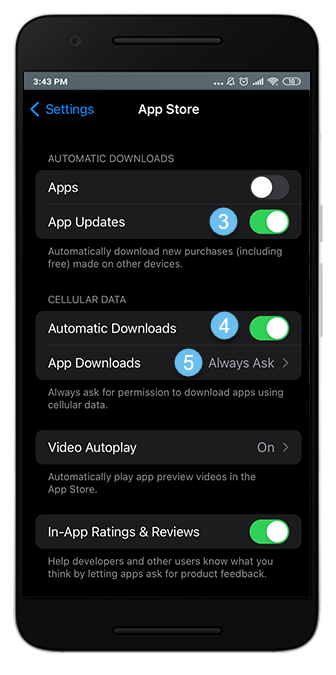
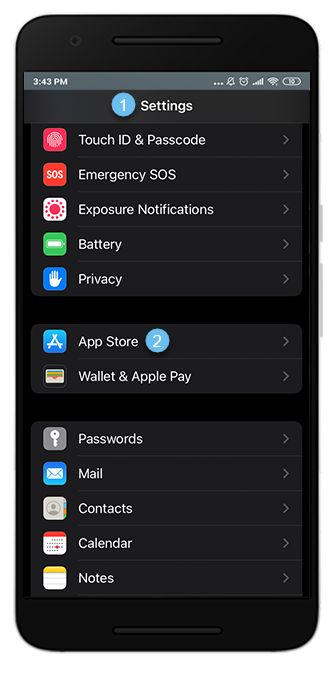
- Go to the Settings on your mobile device, and choose App Store.
- Then, verify that the App Updates and Automatic Downloads toggles are turned on.
- Set the preferred App Downloads option.
For the most up-to-date instruction, refer to Apple Support.
For Android devices:
- Open the Google Play Store app.
- In the upper-right corner, tap the profile icon.
- Select Settings > Network preferences > Auto-update apps.
- Then, pick the option for auto-updating apps:
- Over any network
- Over Wi-Fi only
- Don’t auto-update apps
For the most up-to-date instruction, refer to Google Support.
AUTO-UPDATES
Viewing Work Orders
You can set up to 4 filter sets in SC Provider. Note that only one filter set can be applied at a time.
FILTERS
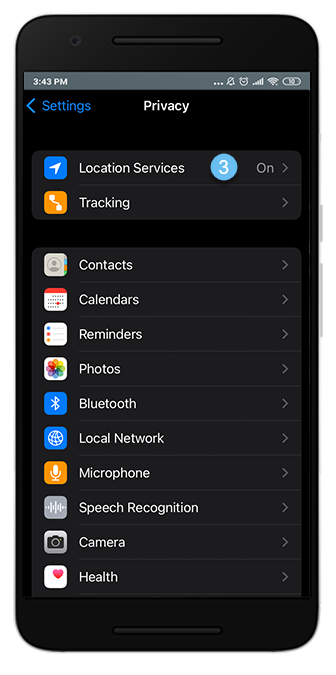
The issue might be due to Location Services being turned off. For you to check in to a work order, your location needs to be shared with the app. Turn on the Location Services on your device.
For iOS devices:
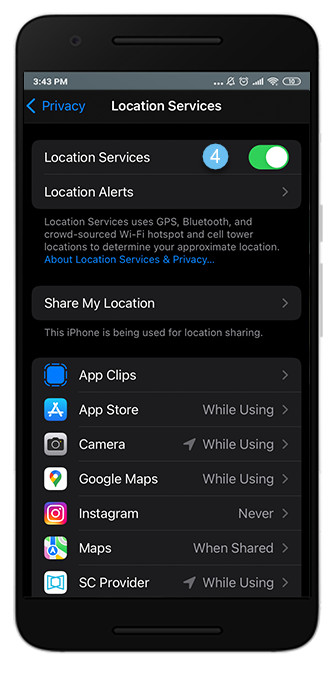
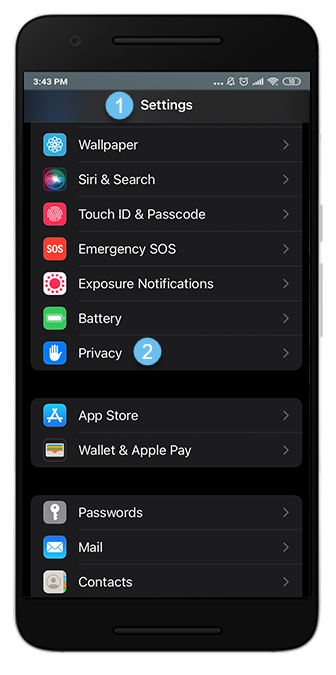
- Go to the Settings > Privacy > Location Services on your mobile device.
- Turn on the Location Services toggle.
For the most up-to-date instruction, refer to Apple Support.
For Android devices:
- Go to the Settings > Network connections > Location on your mobile device.
- Turn on the Location toggle.
For the most up-to-date instruction, refer to Google Support.
LOCATION DISTANCE
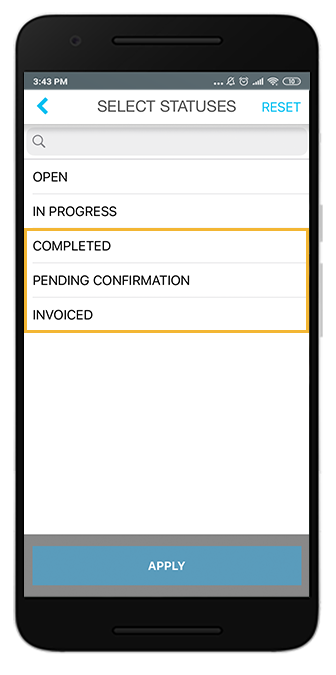
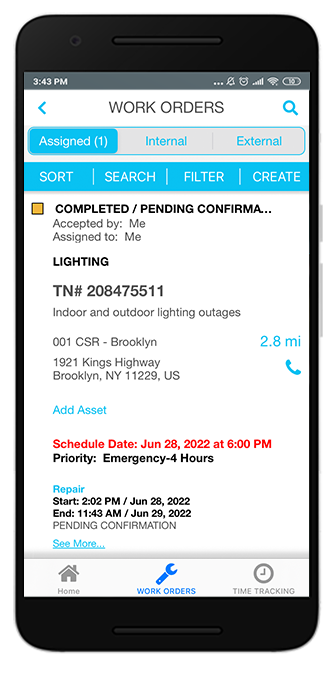
You can view and manage completed work orders on condition that you have the required feature enabled. Please contact your Customer Success Manager to activate that for you.
COMPLETED WORK ORDERS
Checking In/Out
No limit. You can check in to and check out of a work order as many times as required to complete the requested service.
CHECK-IN/OUT
By using different mobile devices and being logged in to the app with the tech’s credentials. When a technician is logged in, they can switch to the Internal tab of the Work Orders screen, locate the appropriate work order to log time on, and then tap Accept. The work order will display on the tech’s Assigned tab. All the technicians who have accepted the work order can log time and edit the work order.
CHECK-IN/OUT
The app uses the time zone of the work order location.
LOGGING TIME
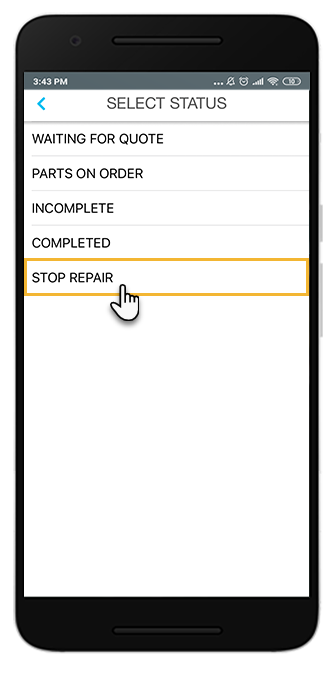
When you are logging the Repair time and you are not on site, to stop the time:
- Tap Stop on the work order, and then select the Stop Repair status.
- Tap into the details of the work order.
- Tap the blue pencil next to the Status field, and choose the appropriate status for your work order.
CHECKING OUT
Editing Work Orders
You can enable / disable NTE editing only. Contact ServiceChannel to do that.
WORK ORDER EDITING
- Once the desired work order is located, tap the work order number. This will bring you to the details screen of the work order.
- Tap the blue pencil icon next to status, and change the status back to In Progress / Incomplete. Once the status is updated, your times captured on the work order appear.
- Go back to the work order list view.
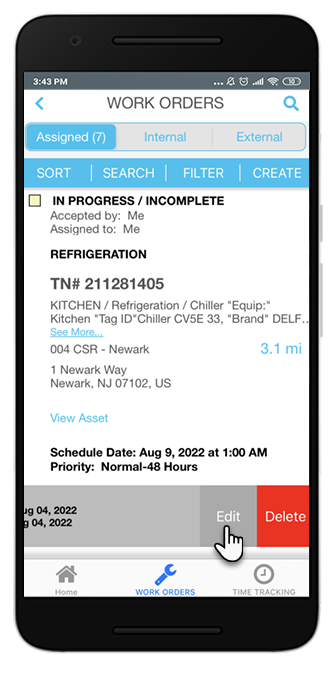
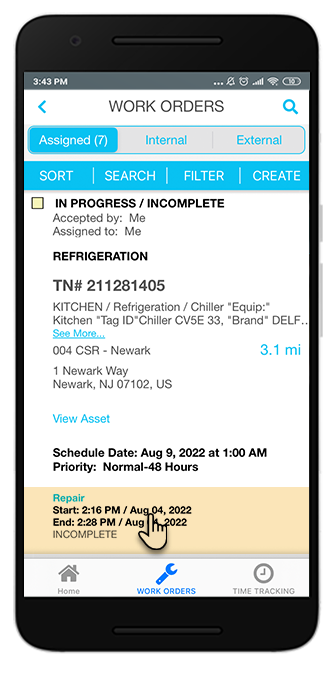
- Tap the time you want to edit. You will have two options: Edit or Delete.
- Choose Edit, and update the necessary time.
COMPLETED WORK ORDERS
- Go to the Assigned tab, and locate the work order you want to edit.
- After locating the work order, tap directly the time you need to edit. You will have two options: Edit and Delete.
- Choose Edit, and update the necessary time.
EDITING LOGGED TIME
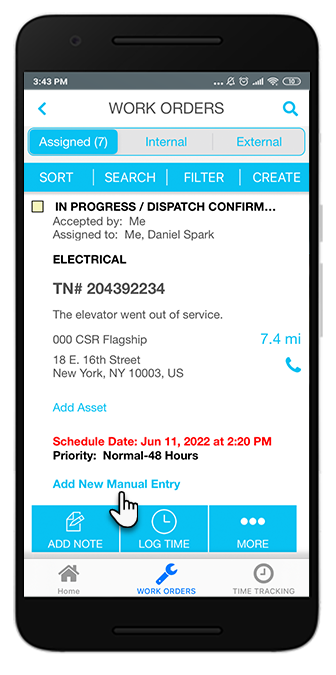
After you accept a work order, there will be the Add New Manual Entry link. Tap the link, and enter the appropriate start time, end time, and work type.
MANUAL TIME ENTRIES
Attachments cannot be removed via the mobile app. Your admin will need to log in to Provider Automation to remove unnecessary files. Be careful when attaching files to a work order as you client will be notified about the new file and will be able to view it on their side.
ATTACHMENTS
Yes, you can.
- Tap the work order to navigate to the details screen.
- Tap the blue pencil icon next to the Status field.
- Choose the appropriate completed status for the work order.
WORK ORDER STATUS CHANGE
External Work Orders
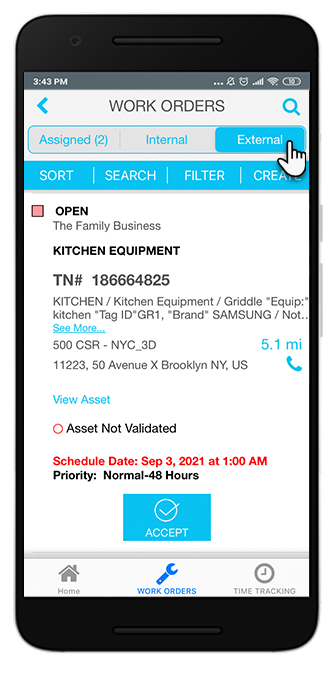
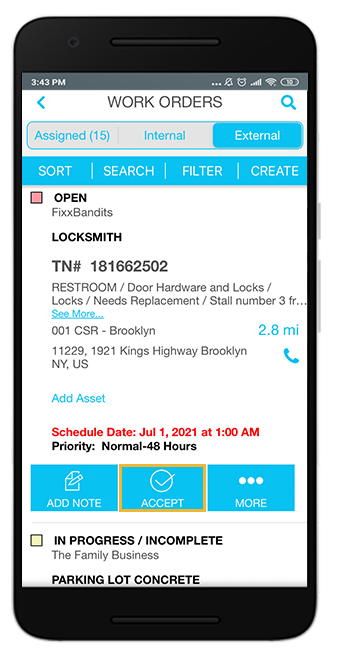
Techs can do that when they have the required feature and permission enabled. Please contact your Customer Success Manager to activate that for you. You will be able to accept Open and In Progress work orders only.
EXTERNAL WORK ORDERS
You can accept, add notes to, reassign, and edit external work orders if you have the required feature(s) enabled. Please contact your Customer Success Manager to activate that for you.
EXTERNAL WORK ORDERS
Time Tracking
- Navigate either to the home screen or to the Time Tracking section, and then select End My Day.
- If you are currently checked in to a work order, the app will ask you to check out first.
- Then, you should pick the appropriate date when you will be returning, and tap Done.
Once you choose the time, the home screen will reflect the date you entered for return.
Learn more about Time Tracking.
TIME TRACKING
With the Time Tracking feature on, you can create your own list of activities that you want to track, for example, breaks, meetings, trainings, etc.
Please contact your Customer Success Manager to activate Time Tracking for you, and share the list of activities you want to track.
Learn more about Time Tracking.
TIME TRACKING
- Go to the Time Tracking section of the app. Please note that Time Tracking is an add-on feature, and you need to contact ServiceChannel to start using it.
- Switch to the Manage Time tab at the top of your screen, then tap Add / Edit Times.
- Tap the blue pencil icon next to the time you want to update.
- If needed, tap Select Activity to change the type of time.
Learn more about Time Tracking.
TIME TRACKING
Having the required feature enabled, you can add notes to any activity that you are tracking time against. Please contact your CSM to get this feature enabled.
Learn more about Time Tracking.
TIME TRACKING
Creating Work Orders
Yes, they can create work orders for any of the locations their FTM Internal Group is assigned to — even though the techs themselves are not assigned to some of those locations per Work Order Assignment rules in Provider Automation.
An additional feature should be enabled for that. Please contact ServiceChannel to get it turned on.
CREATING A WORK ORDER
Your administrator should pick the required dashboard and provide ServiceChannel with the dashboard setup ID. Once that is done, the SC team will associate the dashboard with the FTM provider account.
CREATING A WORK ORDER
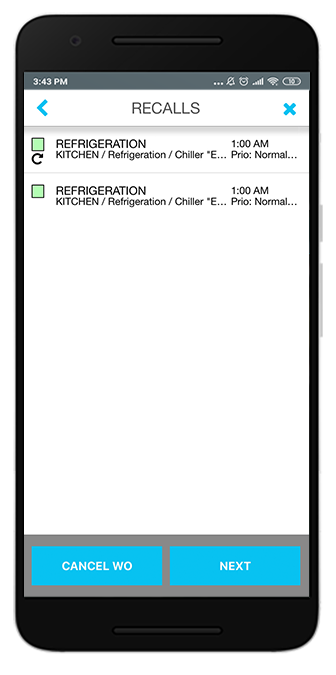
The recall option may appear during the work order creation process.
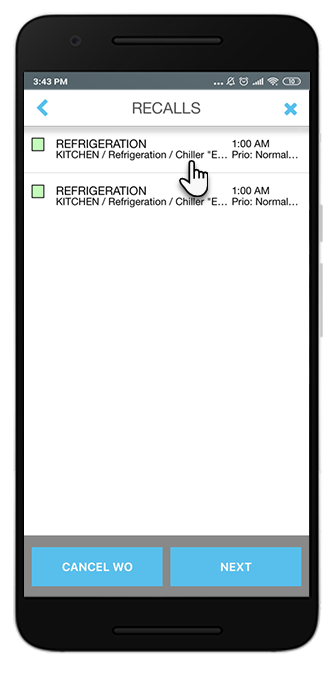
- Specify the Location, Area, Problem Type, Asset Type, and Problem Code for the work order. The Recalls screen will appear.
- Select the appropriate recall work order.
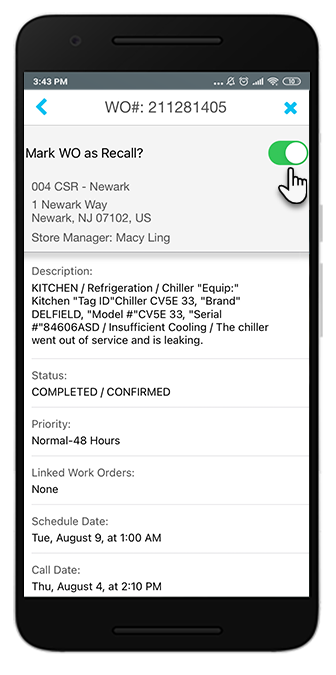
- Turn on the Mark WO as Recall? toggle to dispatch the new work order as a recall.
- Tap the back arrow, and your screen will reflect the recall sign on the appropriate recall work order.
- Then, proceed to create your work order.
RECALLS
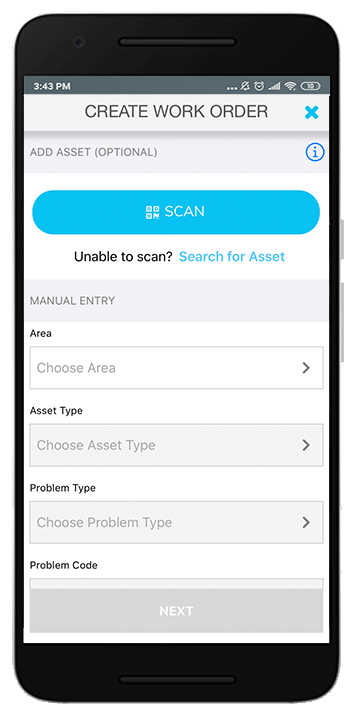
- Tap Create on the work orders list screen.
- Pick the appropriate location for your new work order.
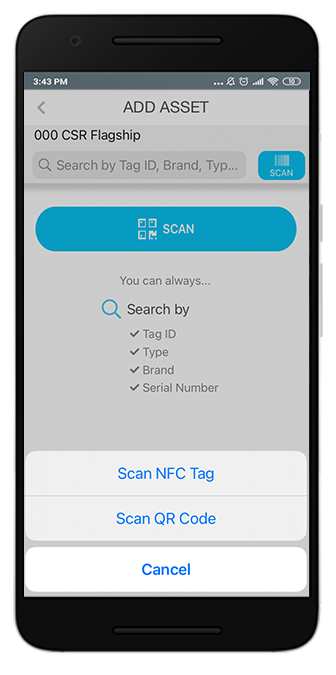
- Tap Scan to scan the QR code or NFC tag on the asset.
Please note that the ability to scan assets tags is behind an add-on feature. Contact ServiceChannel to get this feature enabled. Learn more about Scanning an Asset Upon Creating a Work Order.
ASSET SCANNING
Assets on Work Orders
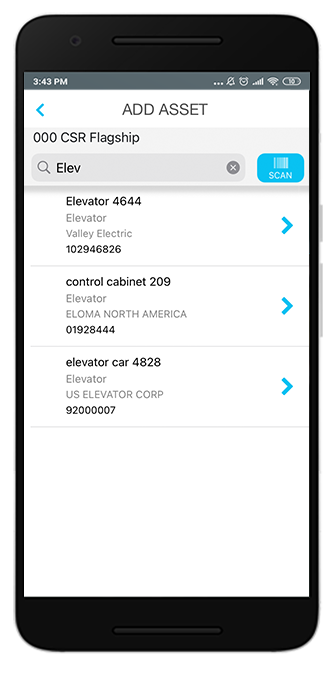
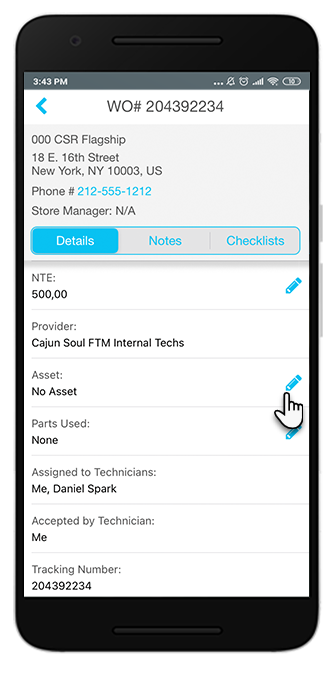
Locate the appropriate work order, and tap the work order in the list view to access WO details. Tap the blue pencil icon next to the Asset field. Then, you can either manually search for the required asset or scan the asset tag (QR code or NFC tag).
ASSETS
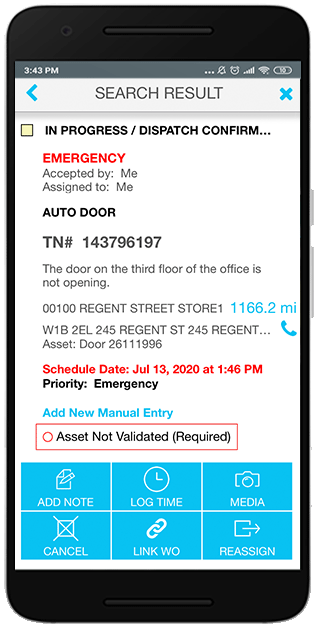
- Locate the work order where the asset validation is required.
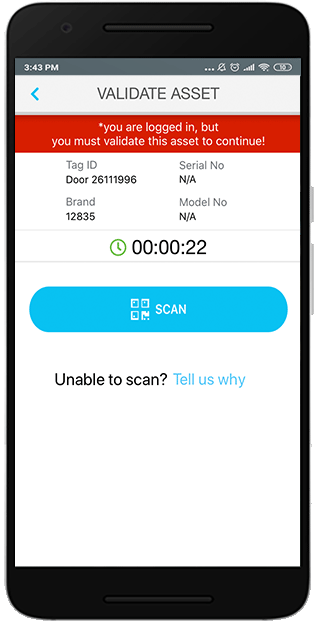
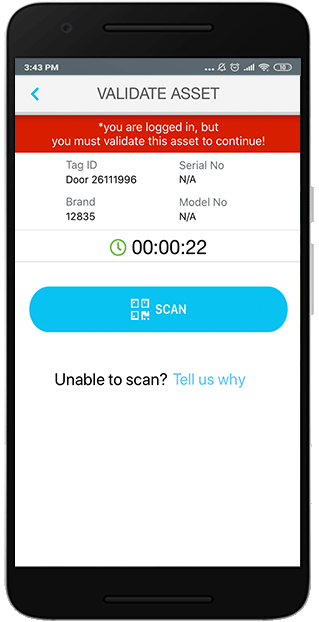
- Tap Log Time, and select the Repair activity. The Validate Asset screen will appear.
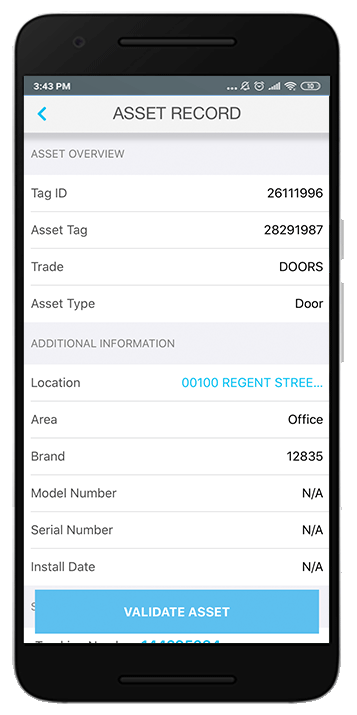
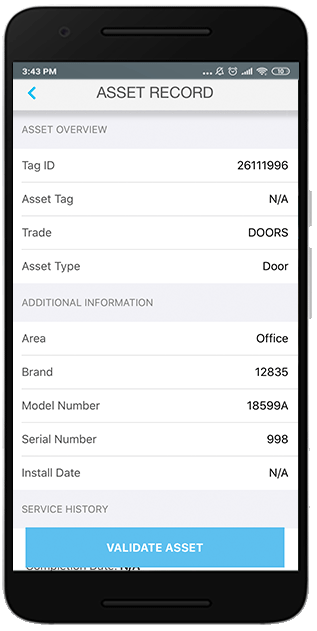
- Tap Scan to scan the QR code or NFC tag on the asset for validation. Once the asset is scanned and the app finds the matching asset, you will land on the Asset Record screen.
- Tap Validate Asset.
Learn more about Validating Assets.
ASSET VALIDATION
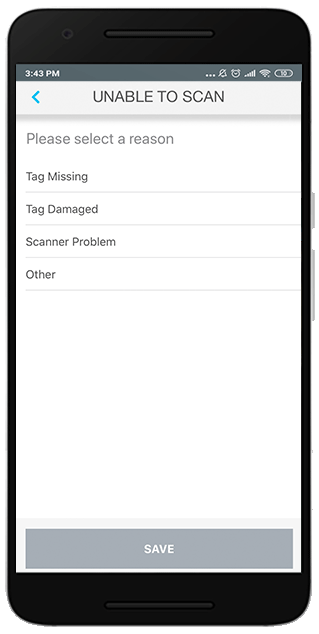
- Tap Tell us why next to Unable to scan?.
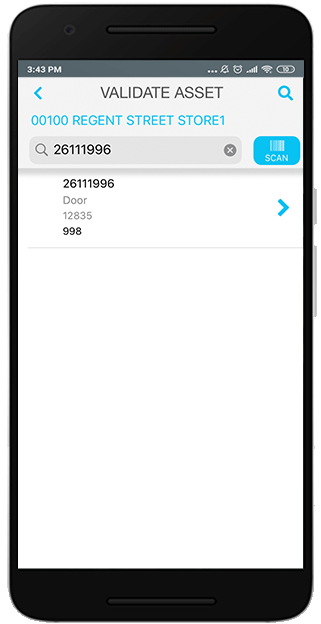
- Select a reason for being unable to scan. You are now able to manually search for the required asset in the search bar.
- Once the asset is found, review the details of the asset, and tap Validate Asset.
ASSET VALIDATION