Location Emergency Evacuation Plan Map(s)
- Joseph Yarborough (Unlicensed)
Analytics
Emergency Evacuation Plans
ServiceChannel provides subscribers with the ability to upload evacuation plans for their locations. The plans are accessible to technicians, while on location, via Servicechannel Provider mobile application. This feature adds additional safety to technicians providing services in an unfamiliar environment.
- Navigate to Locations & Provider Assignments.
- Select a location.
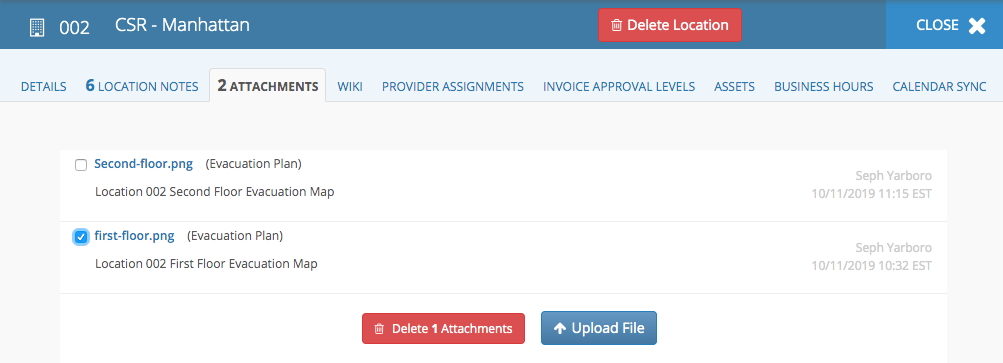
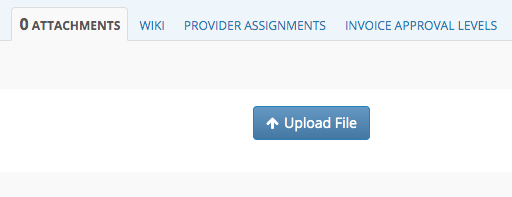
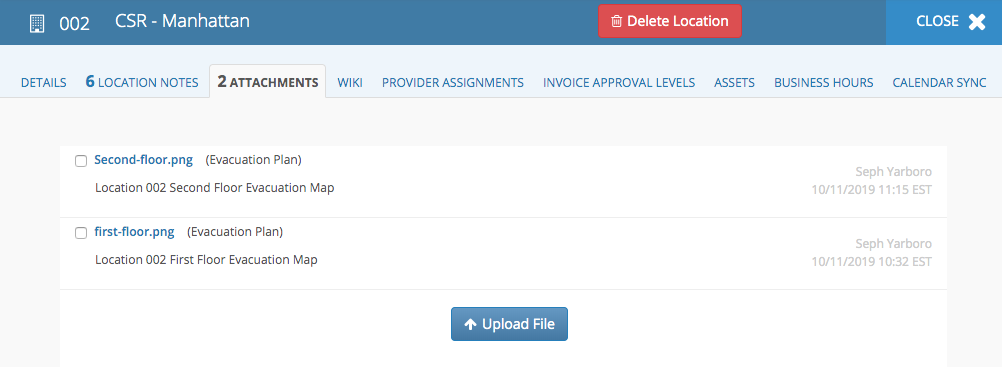
- Select the Attachments tab.

Click the Upload File button.
Important: If you are uploading an evacuation plan that includes multiple floors, upload them in reverse order so that the first or main floor is the last one uploaded. Additionally, the name of each floor or level should clearly indicated on the evacuation plan image.
- Click Browse a File and select the Evacuation Plan Map.
- Add a Description. (Optional)
- Check the Evacuation Plan button to indicate that this is an Evacuation Map.
- Click Upload, to complete the process.
The Evacuation Plan will appear in the list of uploaded files for that location.
To remove an Evacuation Plan, check the box next to the Evacuation Plan image, then click the Delete Attachment button.