Connecting Assets to an Issue List in Dashboard
Once you have created a list of asset types and assets in Asset Manager, you need to associate your assets with an issue list in Dashboard. Assets added to a dashboard become selectable when you are creating a service request.
In order for assets to receive proper maintenance or repair, connecting all assets to the issue list is vital. The dashboard is able to recognize and support the process of creating a work order for an asset. You can connect assets to the issue list by:
- Asset Type Name
- Asset Type ID

Connecting Assets by Asset Type Name
Connecting assets to the issue list requires the Asset Type Name to be added onto the issue list under the equipment column. This allows the issue list to identify the equipment added as an asset when work orders are created. For example, if a dishwasher is one of the assets that may require a work order, dishwasher would be added on the equipment line on the issue list.
- Navigate to the Assets (Equipment) > Manage Asset Types.
Click the Export Asset Types button.

Save this file as you will need it later to associate assets with an issue list.
Navigate to your dashboard, click the main menu in the upper-left corner, and select Convert Issue List.
- Locate the Issue List you want to modify, and download it. Then open the file.

- On the Issues tab of the issue list, enter the Asset Type Name in the Equipment column.

- In the EquipmentEntry column, specify whether users must always associate work orders with assets or this step should be optional for them.
- Enter Optional to allow users to skip the step of linking a work order to an asset.
- Enter Required to make this step mandatory.

- Save the issue list as an XLSX file.
- Navigate back to the Convert Issue List section, and click Upload New Issue List.

- Click Select File on the modal that opens.

- Click the Upload button to upload the file. Once the file has been validated by the system, close the modal.
- Drag the file to the appropriate dashboard on the right side.

- Navigate to the Edit Dashboard Settings section > Request tab, and ensure that the Enable Asset checkbox is selected. This checkbox allows you to make the assets list visible during the work order creation process.
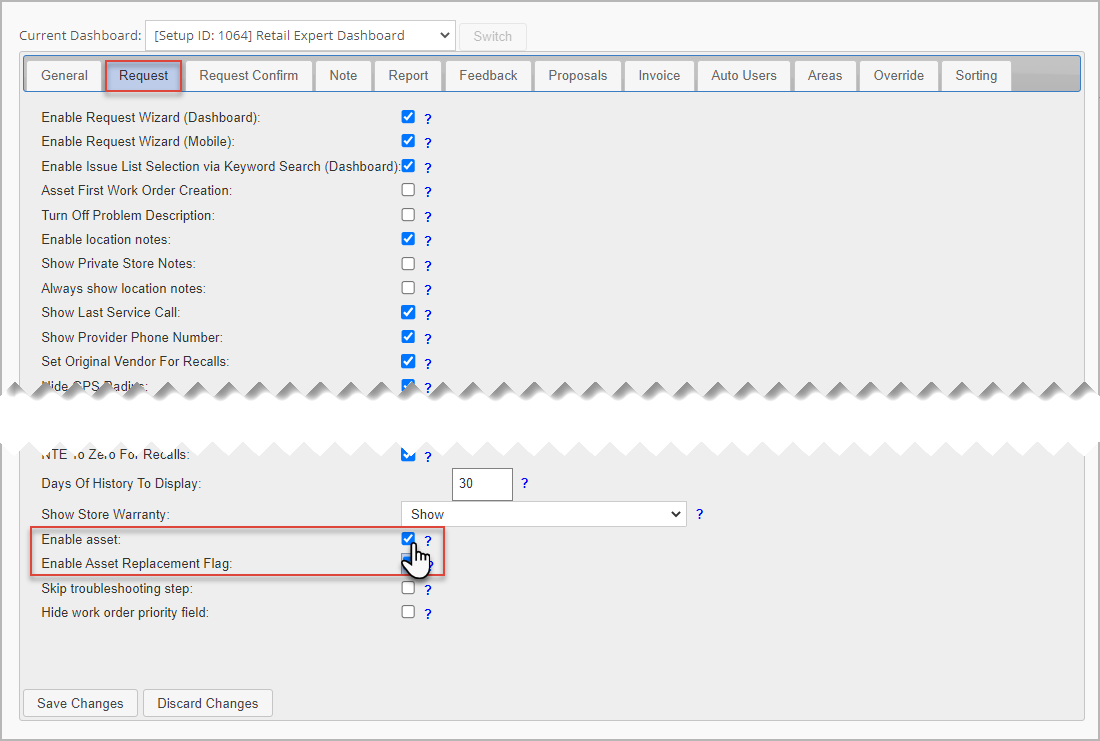
- (When applicable) Select the Enable Asset Replacement Flag on the Request tab of your dashboard settings to activate the Replace option (in addition to the Repair option) on the assets list during the work order creation process.
You have associated assets with your issue list and now can start creating work orders linked to assets in your dashboard.
Connecting Assets by Asset Type ID
A system generated Asset Type ID has been added to all Asset Types. This added feature strengthens the connection between the assets and the Issue List. Most of what the feature does happens in the background, out of sight of most users. However, for those who use languages other than English, you will be able to associate an asset type to a problem code by the asset type ID rather than the asset type name.
- Navigate to the Assets (Equipment) > Manage Asset Types.
Click the Export Asset Types button.
Save this file as you will need it later to associate assets with an issue list.
Navigate to your dashboard, click the main menu in the upper-left corner, and select Convert Issue List.
- Locate the Issue List you want to modify, and download it. Then open the file.
- On the Issues tab of the issue list, add a new column before the Troubleshooting column, and name it EquipmentId.

- Using the Equipment column as a guide, enter the corresponding asset type ID from the asset types file you downloaded into the EquipmentId column. Your resulting file should look like this:

- In the EquipmentEntry column, specify whether users must always associate work orders with assets or this step should be optional for them.
- Enter Optional to allow users to skip the step of linking a work order to an asset.
- Enter Required to make this step mandatory.
- Save the issue list as an XLSX file.
- Navigate back to the Convert Issue List page, and click Upload New Issue List.
- Click Select File on the modal that opens.
- Click the Upload button to upload the file. Once the file has been validated by the system, close the modal.
- Drag the file to the appropriate dashboard on the right side.
- Navigate to the Edit Dashboard Settings section > Request tab, and ensure that the Enable Asset checkbox is selected. This checkbox allows you to make the assets list visible during the work order creation process.
- (When applicable) Select the Enable Asset Replacement Flag on the Request tab of your dashboard settings to activate the Replace option (in addition to the Repair option) on the assets list during the work order creation process.
You have associated assets with your issue list and now can start creating work orders linked to assets in your dashboard.
As you update your Issue List remember to add the Asset Type ID, which ensures that the correct assets appear when you are creating a service request.
Test creating a work order for the asset types where the equipment ID has been added to ensure that it is working as expected.
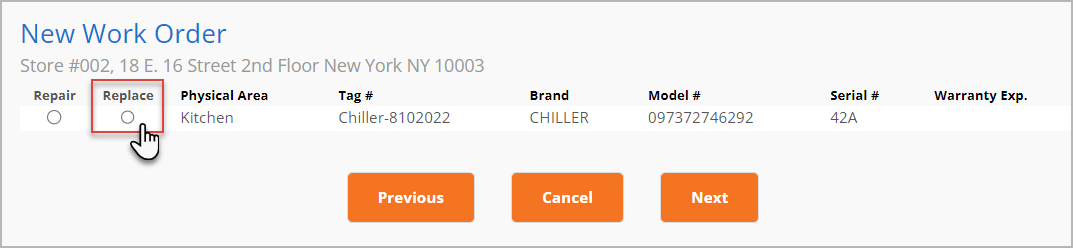
When you are creating a service request, you will be asked to associate your work order with an asset.

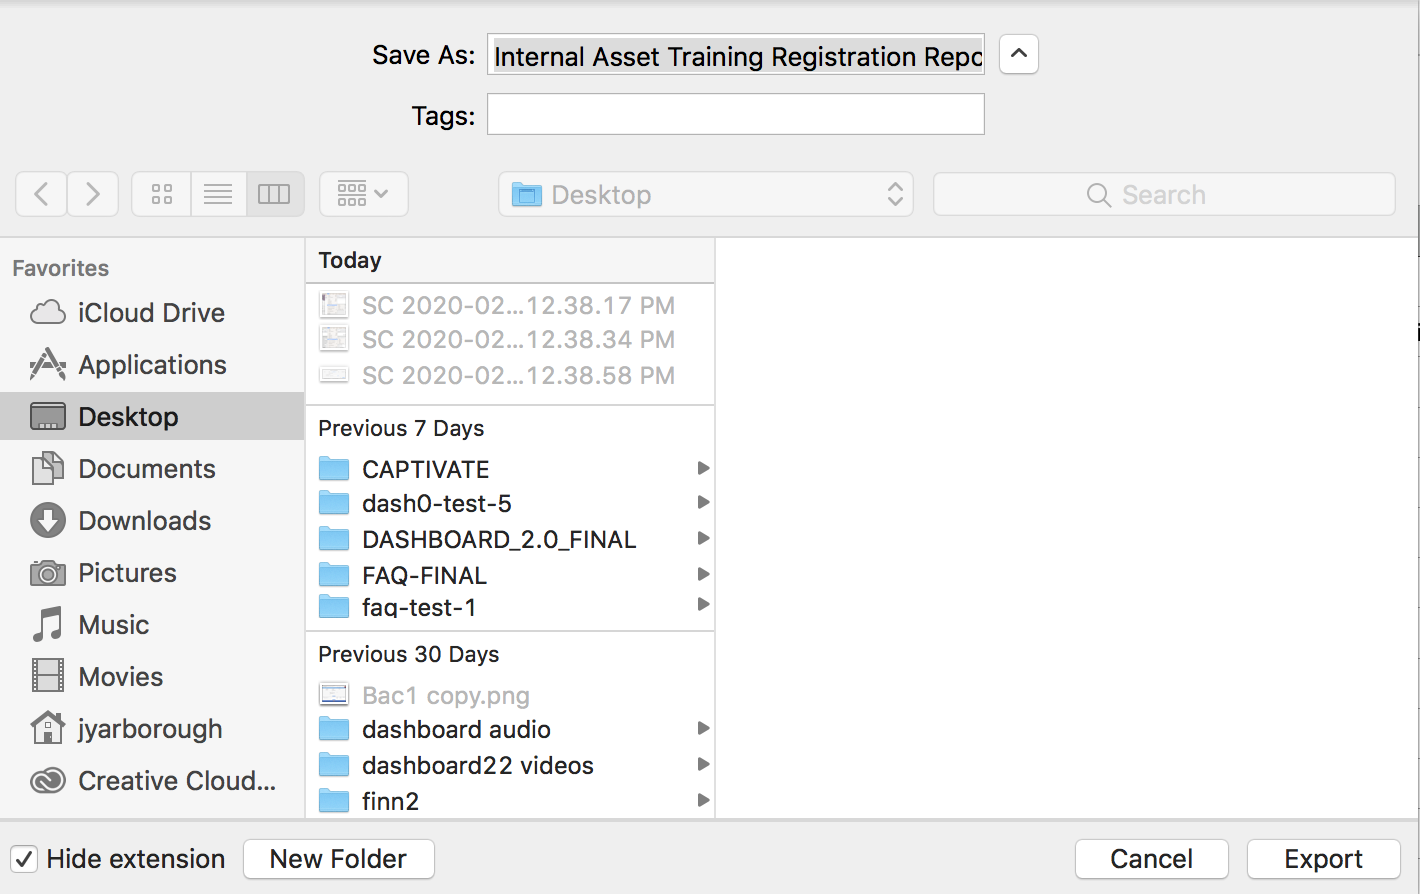
Mac Specific
- Open file in Number
- Hover over Export
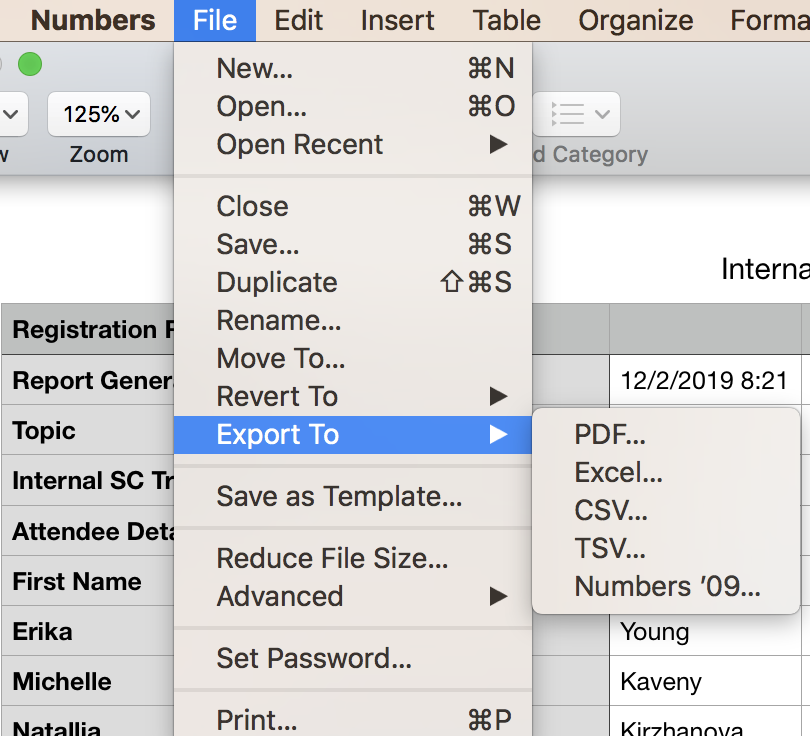
- In the submenu that appears, choose CSV
- Click on Advanced Options to show the Text Encoding dropdown
- Select Unicode (UTF-8) from the dropdown menu
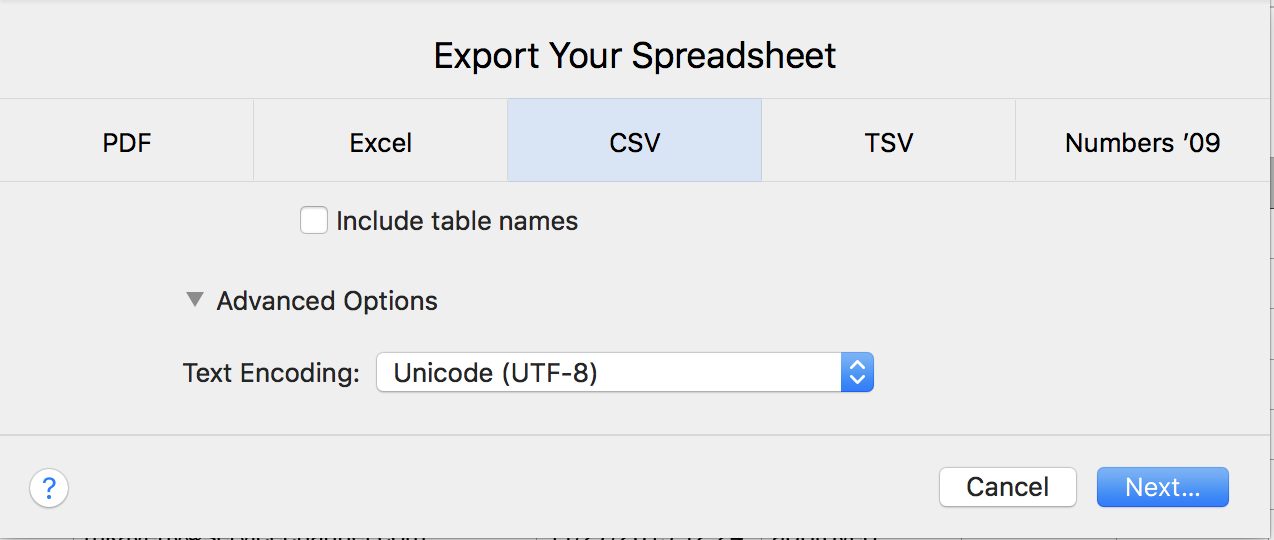
- Click Next Export!
Google Sheets
- Click File
- Click on or hover over Download As
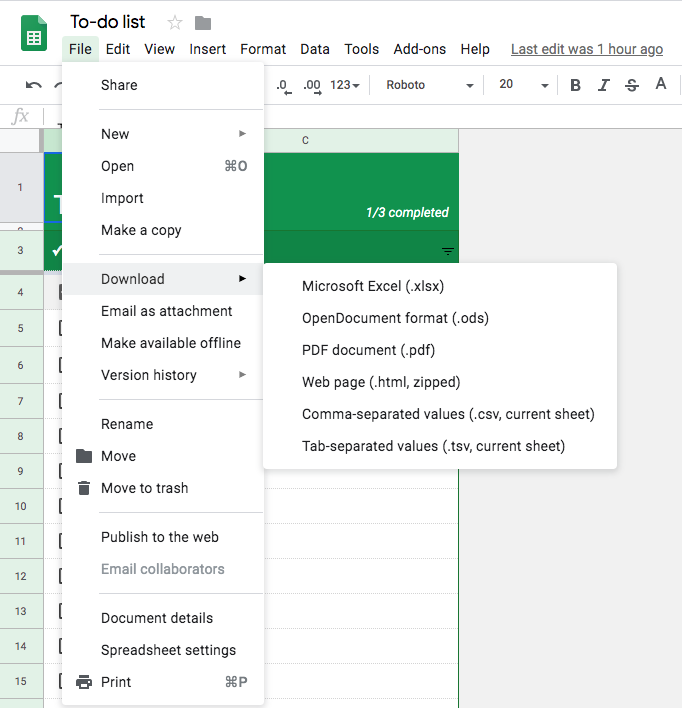
- Choose the option Comma-separated values (.csv, current sheet)
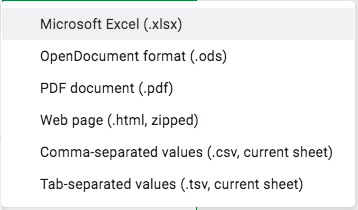
- After clicking on that option, your file will be automatically downloaded to your computer
