Adding Location-Based Events to a Cloud Calendar
Service Automation administrators have the ability to add location-based events to a Google Calendar or Apple iCal. This added feature effortlessly provides additional transparency into the activities scheduled for a specific location. Administrators have the option of selecting which categories they want to have synced with a private or shared calendar.
The calendar sync is location specific, therefore, one would have to be created for each location. However, having separate calendars for each location adds additional flexibility, in as much that administrators can configure each calendar sync to meet their needs for each of their locations.
Adding Location-Based Events to a Google Calendar
- Navigate to Locations & Provider Assignments.
- Select the Location that you want to create a calendar sync.
- Select the Calendar Sync tab.

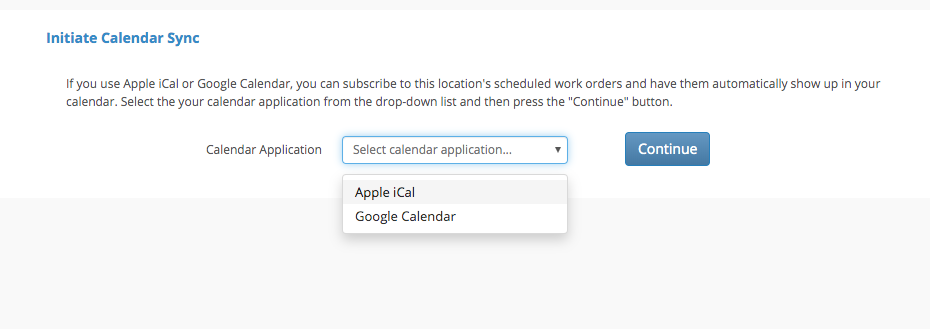
- Select Google Calendar, then click Continue.
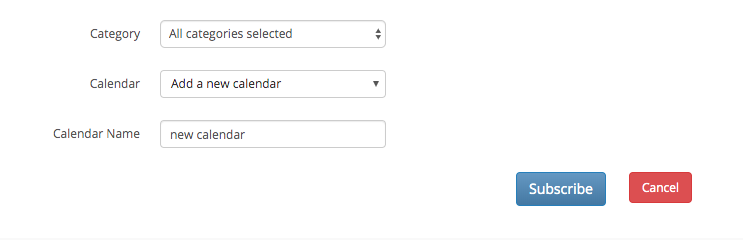
- From the Category drop down menu, select all of the categories that you want included.

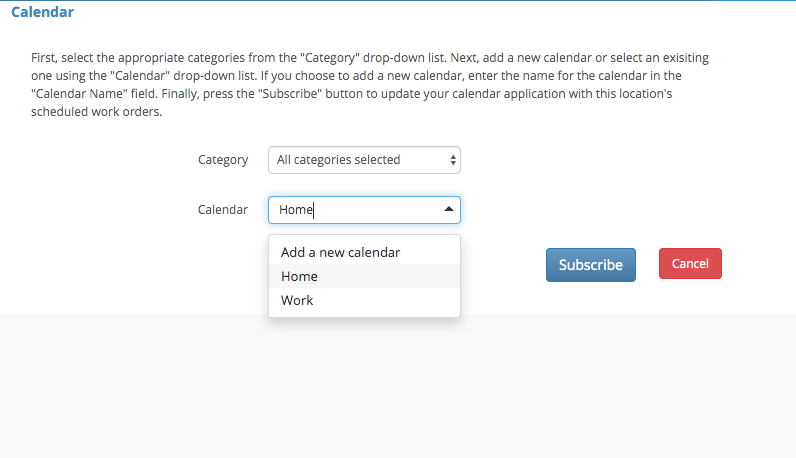
- From the Calendar drop down menu:
- Select the calendar you want to sync with, then click subscribe.
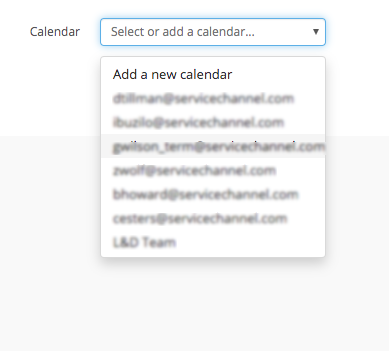
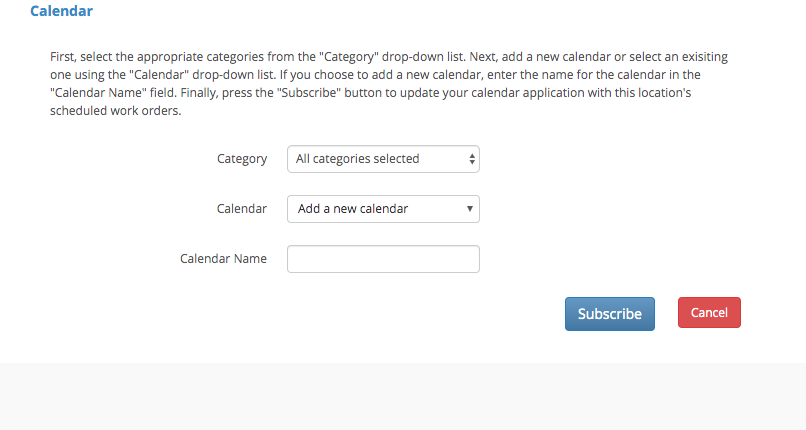
OR Select Add a New Calendar, then give the “new” calendar a name, then click Subscribe.
- Select the calendar you want to sync with, then click subscribe.
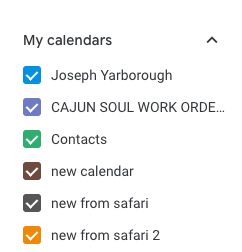
- If you created a new calendar, it will appear in your list of calendars.
- If you added the sync to an existing calendar, the only changes you will see are the additions of the synced information appearing on your calendar.
Adding Location-Based Events to iCal
- Navigate to Locations & Provider Assignments.
- Select the Location that you want to create a calendar sync.
- Select the Calendar Sync tab.

- Select Apple iCal, then click Continue.

Enter your Apple ID and the specific Apple App Password you use to log into Service Automation, NOT YOUR APPLE ID PASSWORD.
Note: For more info on using or creating an Apple app specific password.
- From the Category drop down menu, select all of the categories that you want included.
- From the Calendar drop down menu:
- Select the calendar you want to sync with, then click subscribe.
OR - Select Add New Calendar and give the “new” calender a name, then click the Subscribe button.
- The new iCal will appear in the list of available calendars.

- Select the calendar you want to sync with, then click subscribe.
Note: New calendars created via Service Automation can only be removed via the respective calendar application. It is a one-way sync and modifications to an event must be done in Service Automation to update the calendar invite.