Company Settings - Managing Message Templates
Uma Srinivasan (Unlicensed)
Anastasia Troichuk (Unlicensed)
Joseph Yarborough (Unlicensed)
To maintain uniform communication with your service providers, you can create templates for the following in Compliance Manager:
- Invitations to join your private network
- Custom messages to service providers in your network
The messages auto-populate when a template is used; but you can edit the messages as required before sending them. Moreover, when a template is not desired, such as when you need to send unique messages to multiple providers, you may disable the templates.
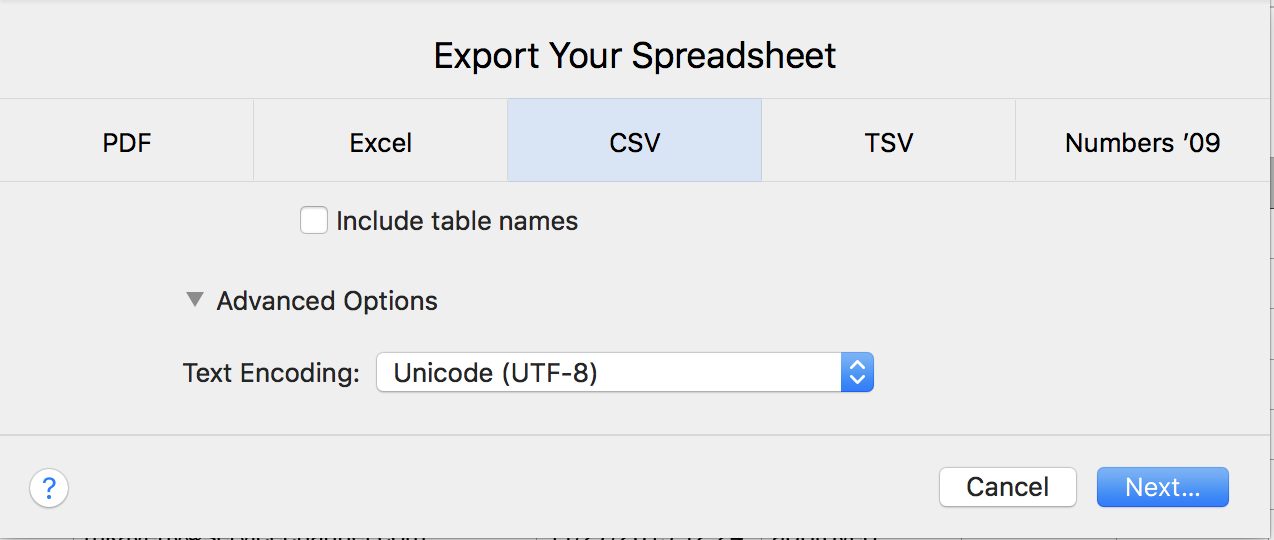
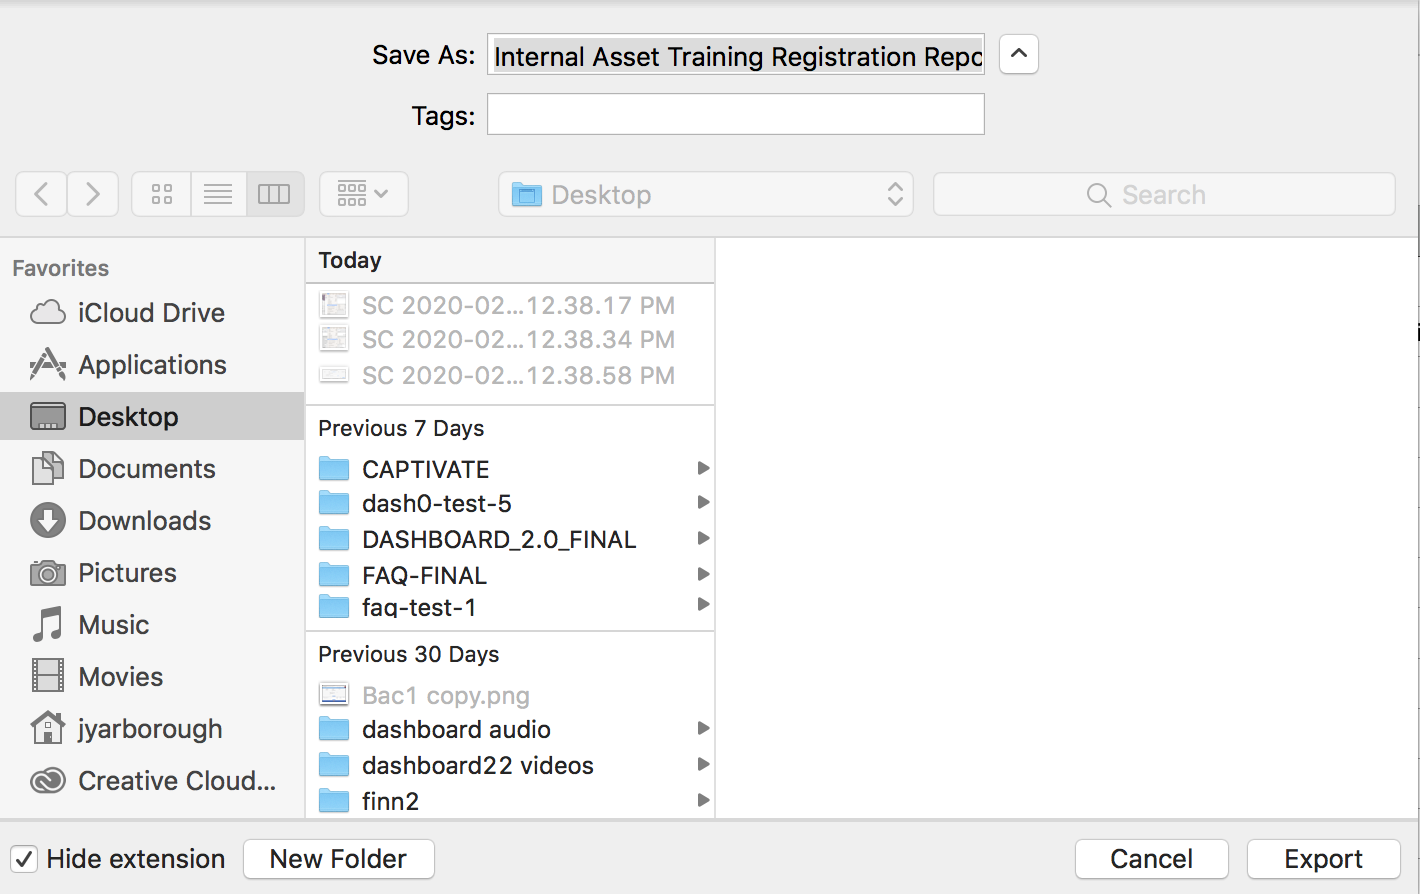
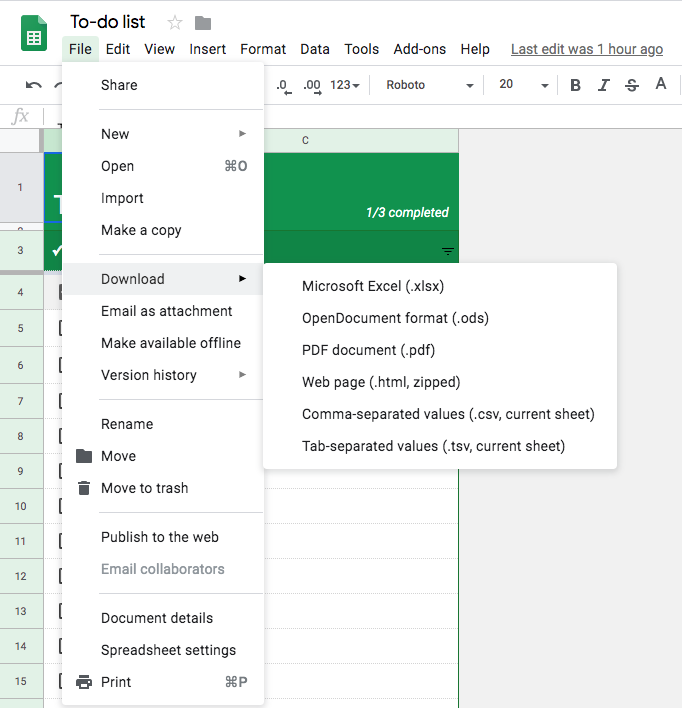
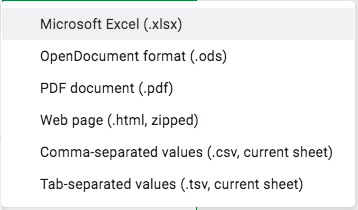
Windows Specific Open file in Notepad Choose Save As There are three items to update in the Save dialog that comes up. Save as type: change this to All FilesFile Name: name your file and add the .csv extension to it - e.g.: myupdates.csv Encoding: click on the dropdown and choose UTF-8 Save! Mac Specific Google Sheets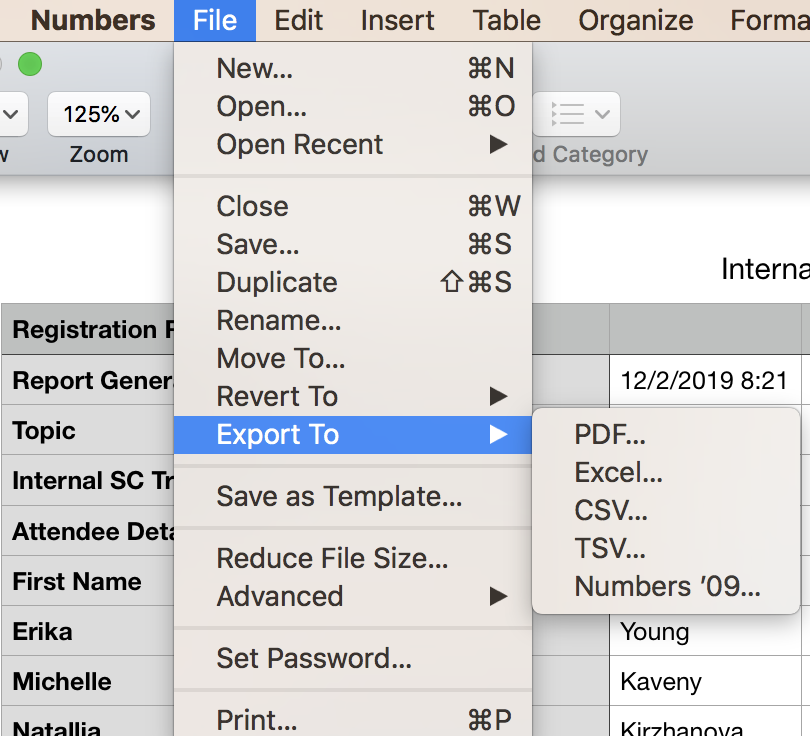
Viewing Message Templates
You can view or edit message templates through Company Settings.
- When logged in to Compliance Manager, click the Settings (gear) icon on the top-right corner of the page. Personal settings tab opens by default.
- Click the Company tab. Company settings appear.
- Click Message Templates in the left navigation panel. The list of templates appears.
- Click the name of the desired template to view or edit it.
Creating Invitation Templates
You can create two unique invitation templates tailored to suit service providers’ registration status with ServiceChannel:
- Acknowledge Invitation Template: Message to include in invitations to service providers already registered with ServiceChannel.
- New Contractor Invitation Template: Message to include in invitations to service providers who are not yet registered with ServiceChannel.
When you create an invitation, based on whether a provider is registered with ServiceChannel or not (identified using the provider’s email), the appropriate message gets added to the invitation.
When you create your invitation template message, you can use placeholders to insert standard elements in the invitation. Once you add all required details, you can Preview how the message will appear to the recipient before setting it as the default.
Placeholders
Placeholders for invitation templates help you insert standard elements in your messages. For example, inserting {{myrequirements}} in the message area of the template will insert the list of requirements in the invitation.
The following placeholders are available for invitation templates:
| Placeholder | Definition |
|---|---|
| {{myBusinessName}} | Your company name |
| {{myFullName}} | Your full name |
| {{recipientCompanyName}} | Name of the service provider company |
| {{recipientPersonName}} | Name of the service provider |
| {{myRequirements}} | List of requirements that you have activated for your service providers |
- In the list of message templates, click the desired invitation template. The Write tab opens by default.
- Enter the message Subject.
- Enter the desired Message, as applicable for Acknowledge Invitation Template or New Contractor Invitation Template. Optionally, use desired placeholders listed below the message box to include standard elements in your invitations.
- (Optional) Click the Preview tab on the top to view how the message will display to the recipient.
- Check the Use Template button to use the template as the default invitation message.
- Click Save. A confirmation dialog appears.
- Click OK. The message template appears. The template will be applied when you create single or bulk invitations.
Creating a Template for Custom Message to Active Network
The Custom Message to Active Network email template is used when you send messages to service providers in your private network using the Send Custom Message action under Contractors.
- In the list of message templates, click Custom message to Active Network email template. The Write tab opens by default.
- Enter the message Subject.
- Enter the desired Message.
- (Optional) Click the Preview tab on the top to view how the message will display to the recipient.
- Check the Use Template button to use the template as the default message.
- Click Save. A confirmation dialog appears.
- Click OK. The message template appears. The template will be applied when you send custom messages to service providers in your network.
Editing Message Templates
Both invitation and custom message templates can be edited as desired.
- In the list of message templates, click the desired template.
- Make the required changes.
- Click Save. A confirmation dialog appears.
- Click OK. The message templates appear.
Disabling Message Templates
At any time, you may disable a message template. Doing so will populate the standard message, which you may edit as desired.
- In the list of message templates, click the name of the desired template.
- Uncheck the Use template box, and click Save. A confirmation dialog appears.
- Click OK. The message templates list appears. The selected template is disabled:
- For invitations, the standard message will populate when you create a single or bulk invitation.
- For custom message, you will need to enter the desired information when sending a message to service providers.
-
Page:
-
Page:
-
Page:
-
Page:
-
Page:
-
Page:
-
Page:
-
Page: