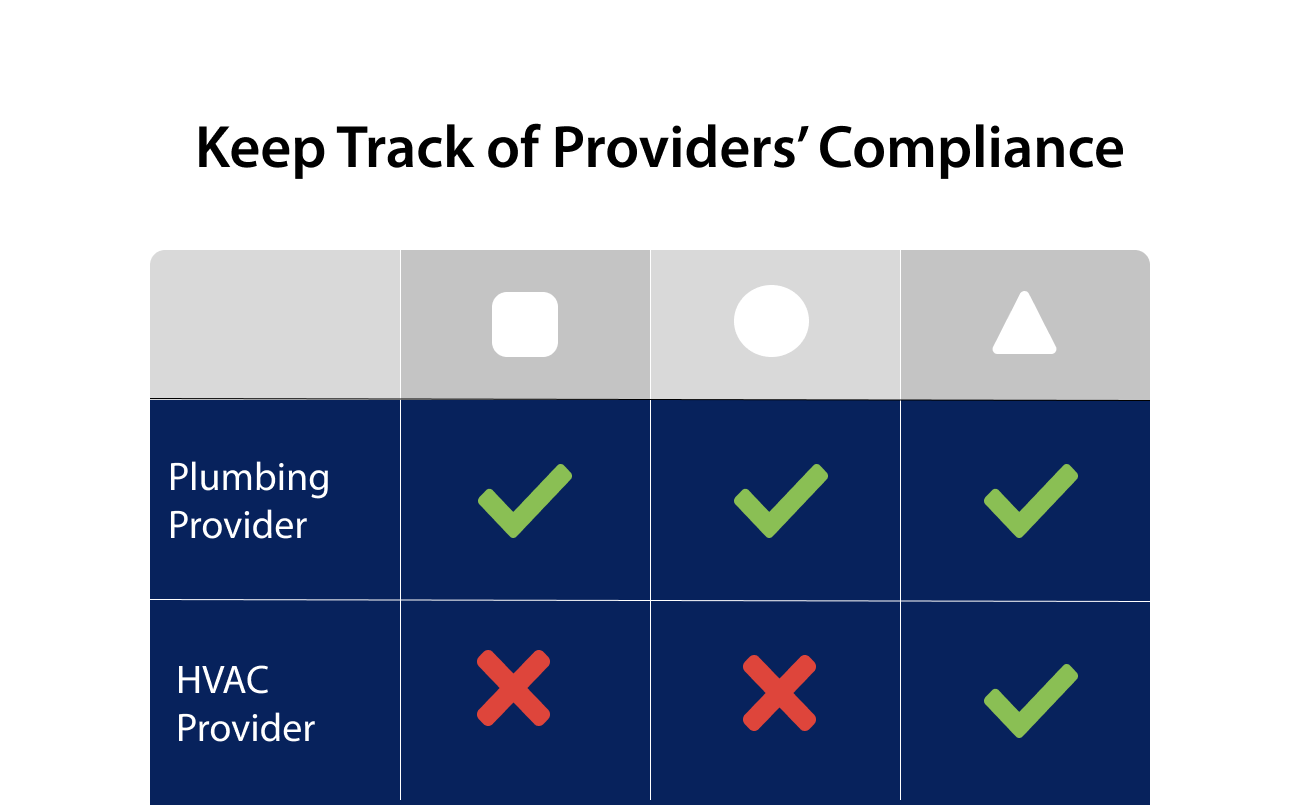
The dynamic Compliance Table represents the requirements you configure to align with your needs. Therefore, you get high visibility into providers who comply with your rules and who do not.

While reviewing providers’ compliance, you will see the indicators showing whether a provider meets a certain requirement.

Configuring the Columns of the Compliance Table
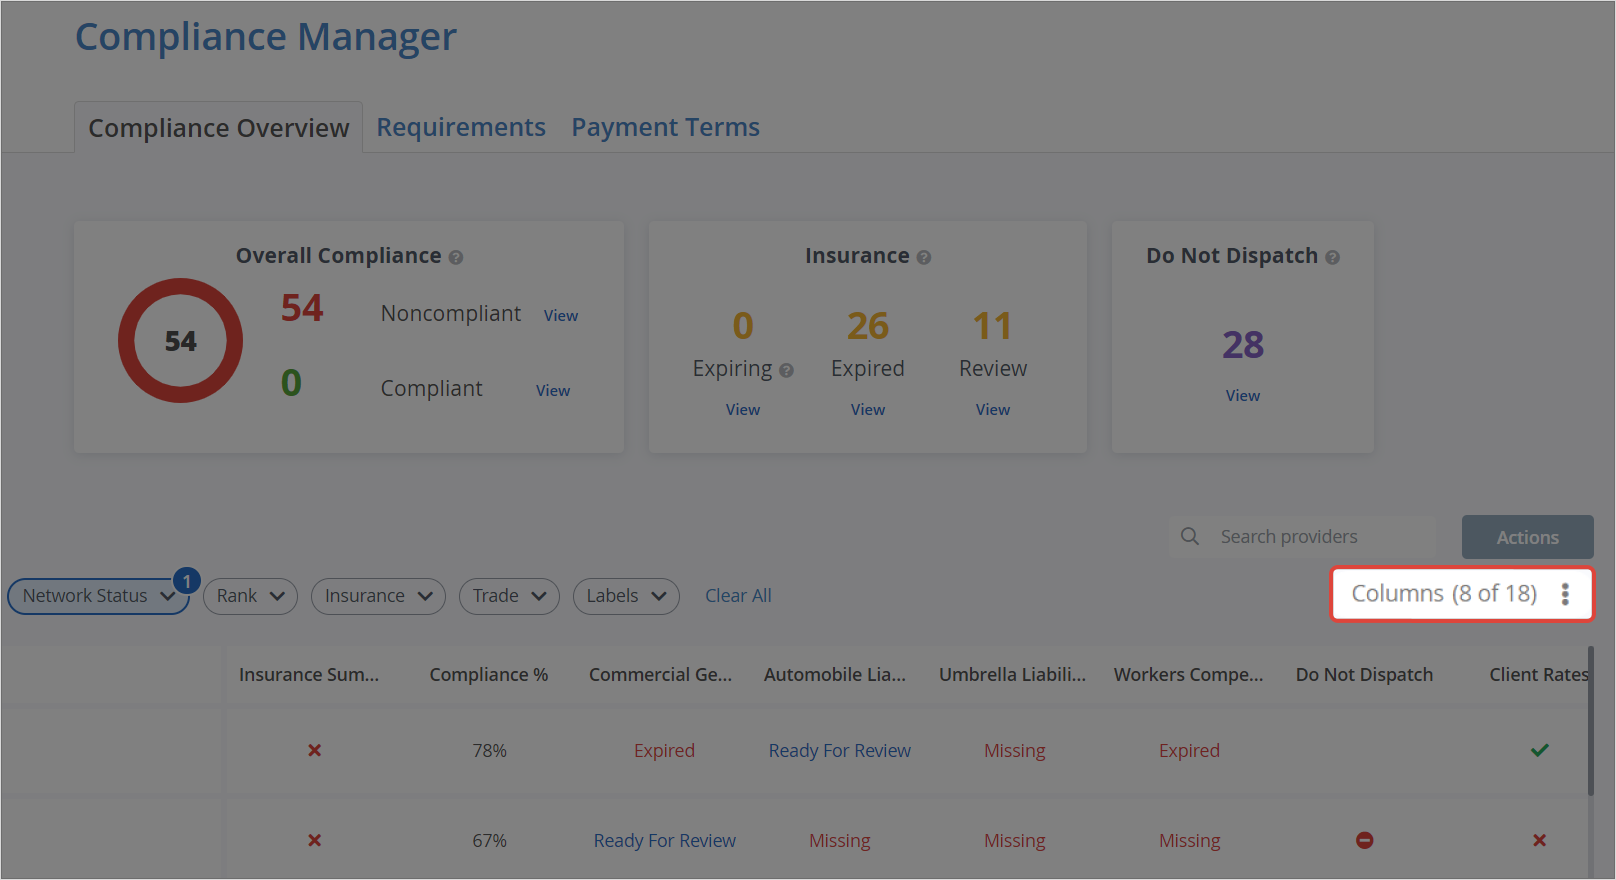
You can control what columns should display in the Compliance Table by clicking the Column Selector underneath the Actions button.

All available columns are displayed in the Configure Columns popover in one of the following sections:
| Requirement Name | Description |
|---|
| General Requirements | General Requirements are set by default and display a range of fundamental requirements you may need in the table. Such as: - Compliance %
- Do Not Dispatch
- Do Not Dispatch Date
- Insurance Summary
- Labels
- Last Communication Date
- Provider Review
|
| Basic Requirements | Basic Requirements represent the requirements that you need to manage your service providers. These requirements are suggested by ServiceChannel: - Banking
- Client Contracts
- Client Rates
- Dispatch Preferences
- Tax ID
- Trade Licenses
- Trades
|
| Insurance Requirements | Insurance Requirements display the insurance types you can request from your provider: - Automobile Liability
- Commercial General Liability
- Umbrella Liability / Excess Liability
- Workers Compensation And Employers' Liability
|
| Custom Requirements | ServiceChannel provides you with the possibility to add your own requirements to providers. Custom Requirements will contain the requirements set by you. |

- Go to ServiceChannel.com > Hamburger Menu > Compliance Manager. The Compliance Overview page appears.
- Under the Actions button, click the Column Selector. When you navigate to the Compliance Table for the first time, the following columns are selected by default:
- Labels
- Compliance %
- Insurance Summary
- Do Not Dispatch
- All columns under “Basic Requirements”
- All columns under “Custom Requirements”
- Select the necessary Checkboxes next to the requirements you need to add to the Compliance Table:
- General Requirements
- Basic Requirements
- Insurance Requirements
- Custom Requirements
- Click Display. The Compliance Table will show you the columns consisting of the selected requirements.

Managing the Compliance Table View
The Compliance Table is dynamic, which means that you can configure its view the way you need.
Here is the list of available table views:
Column Reordering. You can click, hold & drag column headers to reorder columns.

- Providers Sorting. You can sort the Providers’ List by any column (except Labels) by clicking the column header.

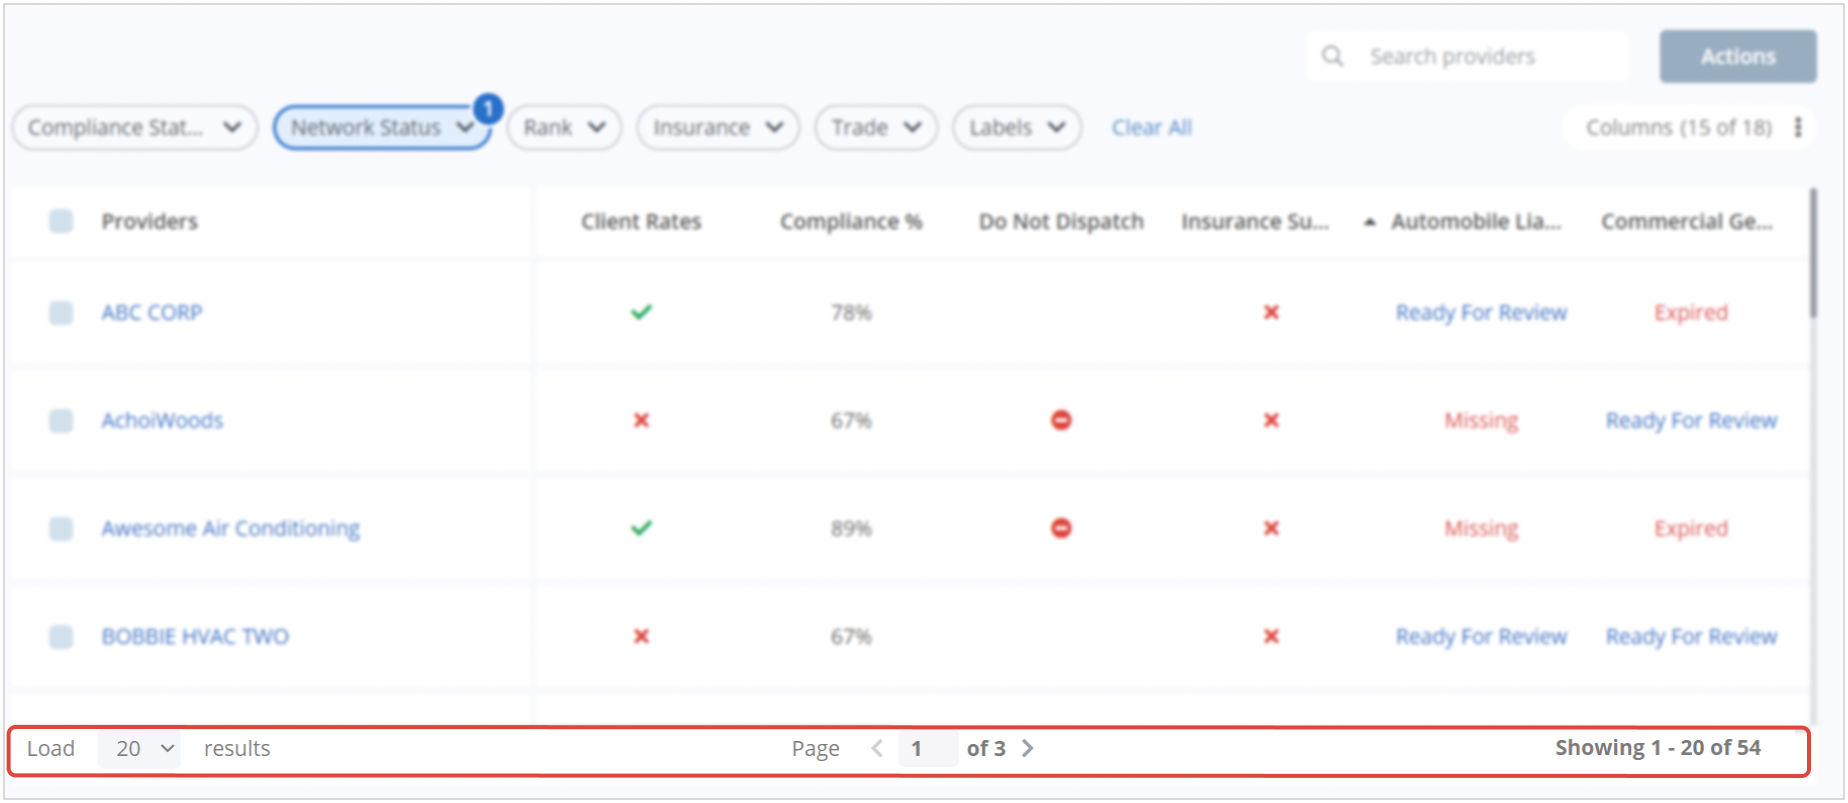
- Pagination:
- You can choose to view 20, 40, or 60 results per page (the default is 20) on the bottom left of the table.
- You can navigate the pages using the page selector on the bottom center of the table.
- The number of results that you are viewing on the current page is shown on the bottom right of the table, along with the total number of results returned based on the combination of applied filters.

The next article is Taking Action on Providers in Compliance Overview.


