Creating Proposals from the List View
- Anastasia Medovkina (Deactivated)
In majority of cases, Non-FTMs create proposals for you to decide on whether their proposal fits your needs. In rare cases, you may want to send a proposal to a Non-FTM for a project. Due to having prior experiences with certain projects, there is an understanding of what is required. When creating a proposal and assigning it to a provider for acceptance, you are scoping the project's needs and controlling the overall cost. You can create a Standalone proposal from the list view. You can also submit proposals on a work order from the work order list view.

Did you know that you can include custom instructions for your contractors and facilities team to follow? See /wiki/spaces/~166717768/pages/2263975714 for more information.
Adding an Asset on a Proposal
There is the option of including an asset on a proposal. This includes standalone proposals, existing work orders and RFPs. The asset selection is based on a specific trade. This enables you or the service provider to recommend if the asset needs to be repaired, replaced, removed and/or added. This supports keeping track of assets and maintaining accurate records.

Creating a Standalone Proposal
Creating a standalone proposal is useful when the NTE needs to be raised when you need to fix problems found while a contractor was on site. A request for proposal (RFP) is not required to create a standalone proposal.
- On the top navigation bar, click Proposals. The Proposals page appears.
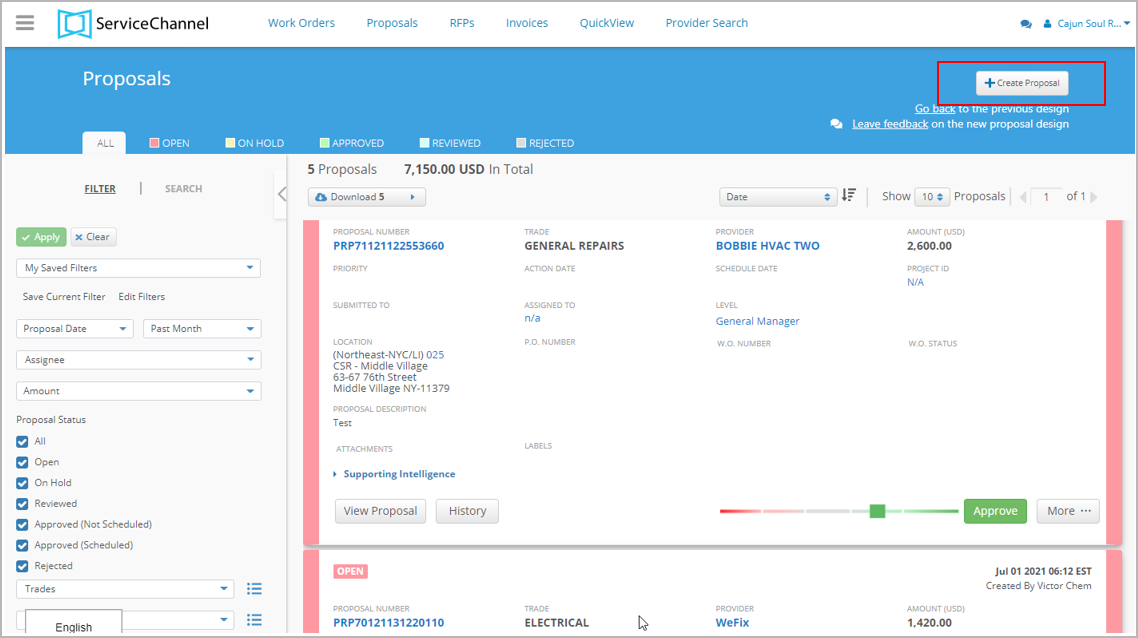
- Click the Create Proposal button.
Alternatively, you can create a Proposal from the Expanded menu by clicking 3 lines on the far left. From the menu, select RFPs / Proposals > Create Proposal.
The page for searching for a location appears.

- Use the filters on the page to find the location for which you want to submit a proposal, and then click Search. The page with locations that match your search criteria appears.
Click the desired location, select the appropriate trade from the drop-down list, and then click Next. The page with location details opens.
Important
Should you need to create a proposal due to an increased scope of work on an existing work order, stop and follow the steps for Creating a Proposal Linked to a Work Order.
Review the location details to make sure that you’re submitting a proposal for the right location, and then click Next. The page for creating a proposal appears.
To the right of the proposal form you may find instructions on how to fill it out. These guidelines are provided by your client to help you understand the requirements for expected proposal details. Follow these rules when completing the form to increase the likelihood that your proposal will be approved.

Enter a brief Project Name and Description. The Proposal Number is automatically populated after you submit a proposal.
When an auto-generated number appears, you cannot enter your own proposal number. However, when the field is empty, you can provide your own number. This is controlled under Proposal Administration.

Proceed through the remaining sections by filling out the fields highlighted in blue. Once you enter the info for a line item, click the blue arrow at the bottom of the screen to proceed to the next line item.
Should you need to change the decimal point (.) to decimal comma (,) on monetary amounts, contact your ServiceChannel representative.
Note that the proposal total and line-items subtotals are calculated automatically, so you don’t have to enter them. Also, you can add additional rows for each line item as required.
- Costs incurred to date. Enter a description and a total into the appropriate fields.
Materials. Enter a description, quantity, unit, and price for each material. Indicate whether the materials are new or replacing the existing materials.
Tips
For more accurate quotes, you can remove or adjust the default markup rates for specific rates. Your providers will also get the flexibility to do the same.
Contact your customer success manager to enable the feature.

You can select pre-negotiated material from the drop-down list if you have negotiated price lists. This ensures that both you and your providers are working with a pre-negotiated set of items, streamlining the proposal creation process and ensuring accuracy and consistency in pricing.

Please, contact your ServiceChannel representative should you need to change the decimal point (.) to decimal comma (,) on non-monetary amounts, such as:
- Hours and Duration
- Quantity Amounts
- Weight.

Installation labor. Enter the number of technicians, hours, and rates.
To provide the total labor charge instead of itemizing numerous labor charges, use the Flat Fee Labor field.
- Non-installation expenses. Enter the number of trips made and charges. Also, enter additional and non-installation fees.
Other Fees. Select the price list or enter your value for each item of the other fees.
Other Fees are available if you have a negotiated price list with your provider.
Contact your ServiceChannel manager to be able to propose other fees.
- Freight. Enter the total freight charges.
- Tax. Enter the total tax charges for each line item.
- Attachments. Attach up to five files to the proposal that you’re creating.
Once all sections are complete, the proposal breakdown appears. It shows the proposal line items, their subtotals, and the proposal grand total.
- Click Preview Proposal to begin submitting your proposal.
Review the information you entered and select the I Confirm the Data on the Form is Correct checkbox. When the proposal contains sections where you have a zero (0.00) total charge, a second checkbox should be present. Select this checkbox to confirm that it is correct that the sections listed have a total charge of zero (0.00).

Should you need to edit your proposal, click Change Proposal and make the required modifications. Note that proposals cannot be modified once submitted.
- Click Submit Proposal. The proposal is now entered into the system, and you can see it in the Proposals List.

Proposal statuses and their color codes are shown in the upper-right corner of the Proposals List.