Creating a Work Order Task
- Lamont Eddins
- Jason Gauntz (Unlicensed)
Work Orders in a project indicates the specific task will be completed by a specific service provider. Creating a Work Order Task in the Projects Module is similar to creating one in the Dashboard. During the scoping statuses, a Work Order Task will not show up in Service Automation until a project has reached In Progress status in the Project Lifecycle.
You can also create RFP Tasks.

Creating a Work Order Task
When a Work Order Task has been submitted, the Project Lifecycle status changes from New to Has Scoped.
1. Click the Add Task button in Tasks List in a project.
2. Select Work Order with the drop-down arrow.
3. Provide a Description for the Work Order Task.
4. Indicate Date and Time for start of Work Order Task.
5. Select a Priority Level for the Work Order Task by using the drop-down arrow or type-in feature to add the priority level.
6. Select an Area where the Work Order Task is needed by using the drop-down arrow or type-in feature to add the area.
7. Select a Problem Type or trade needed for the Work Order Task by using the drop-down arrow or type-in feature to add the problem type.
8. Select an Asset with the drop-down arrow or type-in feature.
9. Answer Associate Asset Question.
10. If Yes, Select Link Asset.
11. (Optional) Attach Files.
12. Click the Next button to move forward to naming the Work Order Task Screen.
13. Create a Task Name for Work Order.
14. Click the Next Button.
15. Review the information and click the Create Task button to add onto Tasks List.
Creating Bulk Work Order Task

There is the option to use a Work Order Template to upload Work Order Tasks to the same or various projects. This is a time saver tool for projects during the scoping period. For instance, when certain tasks are pre-determined or known from previous projects, using the template is very beneficial. The template is specifically used for work order task as RFPs has its own template. When a template is added into the module, you can retrieve the results from Batch History and view the tasks in the selected projects. Inside a project, you notice Bulk number underneath the task’s name within a project.
You can add up to 2,500 rows of Work Order Tasks onto one Bulk Work Orders Template. The information for the Work Order Tasks must match the Dashboard.
On the template, the currency selection defaults at USD (UNITED STATES). Use drop-down arrow to change the currency type.
- Under Bulk Creation Templates, use the Download drop-down and select Bulk Work Orders to download the spreadsheet.

- Fill out the spreadsheet with at least the required information and save the spreadsheet.
- Under Bulk Creation, use the Upload drop-down and select Bulk Work Orders to upload the spreadsheet.

- Select or drag the template into the modal.

- Click the Save button to add the Work Order Tasks into the selected projects.
- Optional You can view the Batch History.
Ensure the Location ID column is in Text Format to accurately type-in the correct number.
Uploading a Failed Template
When a template has been uploaded and was deemed as invalid, you will receive a new template with the word "error" as part of the original file name. When opened, you can review the reason why a specific line was not successful. Corrections can be made on the error template and used for re-uploading.
- Open the error template to discover the issue.
- Make the necessary changes on the spreadsheet and save the file.
- Under Bulk Creation, use the Upload drop-down and select Bulk Work Orders to upload the template.
- Click the X icon to clear the previous spreadsheet from the modal.
- Select or drag the new template into the modal.
- Click the Save button to add the Work Order Tasks into the selected projects.
Retro-Active Linking a Work Order
A single project can add an existing Work Order as a task. This is called Retro-Active Linking. When a Work Order has already been created and shows up in Service Automation and a location decides it needs to be associated with a single project, users can link the Work Order to the project. For instance, when a problem has been continuously existing and must require additional work to ensure the issue is resolved, any work orders that were entered for the problem can now be part of the larger solution by being added into a single project.
1. Determine the Project ID needed for the Retro-Active Linking.
2. Enter the Work Order Page in Service Automation.
3. Find specific Work Order for Retro-active linking.
4. Click the Edit Work Order button.
5. Locate Project ID Textbox to add the Project ID number.
6. Click the Save button.
7. Check the Tasks List in the project to view the Retro-Active Linked Work Order.
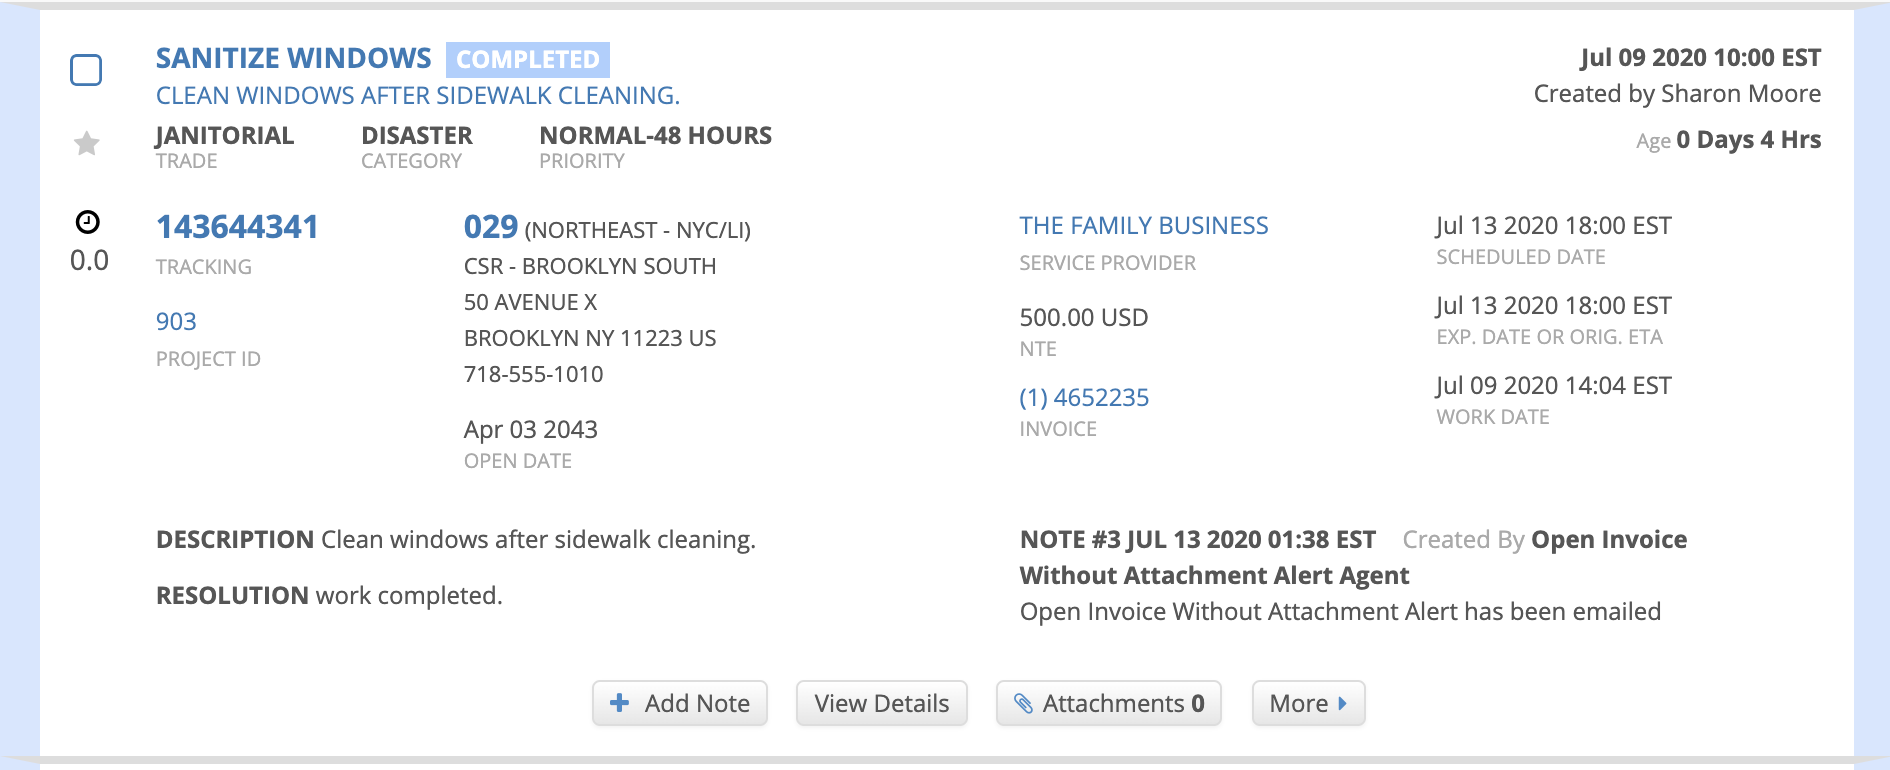
Viewing the Project ID in the Work Order Module
In the Work Order View List in Service Automation, you can view the Project ID number of any task that is associated with a project. This is the same Project ID assigned when a project is created. The Project ID number is located on the left hand side under the Tracking number.