About the Projects Module
- Lamont Eddins
- Chellie Esters
Projects Module allows Facilities Managers and Facility Project Managers to associate multiple Work Orders and RFPs to a specific project for a single location. Unlike using the Dashboard and Service Automation to submit individual Work Orders and RFPs, Projects Module allows you to manage multiple large amounts of work into one project. You can also conduct scope work in advance without dispatching Service Providers. A project can have a continuation of scoping in advance until it reaches the appropriate Approval Cycle status of the Project Lifecycle.
With this module, you can:
- Scope a project;
- Add RFPs;
- Link existing work orders to a project;
- View all cost information pertaining to a project;
- Add level approvers for projects and change orders within a project;
- Review project notes; and
- Upload attachments.
Details of a Project
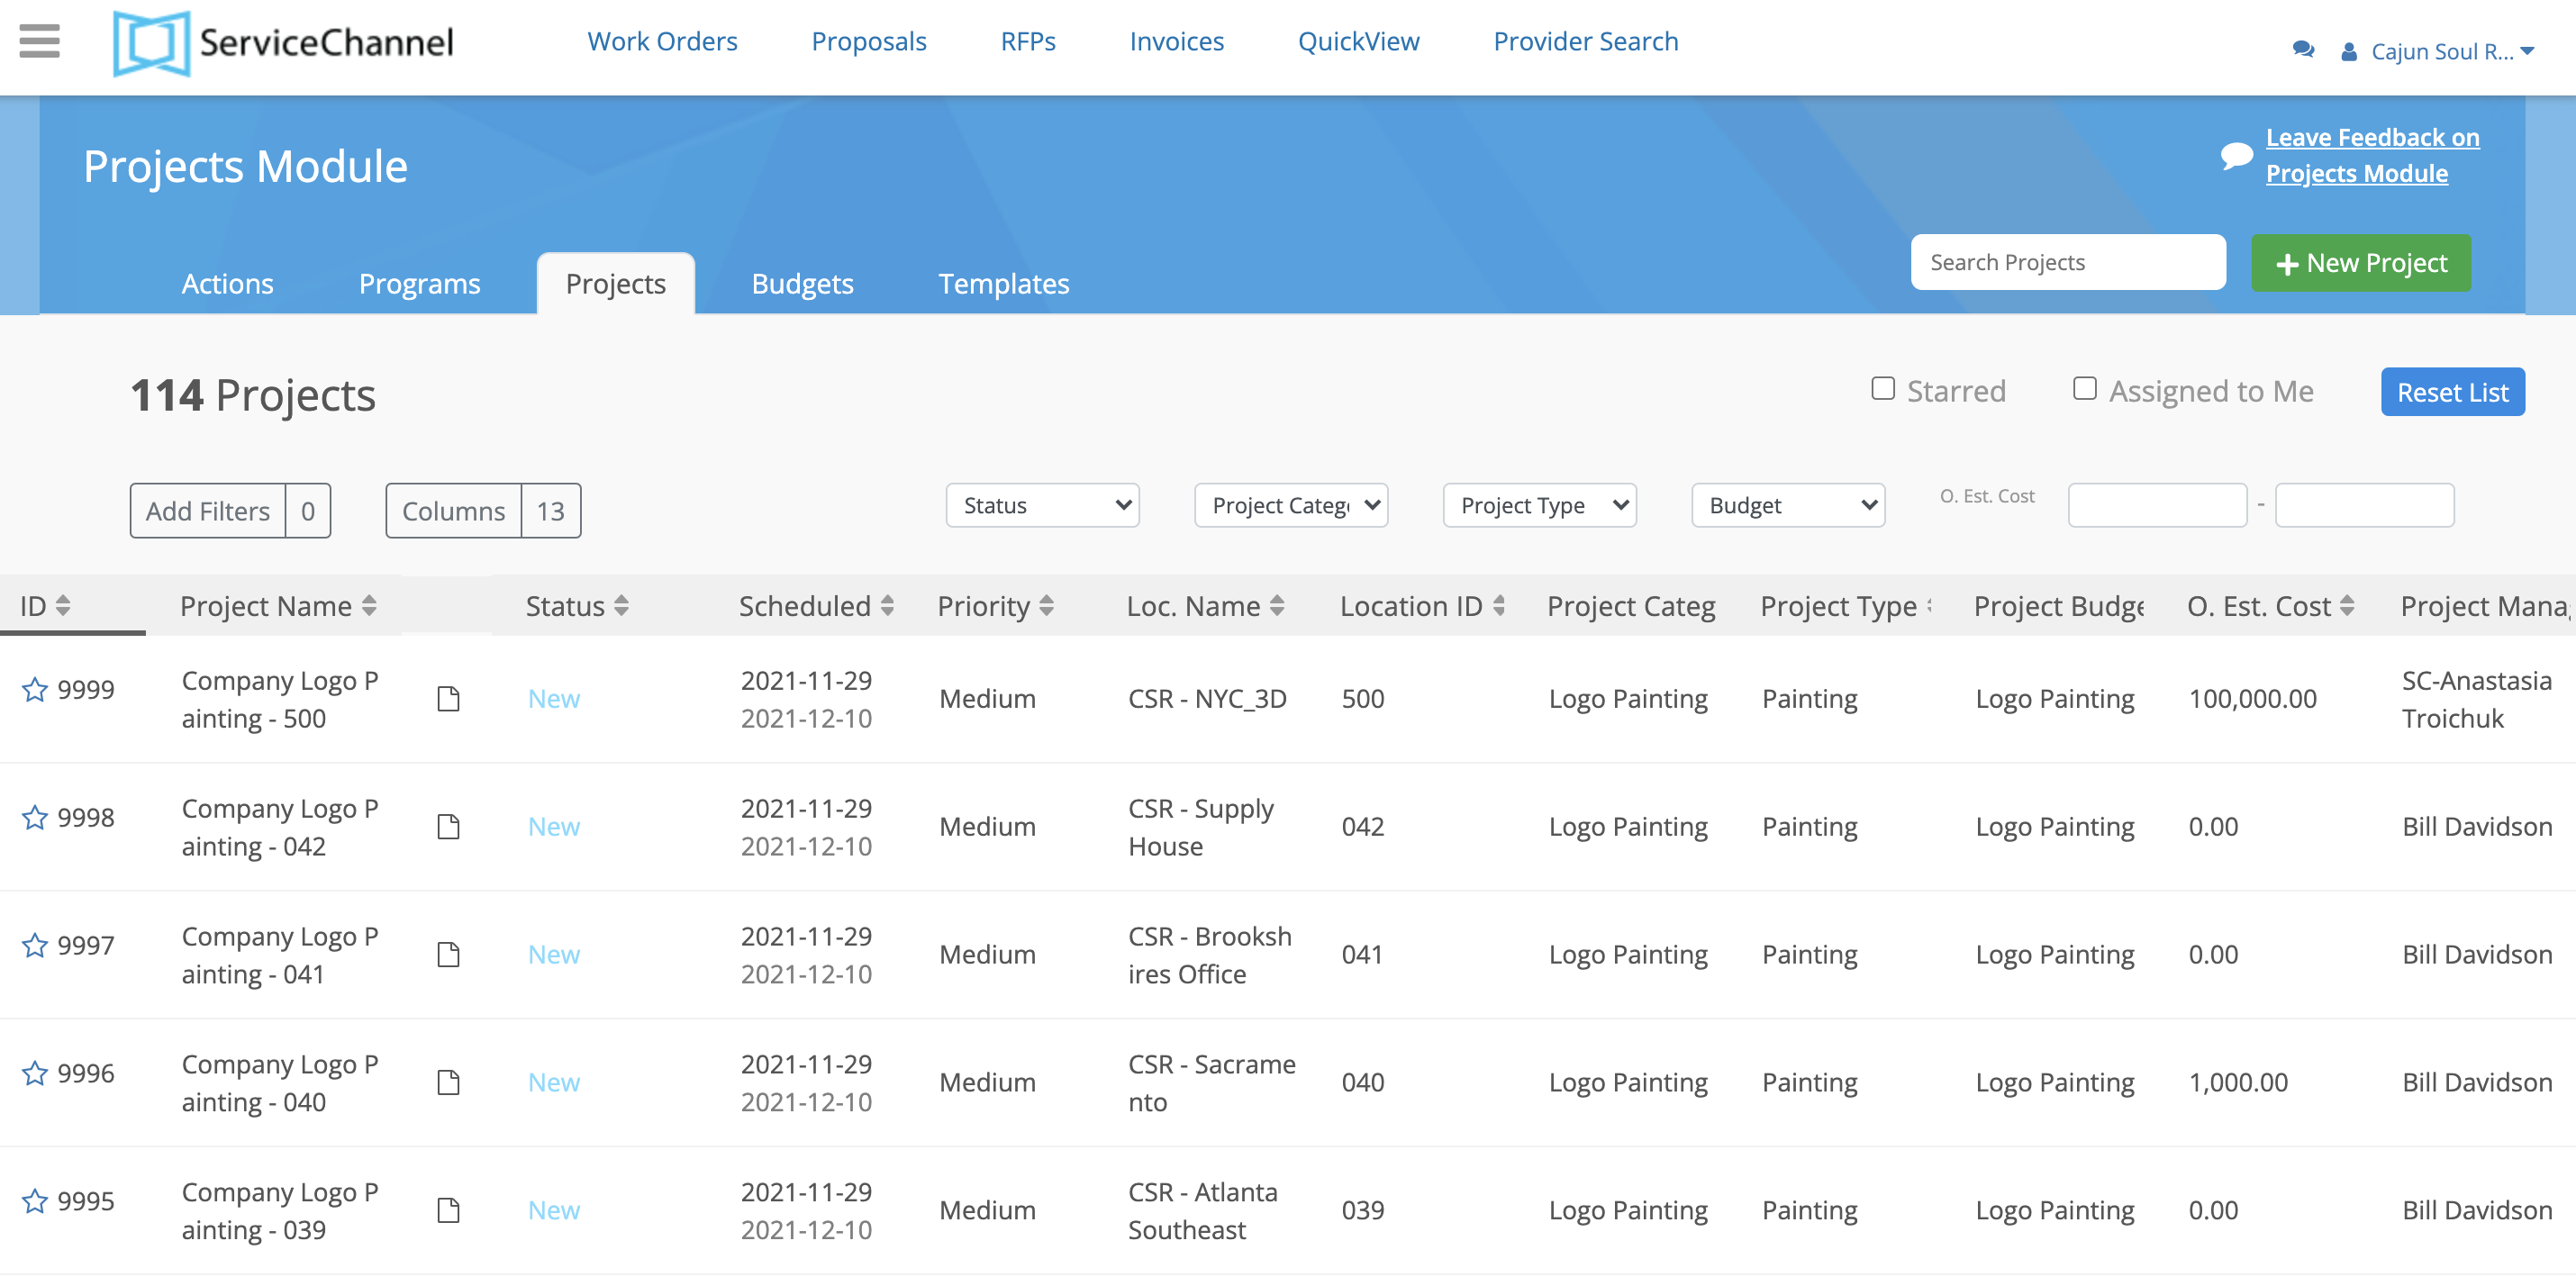
A new project is started for a specific location, from here, you can manage the work orders, trades, providers, assets, and RFPs associated with that project. Projects move through the Project Lifecycle (similar to Work Order Lifecycle) so you are aware of the project's status. Once the project is approved, you can manage & track project scope changes and review new cost metrics reporting. New cost metrics reporting allows for forecasting potential costs, tracking approved costs, and comparing how much a project eventually cost vs. how much the project was originally forecasted. For example, for a single project, you can perform cost analyses by comparing forecasted project costs with approved costs. When a project is completed, performing a cost analyses comparing incurring cost vs. the original estimated cost.
Accessing Projects Module
You can access the Projects Module in Service Automation.
1. Click the navigation menu button in the upper left corner where a list of module links will appear.
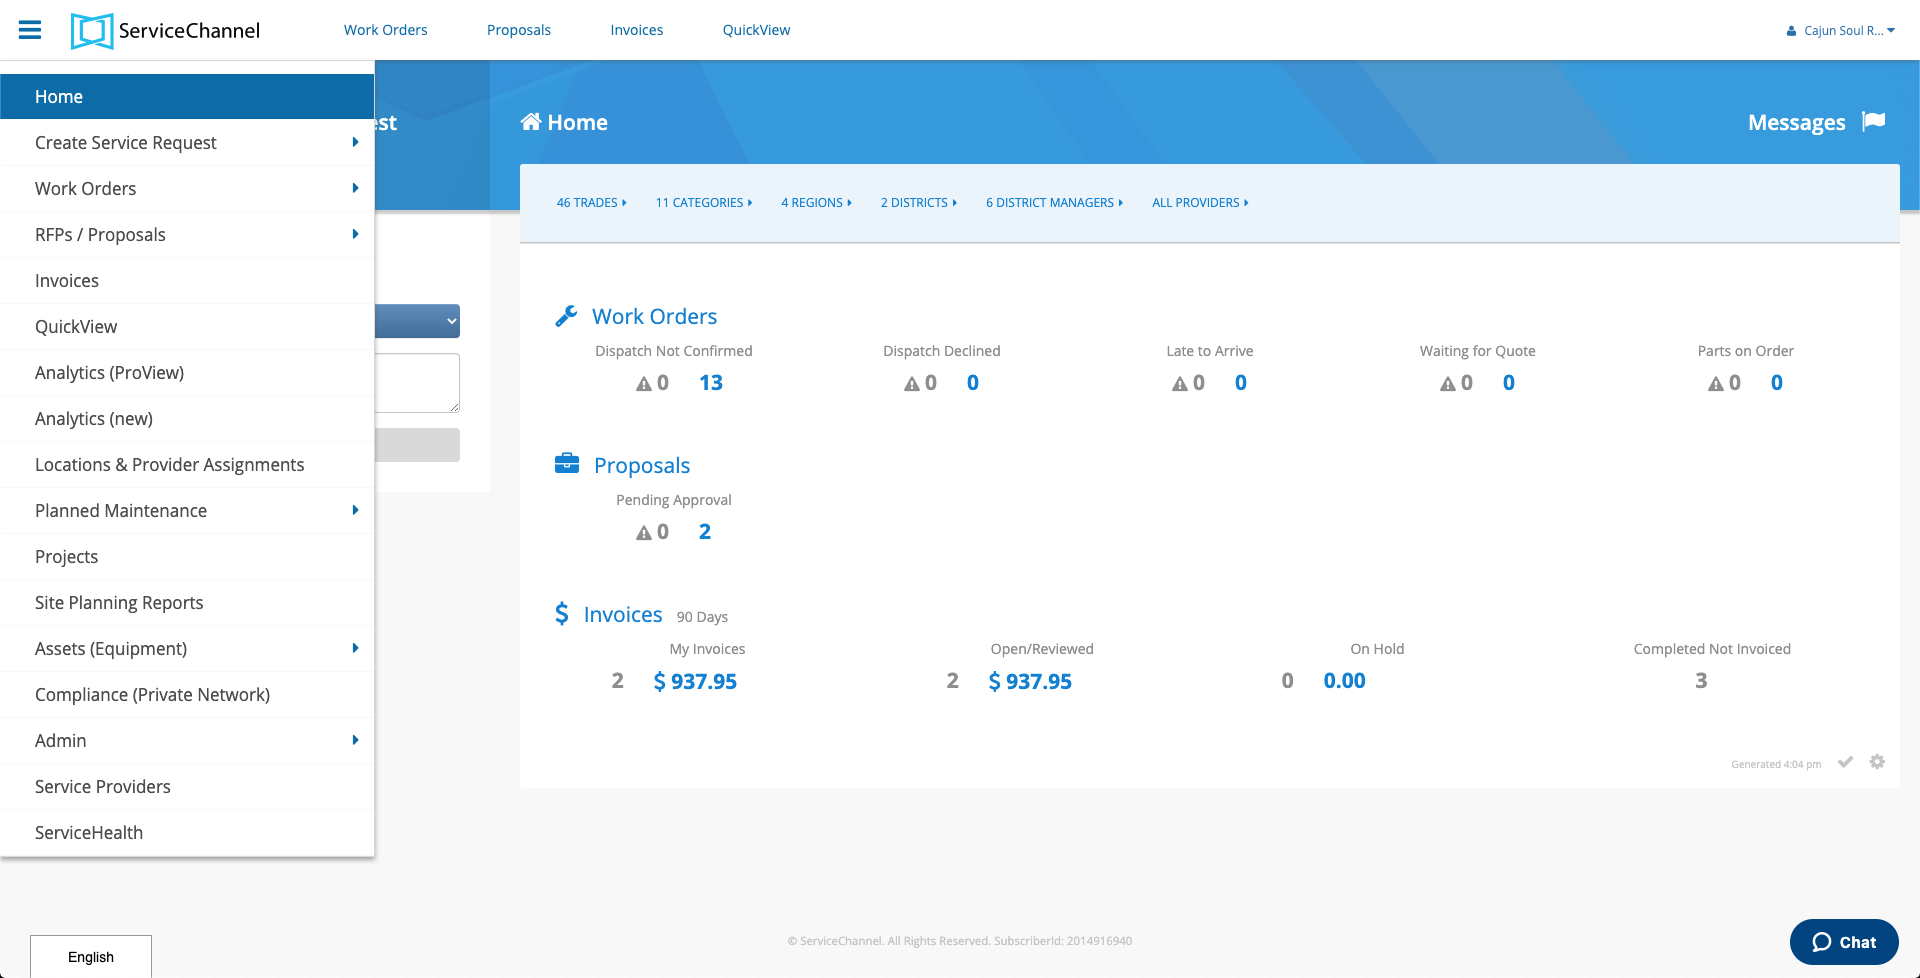
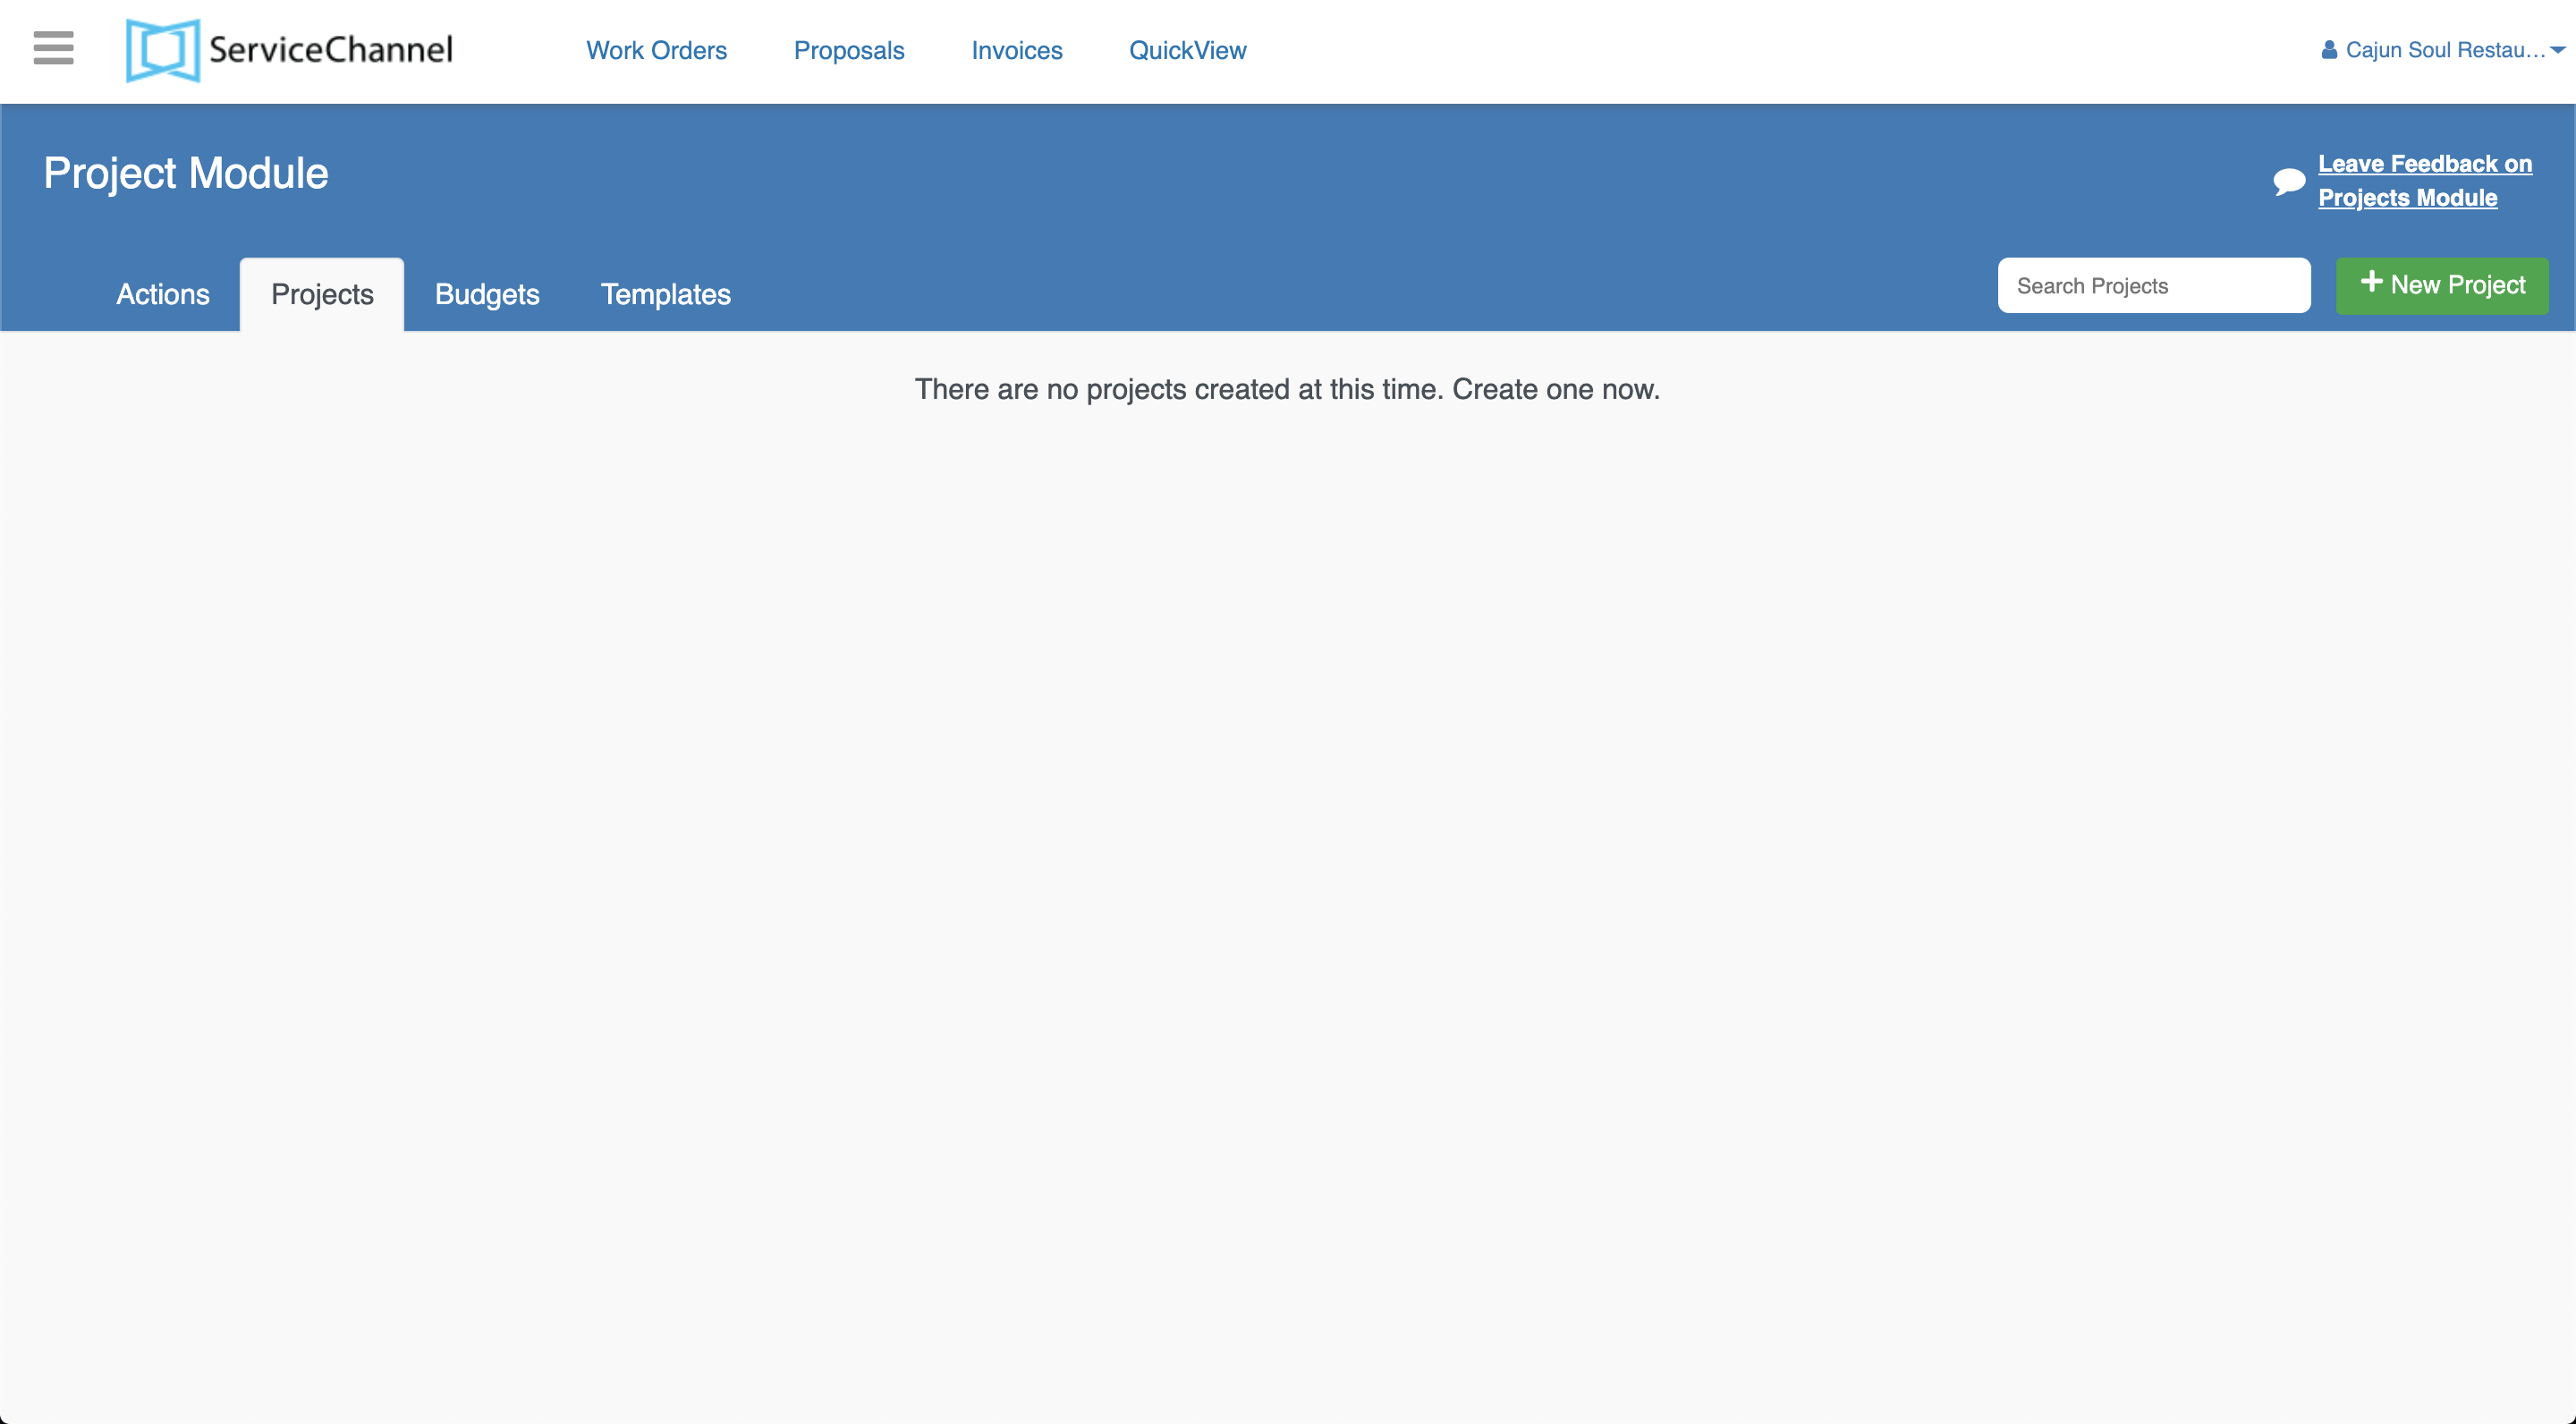
2. Click Projects to enter the Projects Module. You will land on the Projects Module homepage which is Projects Tab.
Navigating Projects Module
When entering the Projects Module, the default landing page is the Projects Tab. From there, you can track, update, and create projects for a specific location. There are five tabs in the Projects Module that perform different tasks and have various responsibilities. The tabs are:
- Approval Required: Projects that require your review and approval or rejection. You can use the Filter By to sort projects based on:
- Project ID
- Project Status
- Project Category
- Project Name
- Locations
- Budget

- Programs: Access to current information on Multi-Programs. for multiple locations. When programs are entered, you can use the Add Filter to sort programs by:
- Program Name
- Program ID
- Program Manager ID
- Scheduled Date
- Projects Tab: Access to current information on individual projects at a single location. When projects are entered, you can use the Add Filter to sort projects by:
- Project Name
- Project ID
- Location
- Project Manager
- Scheduled Date
- Tasks: Individual tasks from projects and programs are viewable and can be dispatched out in bulk when tasks are ready to be issued to the dispatched to external technicians. Tasks that are already assigned will have a work order number underneath the task name. You can use the Filter By to sort tasks based on:
- Call Date
- Project Type
- Program Name
- Project Status
- Project Category
- Project Name
- Trade
- Task Status
- Budget
- Project ID
- Locatons
- Project Manager

- Budgets: Creating and managing project budgets. The total cost of the all the projects that are associated with a specific budget is shown. You can use the Filter By to sort budgets based on:
- Start Date
- Budget Status
- Budget Name
- End Date
- Batch History: Using the bulk upload features creates a batch history report about the outcome of each batch. Each batch history provides detailed information along with its own batch ID. You can download the results to a spreadsheet.

- Click the Batch History tab to view the batches.
- Locate a batch history from the list and click the 3 vertical dots under the Actions column.
- Click the Download Results link to download the batch.

Viewing Projects Module in Analytics
The Projects Module is in communication with Analytics where you can utilize the Projects Dashboard - All Projects to analyze projects from different perspectives, discover various data findings, and support choices made in regards to each project.