Adding Locations Using the Planned Maintenance Template
- Joseph Yarborough (Unlicensed)
- Anastasia Medovkina (Deactivated)
- Jing Tong (Unlicensed)
- Anastasiya Dashuk (Unlicensed)
Planned Maintenance Locations
If you have more than a few Locations to add to a PM Service, it may be quicker to upload them using the PM Service Template. Remember that the system does not allow locations to be added to more than one Frequency under each PM Service to prevent duplicate work orders for the same service type. You can also add locations manually if you have a small number that need to be added.
Mac Specific
- Open file in Number
- Hover over Export
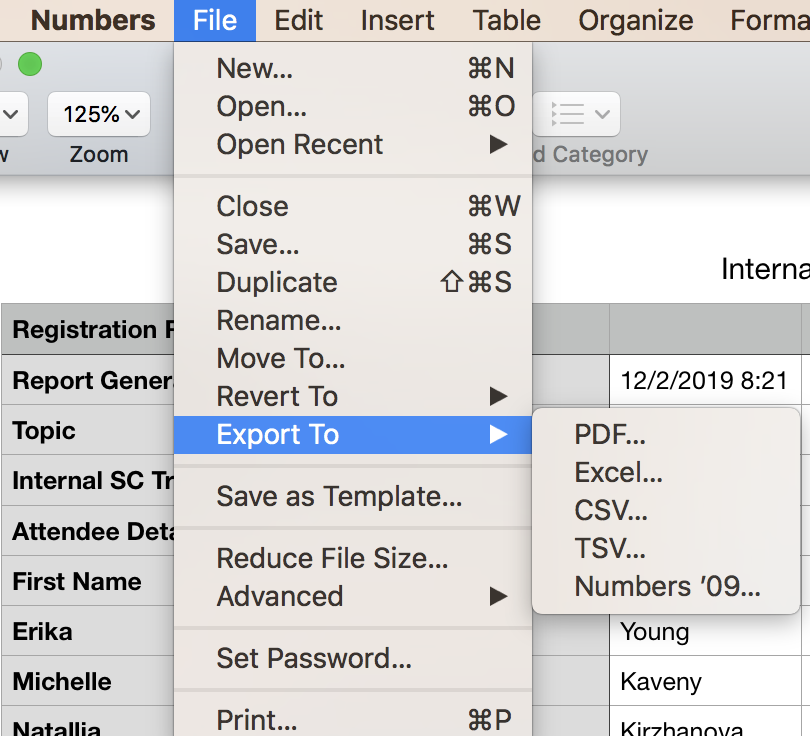
- In the submenu that appears, choose CSV
- Click on Advanced Options to show the Text Encoding dropdown
- Select Unicode (UTF-8) from the dropdown menu
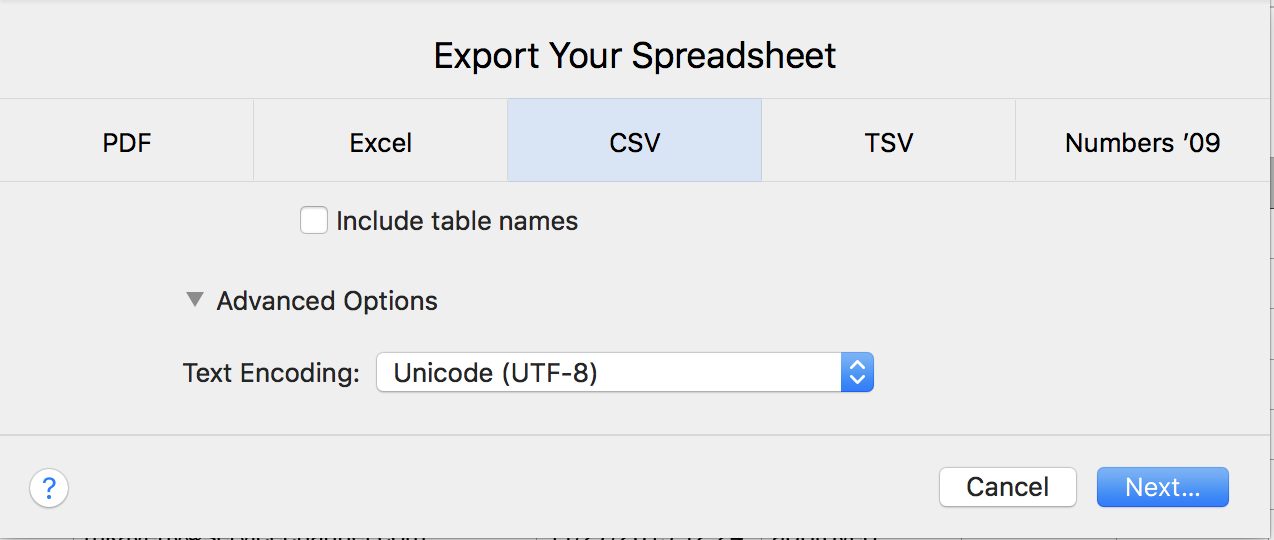
- Click Next Export!
Google Sheets
- Click File
- Click on or hover over Download As
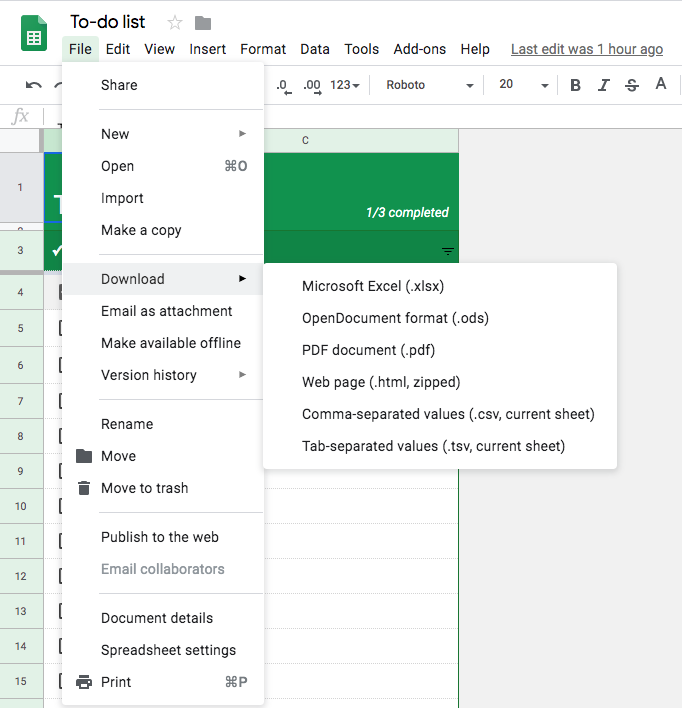
- Choose the option Comma-separated values (.csv, current sheet)
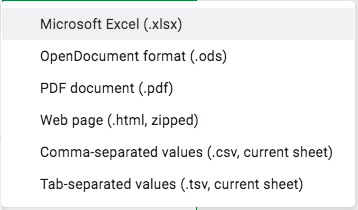
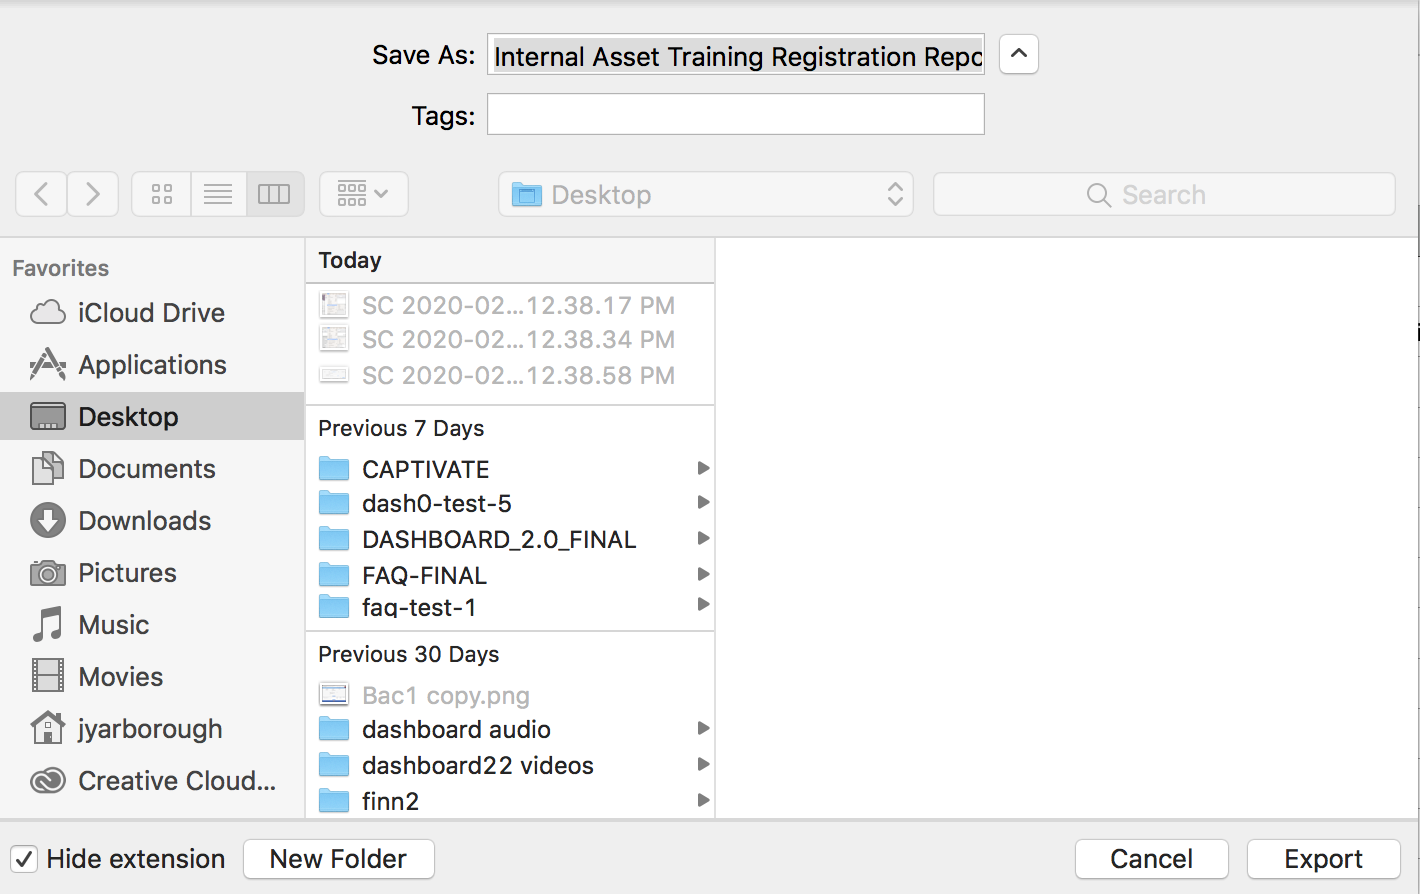
- After clicking on that option, your file will be automatically downloaded to your computer
- Navigate to PMs > PM Service.
- Click Frequencies in the Actions column for the PM Service you wish to add to a Location. The Frequency List for the selected PM Service will display.
- Click Locations in the Actions column for the Frequency you wish to add a Location. The Locations page for the PM Service and Frequency will display.
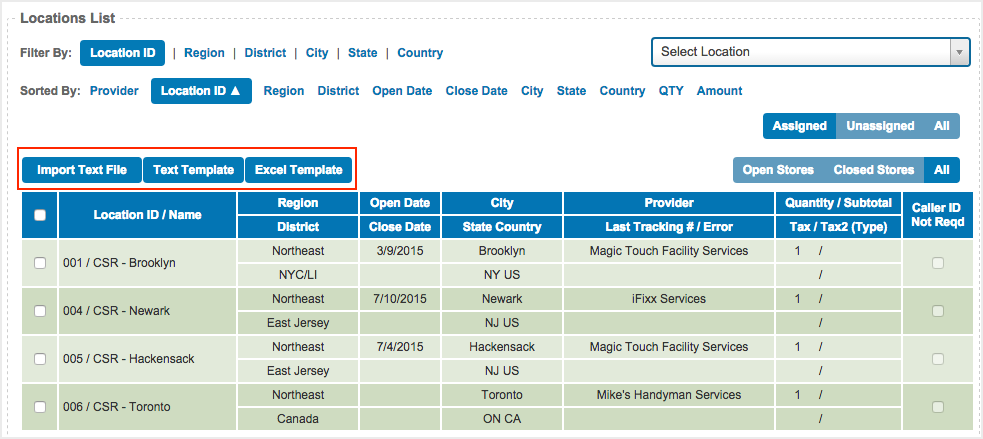
- Click Excel Template above the header bar in the Locations List at the bottom of the page. This will download a blank Excel template to your hard drive.
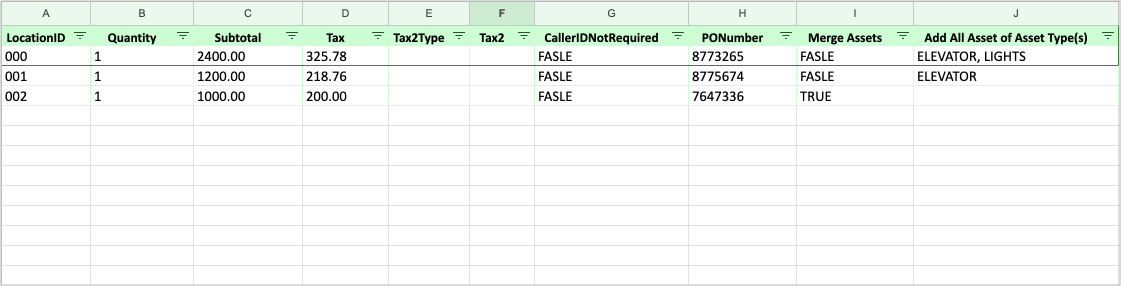
Fill in the following for the locations you would like to add.
LocationID (required): Enter the exact LocationIDs for the locations you wish to add in this column.
Add each location on a separate line in the spreadsheet.
- Quantity (required): Enter the number of work orders for each locations, which is usually one (1).
- Subtotal (required): Enter the agreed upon price or NTE amount for the service.
- Tax (required): Enter the tax in this column, if applicable. If there is no tax, enter 0.00 in the column.
Tax2Type: This column can typically be left blank (mainly used for Canada).
Tax2: This column can typically be left blank (mainly used for Canada).
- CallerIDNotRequired (required): If you allow the service provider to call into the IVR from any phone number (not just restricted/blocked), enter TRUE in the last column. If IVR is restricted and a telecom file is loaded, then this does not apply, so enter FALSE.
PO Number: Enter the work order purchase order number. It will appear on the generated work order for a specific location.
Contact your ServiceChannel manager to have the Merge Assets and Add All Assets of Asset Types columns available in the template.
Merge Assets: Enter TRUE to merge all assets from a specific location to generate one PM work order for all assets.
Enter FALSE if you do not want to merge the assets.Do not leave the Merge Assets field blank. Otherwise, the template will fail to upload.
Add All Assets of Asset Types: Enter the name of the asset type. All assets belonging to the specified types will be merged into a single PM work order for the specified location.
Use a comma to enter more than one asset type name in the same cell. For example: Air Fryer, Back Area, HVAC. Leave the field blank if you do not want to attach all assets of the type to a work order.The primary or additional trade of the asset type should match the trade of the PM service for the template to be loaded successfully.
- Ensure that all columns are in Text format, then Save the template as a tab delimited text file.
- When ready to import the Locations, click Import Text File. Your file will be validated for errors and you will be given the option to Submit or Discard.
- If any errors found during import will be displayed so you can fix them. Click Discard to fix the errors and upload the template again.
- If no errors are found, click Submit to update your locations. Your newly added locations along with pricing will appear in the Locations List at the bottom of the page.
Exporting Planned Maintenance Locations for Editing
- While on the Locations page for the PM Service you wish to modify, check the boxes for the Locations you wish to modify.
- Click Export (X) above the header bar in the Locations List at the bottom of the page. This will download a pre-populated Excel template containing the locations and pricing that you selected. In the screenshot below, three (3) locations are selected, so the Export button is updated to Export (3).

- While the Locations you wish to modify are selected, click Unassign (X) to remove the locations from the PM Service. If you do not unassign the locations, the system will think you are attempting to upload duplicate locations and will give an error.
- Modify the locations as required following the instructions above for adding locations using the PM Service template.
