Each client that you work with may have different insurance requirements and may require different minimum amounts for various types of occurrences.
A client may require any or all of these four types of insurance:
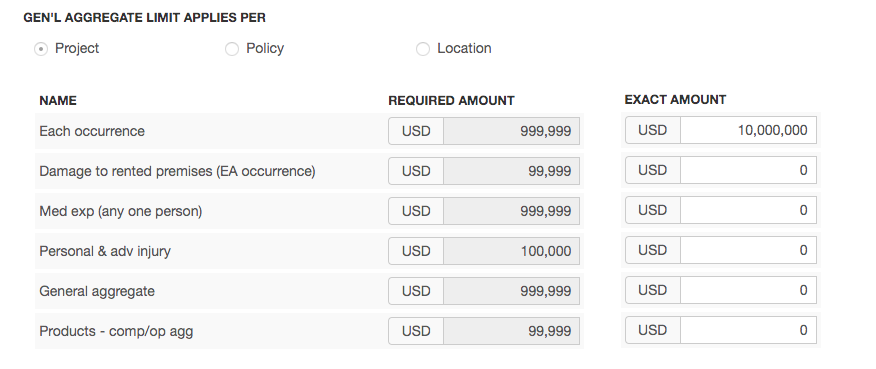
General Liability - A client may require an Occurrence or Claims-made coverage, and specify the required amount for each of the following:
- Each occurrence
- Damage to rented premises (EA occurrence)
- Medical expense [Med exp] (any one person)
- Personal and advertising injury (Per adv injury)
- General aggregate
- Products - completed operations aggregate (Products - comp/op agg)
A client may require the General Aggregate Limit to apply either Per Project, Policy, or Location. A client may also require Additional Insured and/or Waiver of Subrogation endorsements.
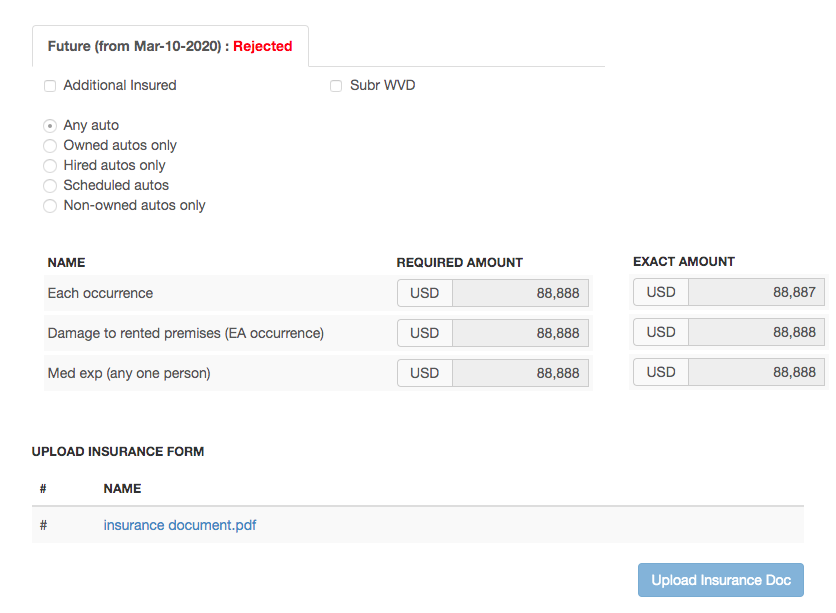
Auto Insurance - A client may require insurance for any one of the following type of automobiles: any auto, owned autos only, hired autos only, scheduled autos, or non-owned autos only, and specify required amounts for the following:
- Each occurrence
- Damage to rented premises (EA occurrence)
- Medical expense [Med exp] (any one person)
Umbrella Liability/Excess Liability - The coverage required could be either Umbrella or Excess Liability, and could be on a Per Occurrence or Claims-Made basis. Specific amounts will be specified for Each Occurrence and Aggregate.
Workers Compensation and Employers’ Liability - The coverage required could be either Per Statute or Other type, with specific amounts mentioned for
- EL Each Accident
- EL Disease - each employee
- EL Disease - policy limit
The description required by the client appears in the Description of Operations/Locations/Vehicles field and the required address appears in the Certificate Holder field.
Viewing Insurance Requirements and Drafts
Within the Clients tab of your Fixxbook account, you may view the insurance requirements for a client in the respective page of each client. From the left menu Insurance Documents, you can add insurance certificates and send them to your client for approval.

Completing Insurance Requirements
For each client, you need to fill in the required sections and upload your insurance certificates. You may upload certificates at your convenience and save them as draft until you are ready to send the certificates for approval. After the client approves your certificates, the certificates appear in the Effective Now tab.
In case a client rejects an insurance certificate because of a different coverage basis or less than required carried amount, the Draft tab shows Effective Now: Rejected. You will need to provide necessary insurance certificates and resend for approval.
Should a client activate a different set of insurance requirements for a future date, in addition to a set of currently effective requirements, you may also upload your certificates for the future and send them for approval.
Once you update details for a specific insurance type for a client, you may easily populate the same details for another client. Find the Copy Details From drop-down list under the insurance type, select the desired client name, and click Save. The required details are added to the fields. However, you still need to upload a unique insurance document with the current client listed as a certificate holder.

The steps listed here are specific to clients that have activated insurance requirements.
- In the top navigation bar, click the Clients tab.
- Open the Clients drop-down list, and select the desired client. The requirements for the selected client appear.
- In the left navigation menu, click Insurance Documents. The Insurance Documents page displays.
- For an insurance type required by the client, enter the following information:
- Enter the carrier name, policy number, policy effective date, and policy expiration dates in the respective fields.
If your client has set a minimum amount for a specific coverage type, you must met or exceed that amount.
Should you need to change the decimal point (.) to decimal comma (,) on monetary amounts, contact your ServiceChannel representative.
- For each occurrence type, enter the amount carried in your insurance certificate.
- Upload insurance certificate:
- In the Upload Insurance Form section, click the Upload Insurance Doc button. The Upload Insurance PDF pop-up window appears.
- Click the Choose File to Upload button, and browse to the location of the desired file, and select the file.
- Select the boxes next to the types of insurance for which the document applies.
- Click Apply File. The uploaded file appears in the Upload Insurance Form section of the draft.
- Repeat steps 5 and 6 for all required insurance types.
- Review your certificate to ensure the Description of Operations/Locations/Vehicles and Certificate Holder fields are as required by the client.
- Save the draft/Send for approval, as desired:
Save as draft:
- Click Save. The draft is saved, and you may send the certificates for approval at a later date.
Send for approval, with certificates meeting required amounts:
- Click the Send for Approval button. A confirmation message appears on the screen that the certificates have been sent for approval.
Send for approval with less than minimum required amounts:
- Click the Send for Approval button. A warning pop-up appears.
- Click Send for Approval. A confirmation message appears on the screen that the certificates have been sent for approval.
- (If applicable) Click the Future (from <date>) tab, and repeat steps 5 - 9 to save insurance certificates for future requirements and send them for approval.
Note: For future requirements, make sure you use the Description of Operations/locations/Vehicles and Certificate Holder address in the insurance certificates from the Future tab under these sections.
The maximum file size to upload documents is 50 MB.
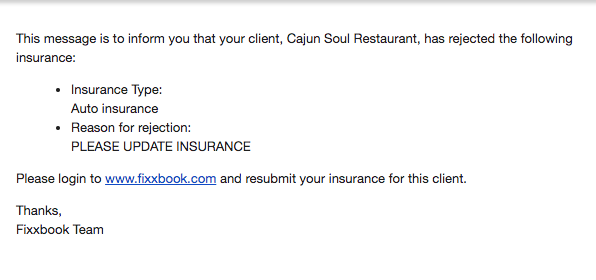
Rejected Policies
In the case where the submitted insurance coverage is rejected, the provider will have to make adjustments to their policy to meet the clients requirements or get a new policy that meets the requirements. Providers whose insurance submission has been rejected will receive an email letting them know that the insurance coverage that they submitted has been rejected.