Areas Tab
- Lamont Eddins
- Caroline Antoun
The Areas Tab allows for adding specified areas into the dashboard that supports the creation of a work order. Adding areas assist with the type of work orders entered in a dashboard. When a work order is created and dispatched, the area on a work order informs the Service Provider where service is needed.
Adding Areas onto the Issue List
An Issue List includes all the areas where work orders could be needed. Any area added using the Areas Tab must be on the Issue List. When an area is entered into the dashboard using the Areas Tab but not included on the Issue List, it will not create a work order.
Important: An area has to be on both the Areas Tab and an Issue List for the dashboard to properly function.
- Navigate to the Edit Dashboard Settings > Areas Tab.
- Under Edit Dashboard Settings, confirm that the correct Dashboard is selected next to Confirm Dashboard.
- To apply changes to a different Dashboard, select the desired one from the drop-down menu, and then click Switch.
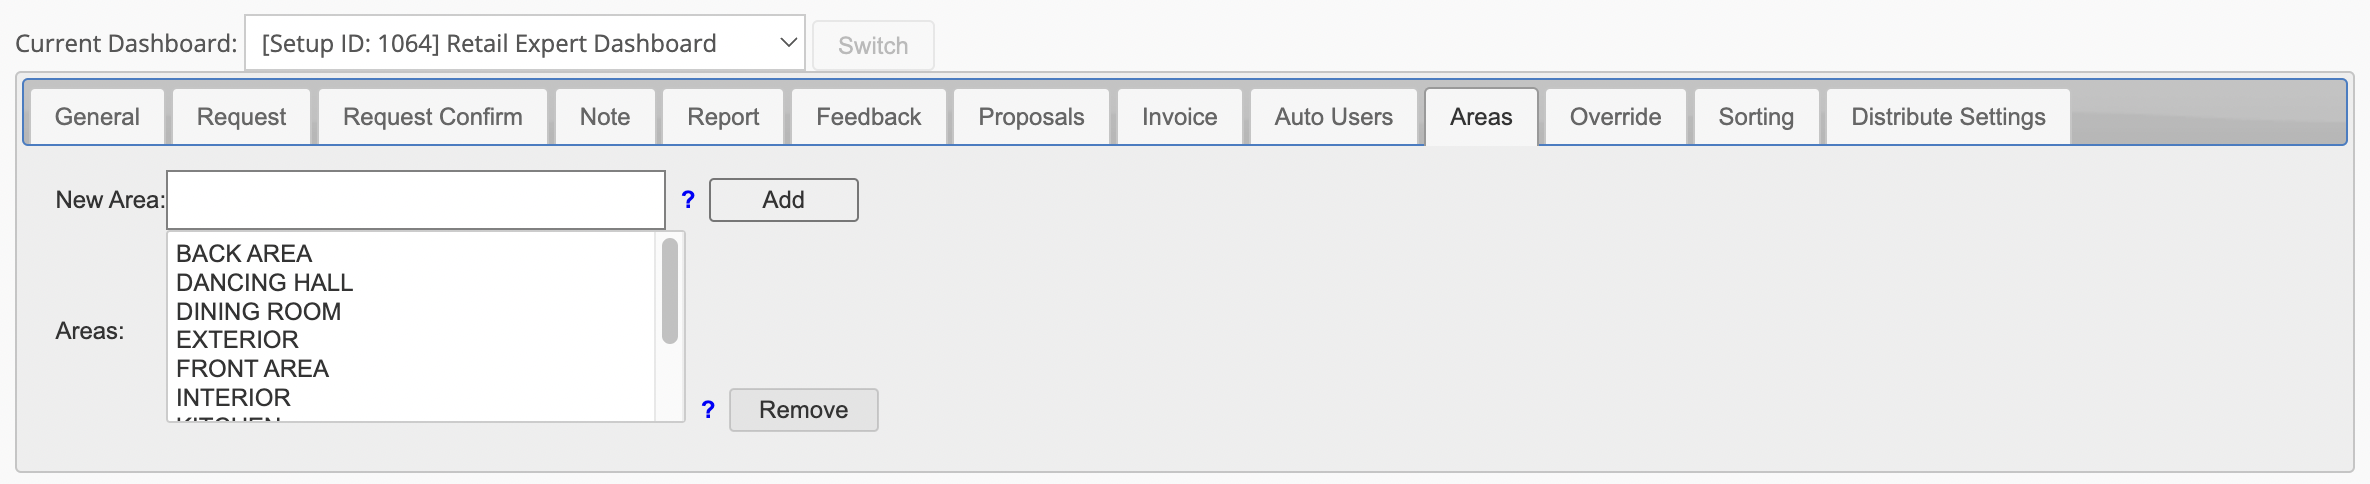
- To apply changes to a different Dashboard, select the desired one from the drop-down menu, and then click Switch.
- In the New Area textbox, enter the Name and then click the Add button. You will see the new area in the Areas section and a message appears on the upper right hand side indicating the change was a success.
You have to also remove the area from the Issue List. Otherwise the dashboard will not function properly.
- Navigate to the Edit Dashboard Settings > Areas Tab.
- Under Edit Dashboard Settings, confirm that the correct Dashboard is selected next to Confirm Dashboard.
- To apply changes to a different Dashboard, select the desired one from the drop-down menu, and then click Switch.
- Under Areas, locate and click the desired name and then click the Remove button. It is no longer in the list and not available to create work orders and a message appears on the upper right hand side indicating the change was a success.