Technician Work Order Assignment Bulk Upload
- Joseph Yarborough (Unlicensed)
- Caroline Antoun
- Anastasia Troichuk (Unlicensed)
Bulk Upload Auto-Assign Rules
In Work Order Assignment, rules can be created to automatically assign work orders to technicians based on locations, trades, and time periods. This time saving feature allows field technician managers to create a set of rules for one or more technicians, one or more trades or one or more locations, and have User Management do the rest.
Note: For each Auto Assign rule that you create, you must enter the Subscriber ID, the technicians email address, the trade, and the subscriber's location where the services are to take place.
- Click the hamburger menu, and navigate to Work Order Assignment under Work Orders.
- Click Bulk Upload.
- Select Sample Template, then launch it in your preferred spreadsheet application.
- Enter the Subscriber ID, Username, Last Name, First Name, Trade and Location for each rule you wish to create.
- Save the document as an XLSX formatted file.
- Click Bulk Upload, then click +Select File.
- Locate the saved template, then click Upload XLSX.
- You can review the last upload results by clicking the Click here to download last upload results, which will download the results of your last uploaded rules.

Note: If you submit an Auto-Assign Rule that already exists, an error will appear in the error column.
Reviewing Current Auto Assign Rules
You can view the current auto assign rules by downloading the Current Rules template, available on the bottom of the Bulk Upload modal. The rules contained within are based on the last auto assign rules uploaded and validated by Service Automation.
- Navigate to Work Order Assignment.
- Click Bulk UpLoad.
- Click Current Rules, which will download a template with the current auto assign rules.
- Open the template in your preferred spreadsheet reader.
The spreadsheet that opens displays all of the auto assign rules that are currently in place.
Modifying Current Auto Assign Rules via Bulk Upload
The auto assign rules created for technicians can be modified using the Bulk Upload template. This includes removing rules for one or more technicians or adding rules for one or more technicians.
- Navigate to Work Orders > Work Order Assignment.
- Click the Bulk Upload button.
- Click the Current Rules Button, which downloads the Current Rules template.
- Open the Current Rules template.
- You can:
- Remove current rules by adding remove next to the rule you want to remove, under the add/remove column;
- Add a new rule by entering the required information, Subscriber ID, Tech Email, Trade and Location;
- Save the template as a .XLSX formatted file.
- Navigate back to the Bulk Upload modal and upload the template.
- To review the modification just made, click the Click here to download last upload results link on the Bulk Upload modal.
- Open the template to review that last rules uploaded.
Mac Specific
- Open file in Number
- Hover over Export
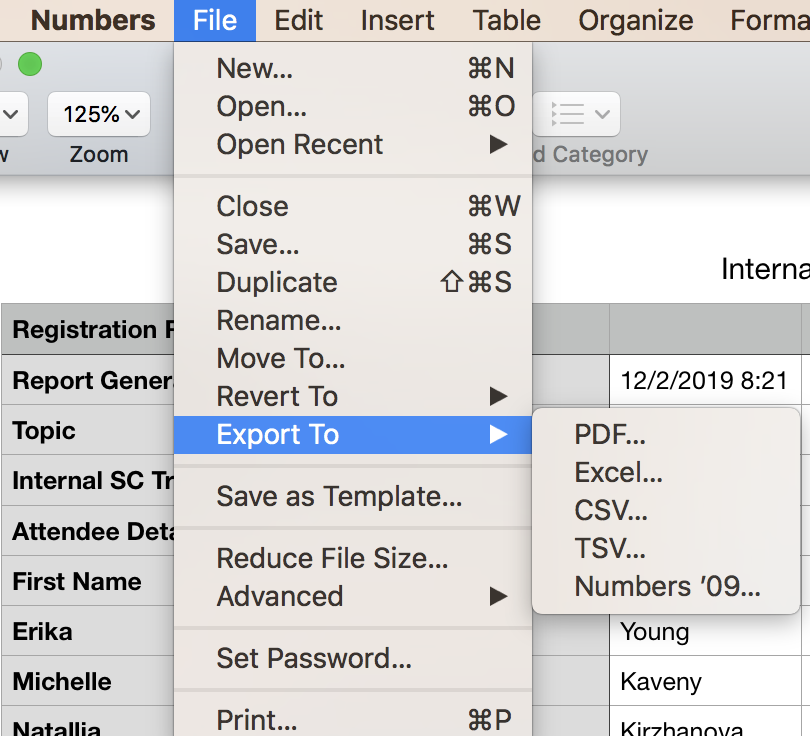
- In the submenu that appears, choose CSV
- Click on Advanced Options to show the Text Encoding dropdown
- Select Unicode (UTF-8) from the dropdown menu
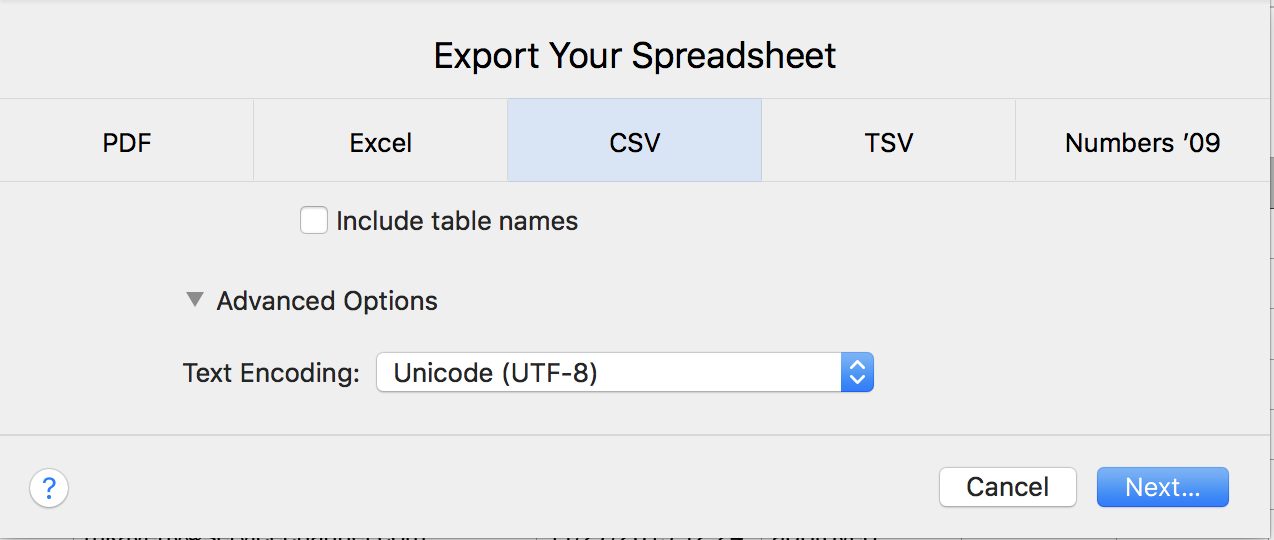
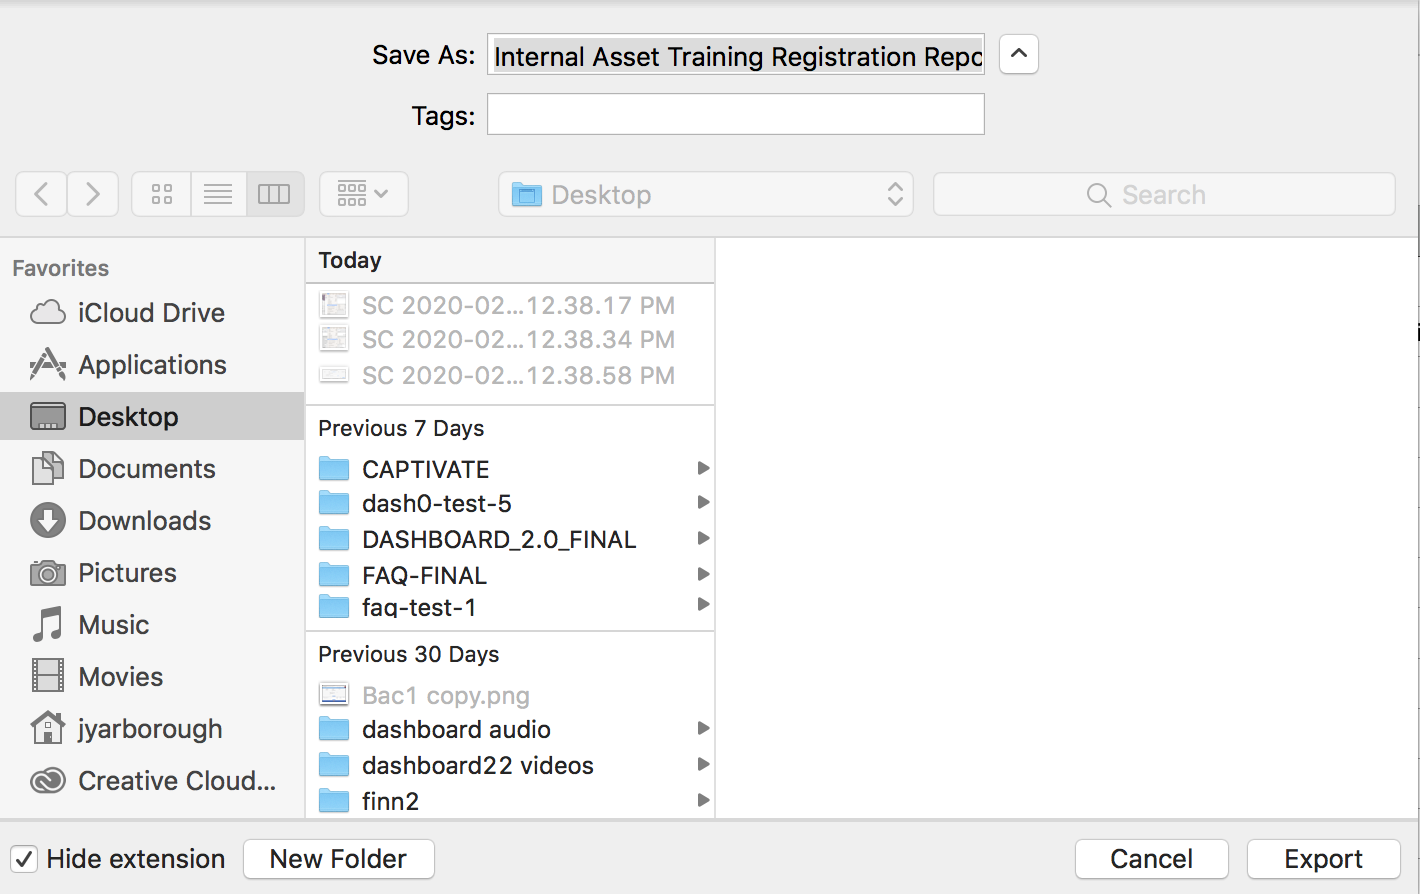
- Click Next Export!
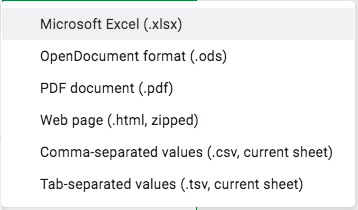
Google Sheets
- Click File
- Click on or hover over Download As
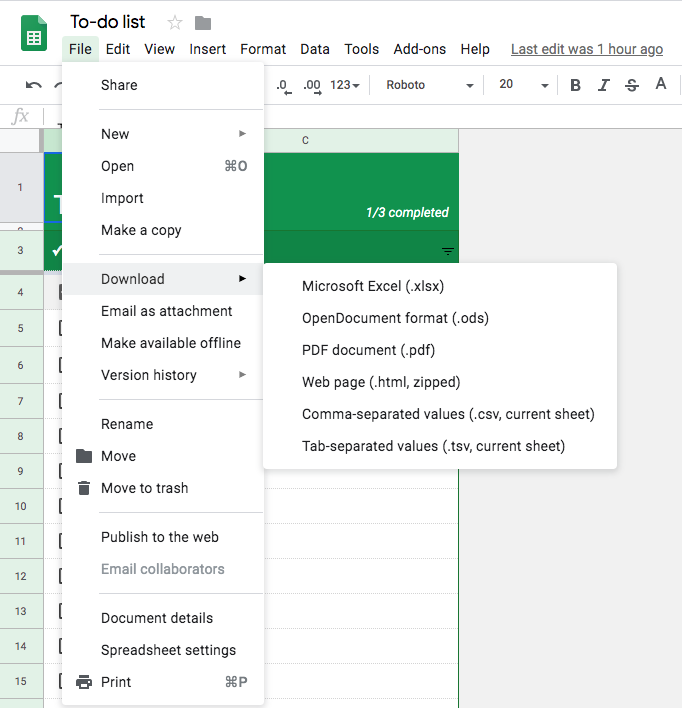
- Choose the option Comma-separated values (.csv, current sheet)
- After clicking on that option, your file will be automatically downloaded to your computer
