Manage Technicians Shifts
- Anastasia Medovkina (Deactivated)
The technician shift assignment guarantees that all tasks and maintenance requests are fulfilled on time.
By assigning specific shifts to technicians, you can know that someone is always available to respond to any maintenance issues or emergencies that may arise during a particular shift.
Setting up shift assignments consists of 3 steps:
- Creating shifts by specifying their start, end time, and days of the week on which shifts go into effect.
- Assigning shifts to existing technicians to create the work schedule.
- Turning on shifts auto-assignment so that work orders are automatically assigned to specific technicians who are on shifts.
Watch our 4-minutes video to learn how to configure technicians’ shifts and auto-assign work orders based on these shifts.
Creating Shifts
All current shift assignments are in the Shifts column of the User Management table.
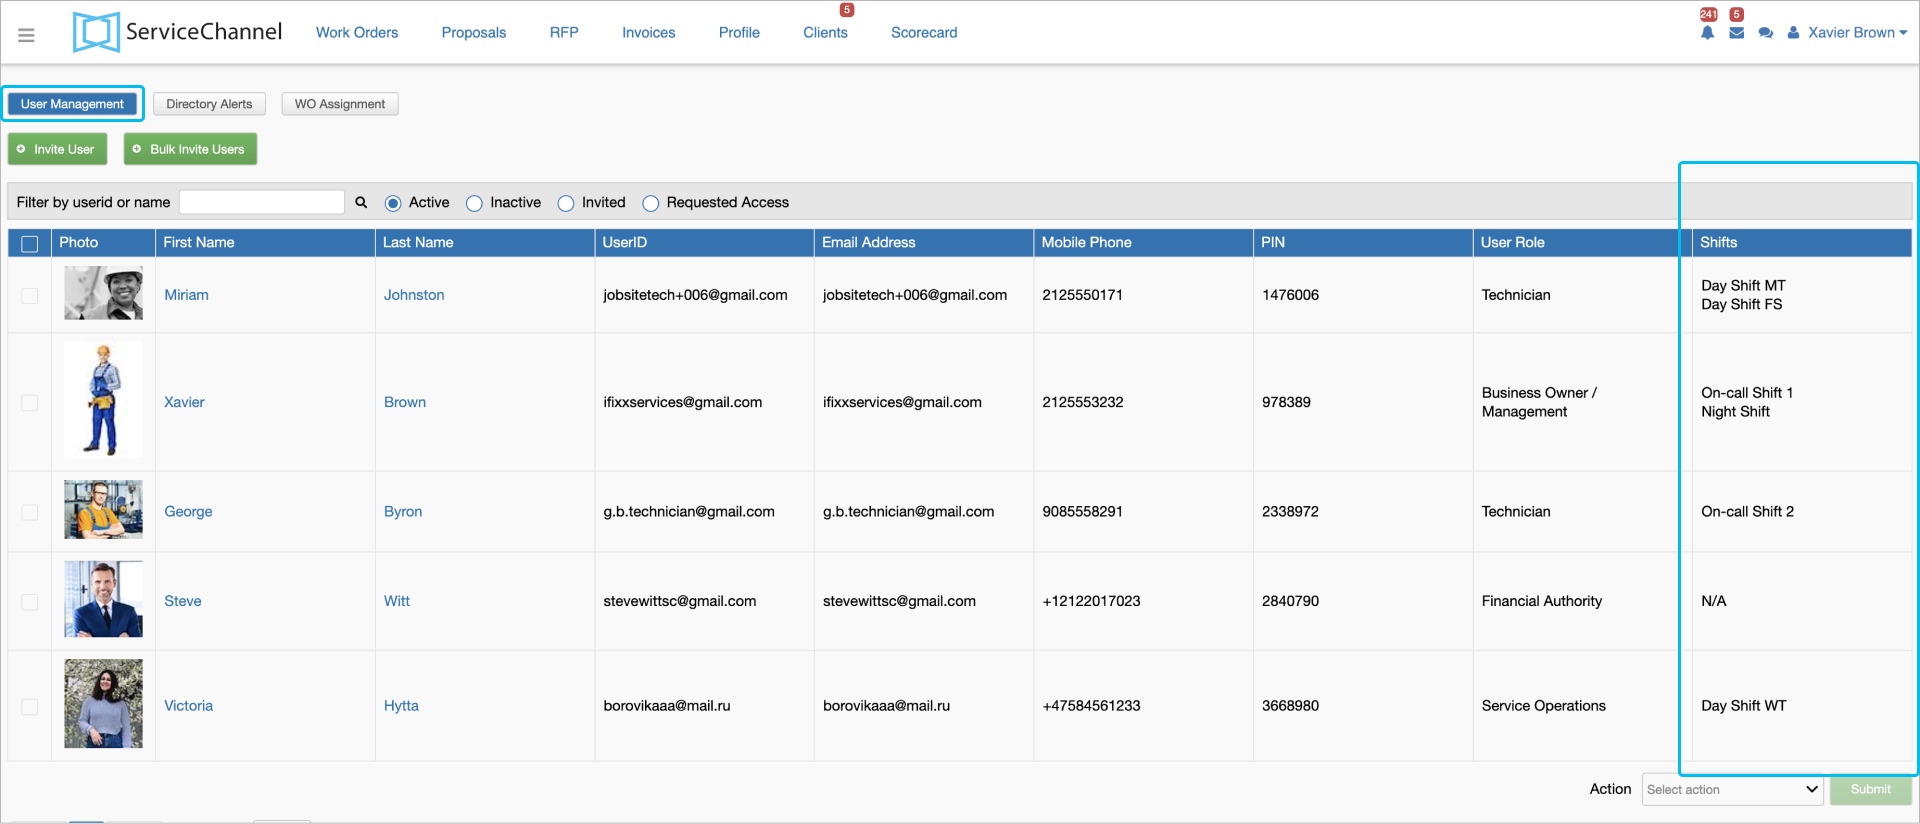
- Click the Hamburger Menu > Administration > User Management.
- Click on the Username to open the Update User page.
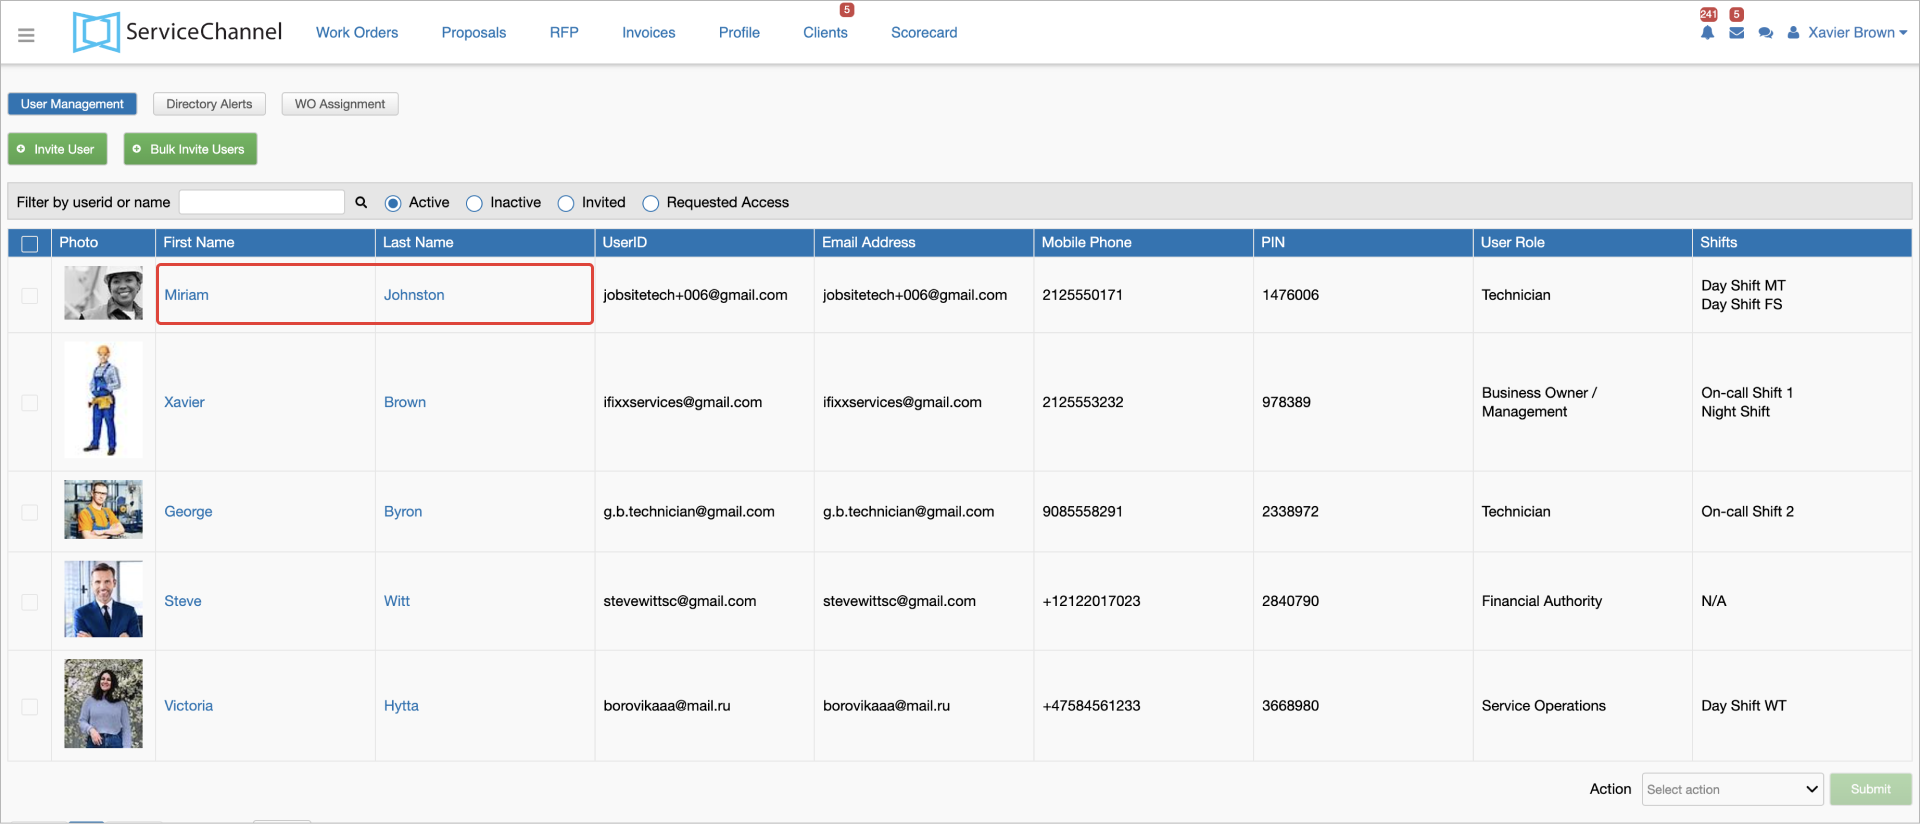
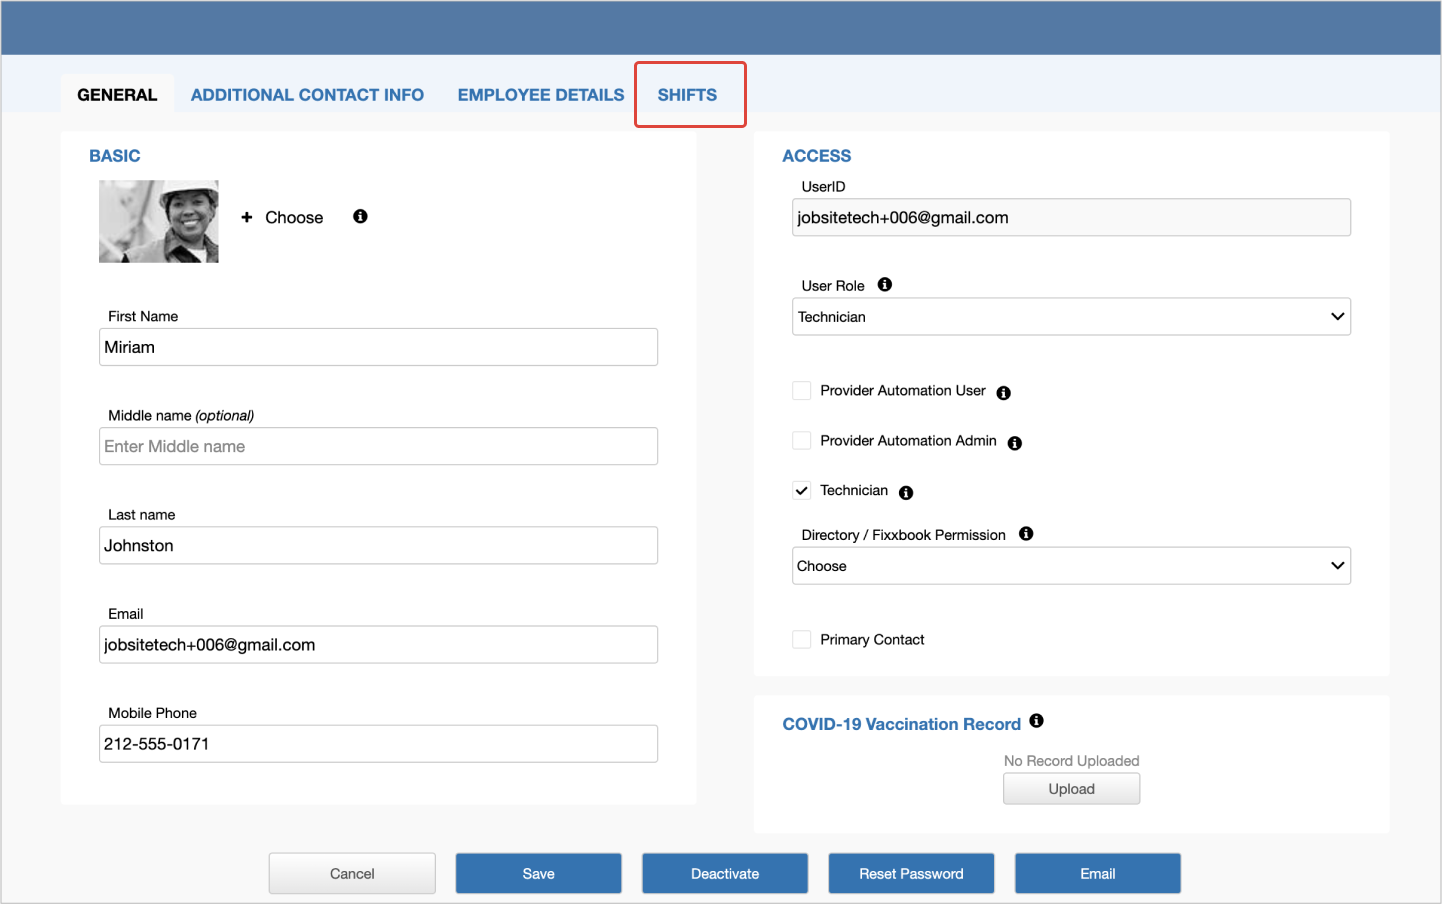
- On the profile page that appears, click the Shifts tab.
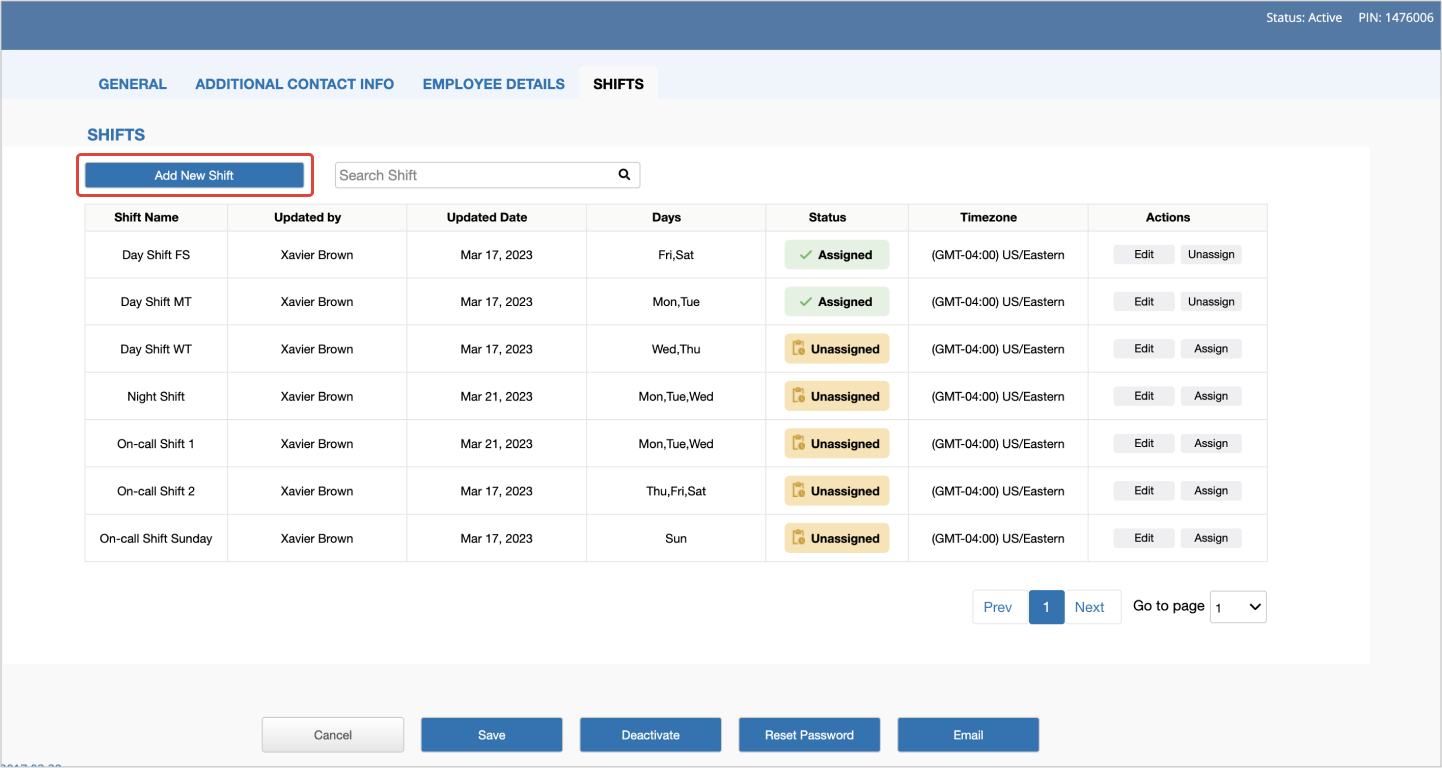
- Click Add New Shift.
- Specify the following information:
- Enter a unique shift name.
- Select the time zone the shift should apply to.
- Select the day(s) of the week the shift goes into effect.
- Enter the start and end time of the shift.
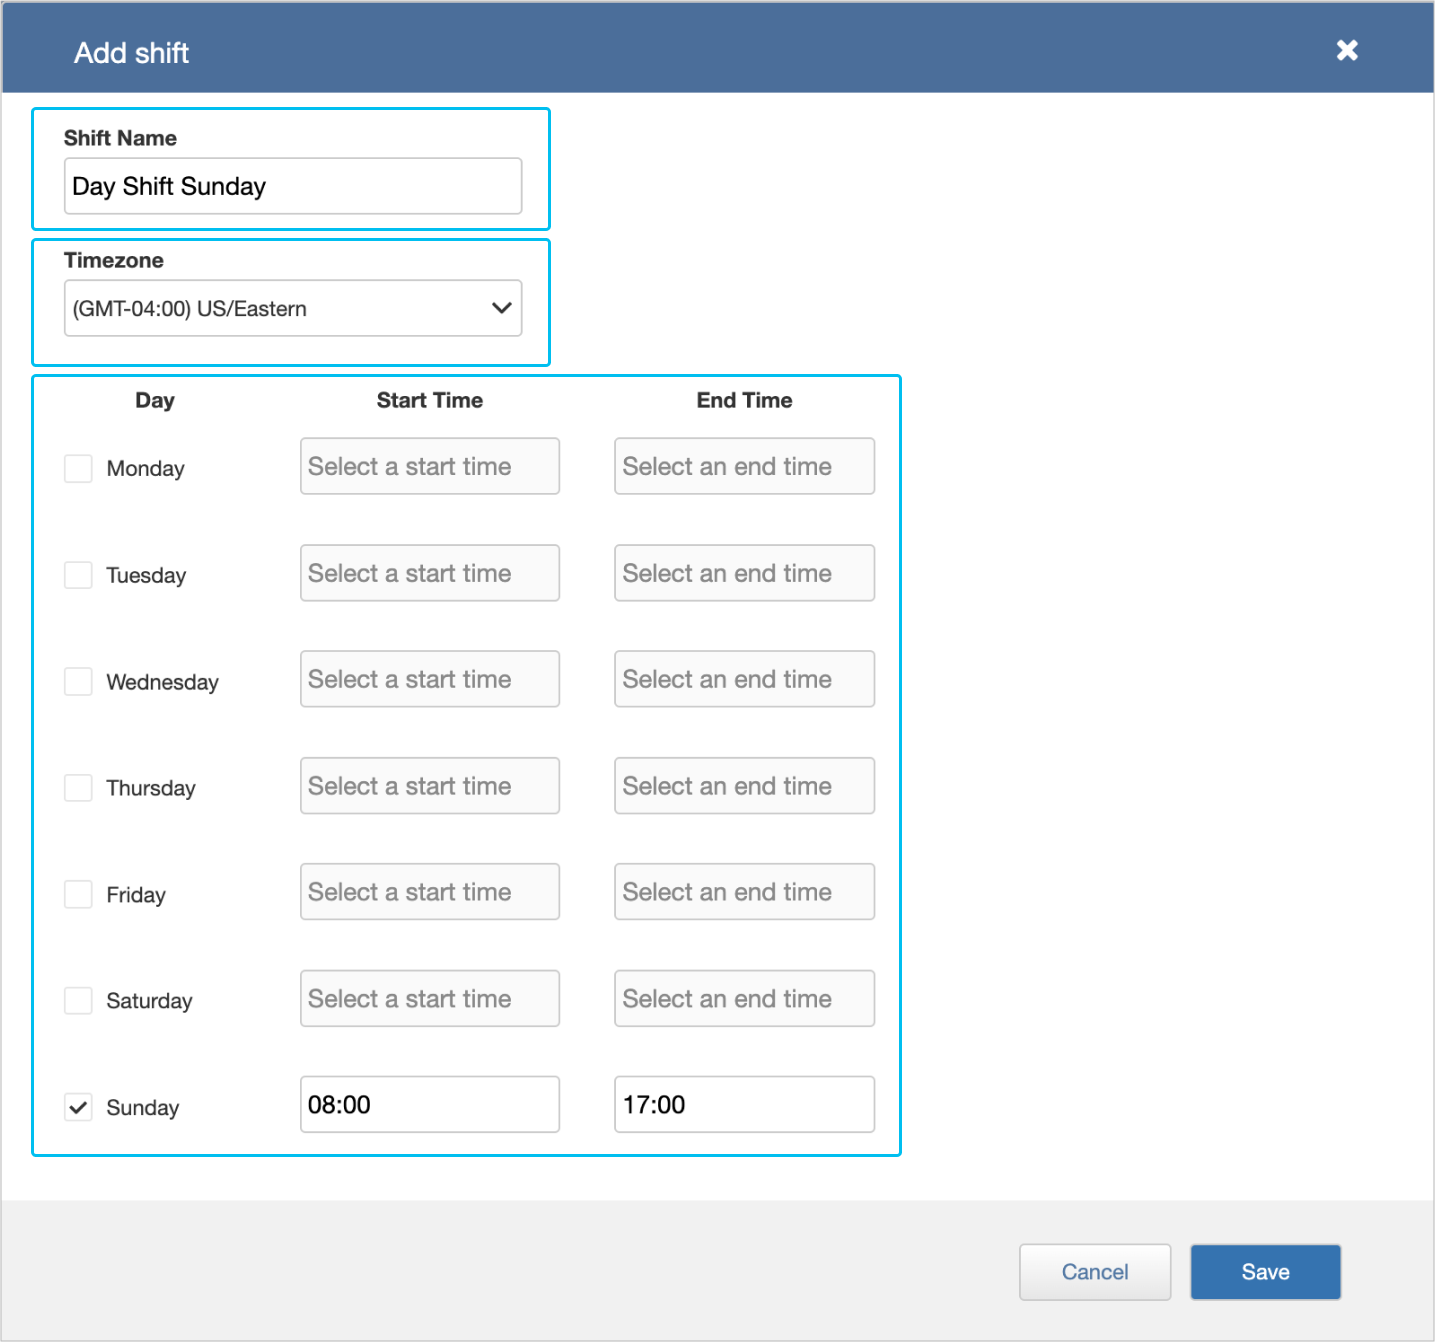
- Click Save.
The new shift will appear in the Shifts table.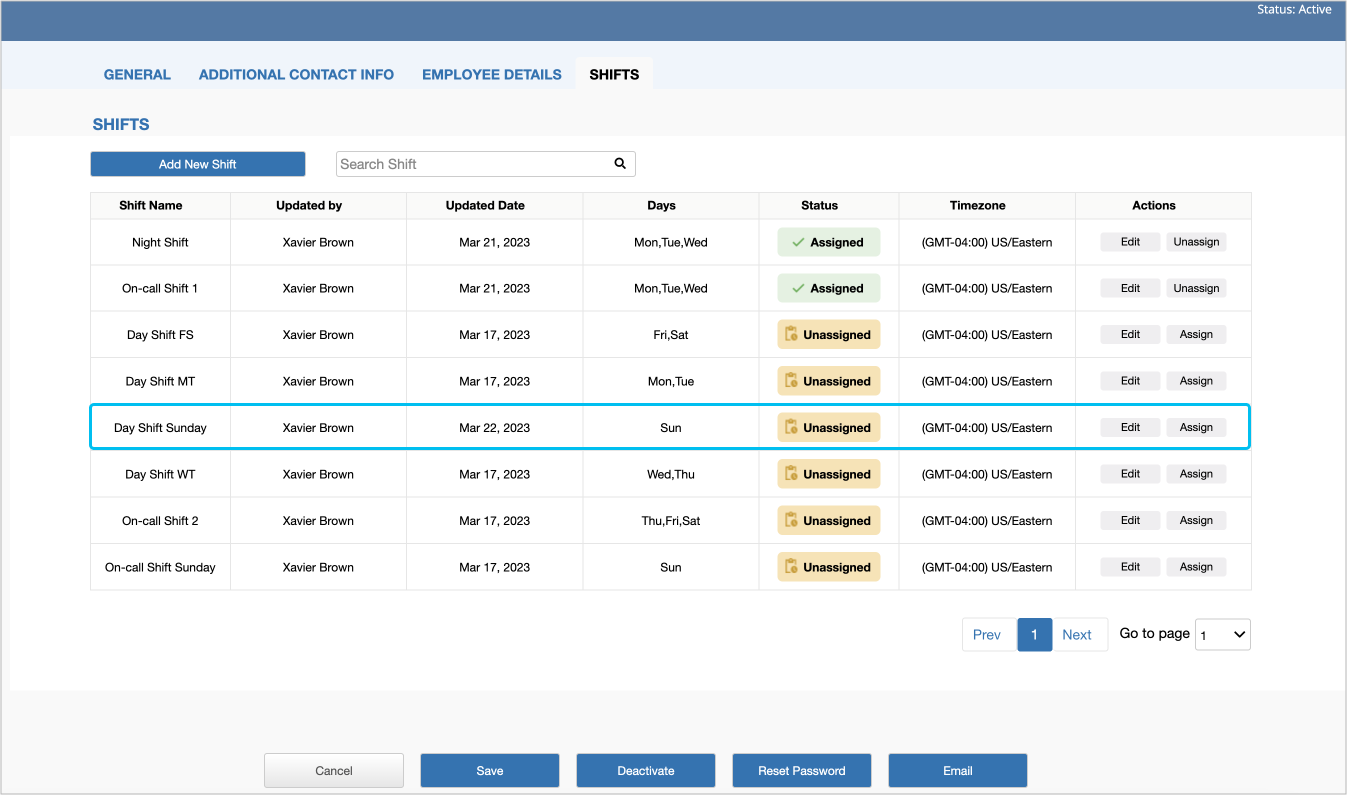
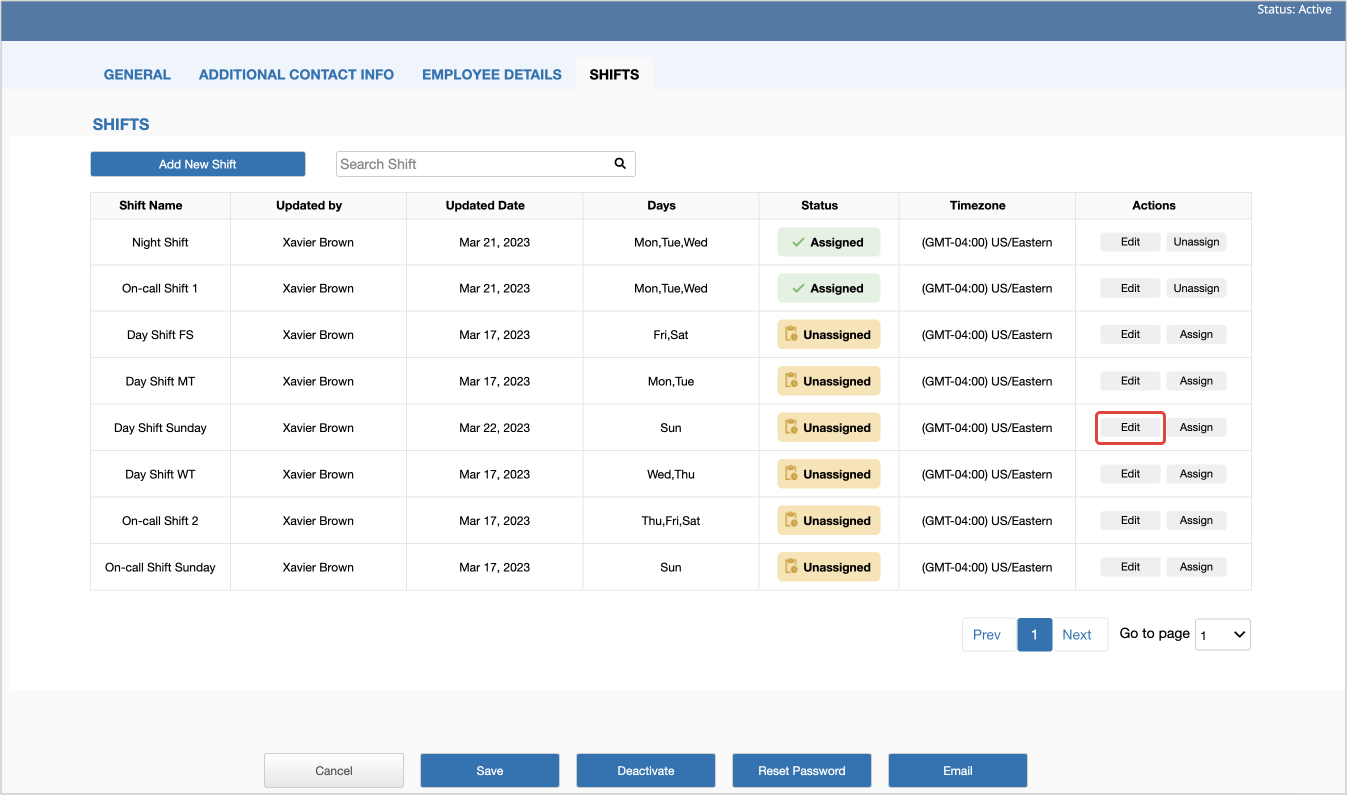
- (Optional) Click Edit in the Actions column of the table to change the shift configuration.
For better navigation in shifts, you can sort the table by clicking on the following column names:
- Shift Name
- Updated by
- Status
- Time zone
In the 4 columns above, you can arrange shifts in alphanumeric descending order, then ascending if the same column is clicked again.
- Update Date. By clicking this column name, you will sort shifts in the date order.
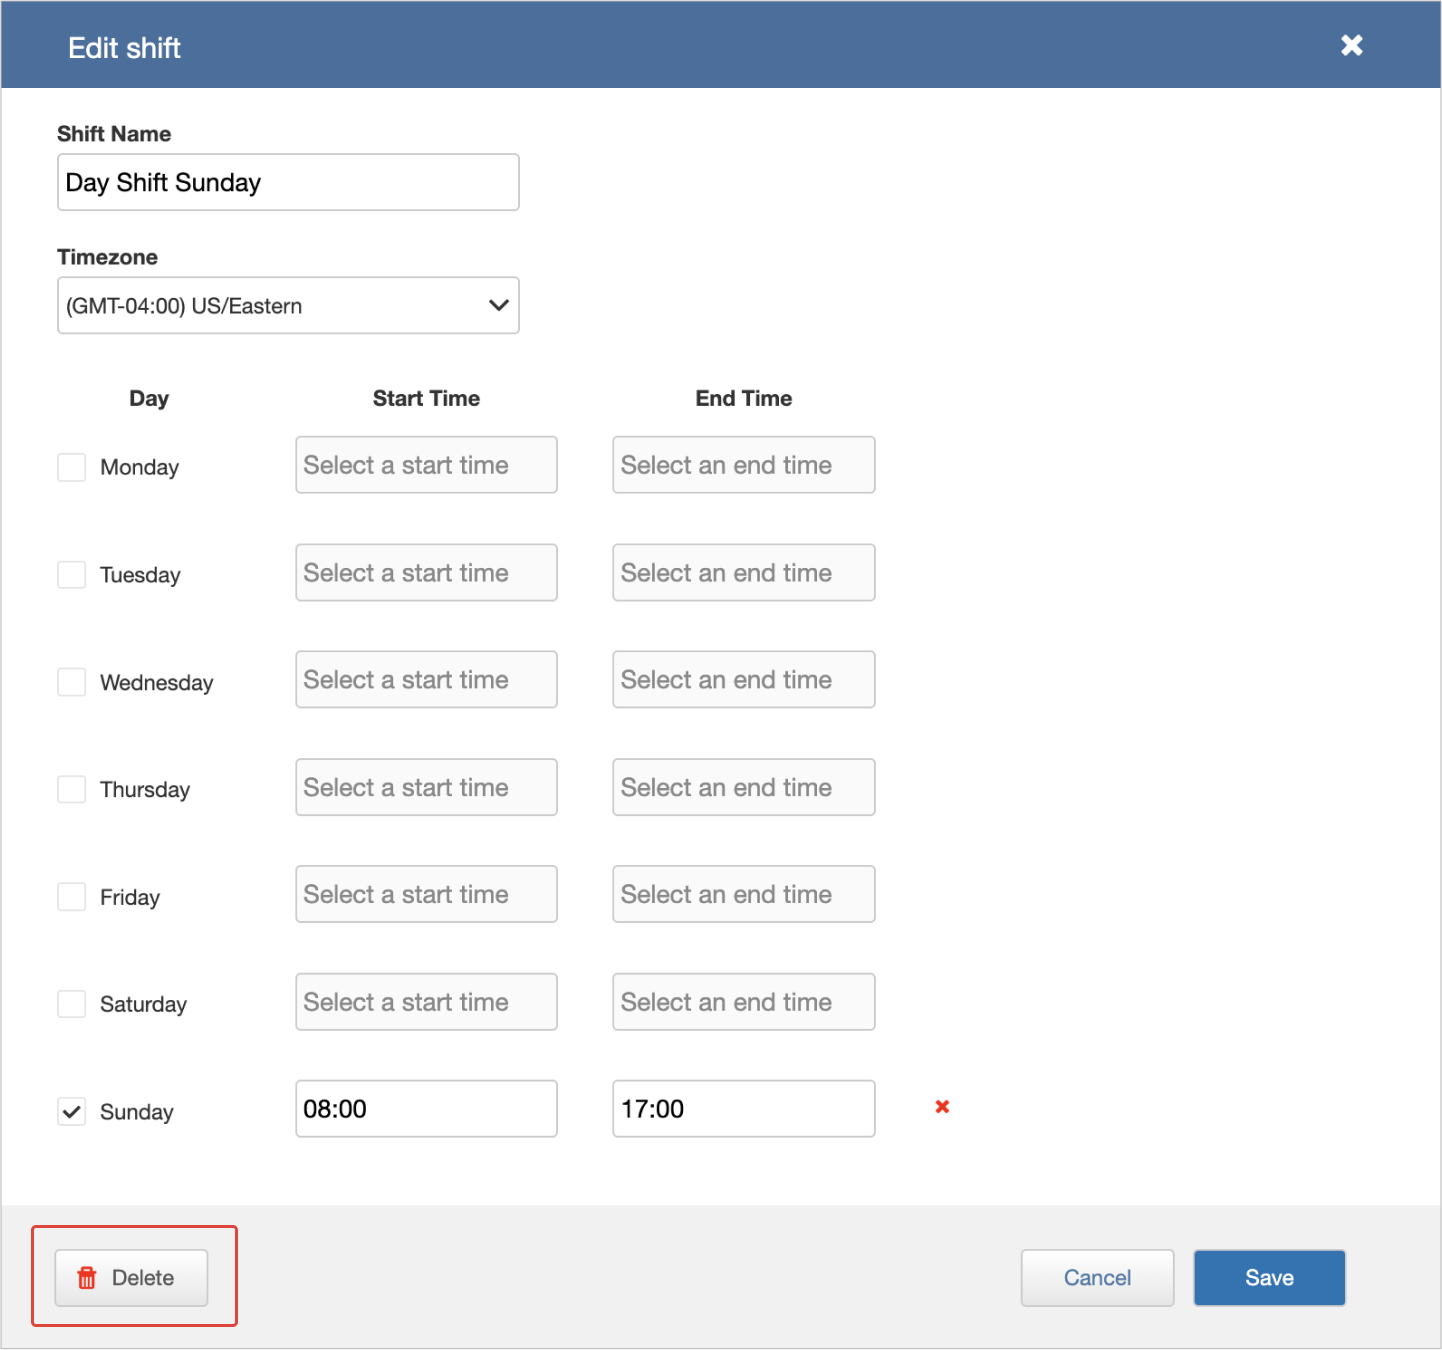
- On the Shifts tab, click Edit.
- Click Delete and confirm your action.
Assigning Shifts to Technicians
When you have shifts, you can assign them to technicians. In tandem with auto-assigning features, shifts ensure that proper technicians are assigned to the work order in line with shift hours.
Note that you can assign up to 3 shifts to 1 technician.
You can assign shifts in two ways:
- Via the Shifts tab on the Update User page
- Via the table on the User Management page
Assigning and Unassigning Shifts to Technicians in the Shifts Tab
- Click the Hamburger Menu > Administration > User Management.
- Click the Username on the User Management page.
- Open the Shifts tab.
- In the Actions column, click Assign.
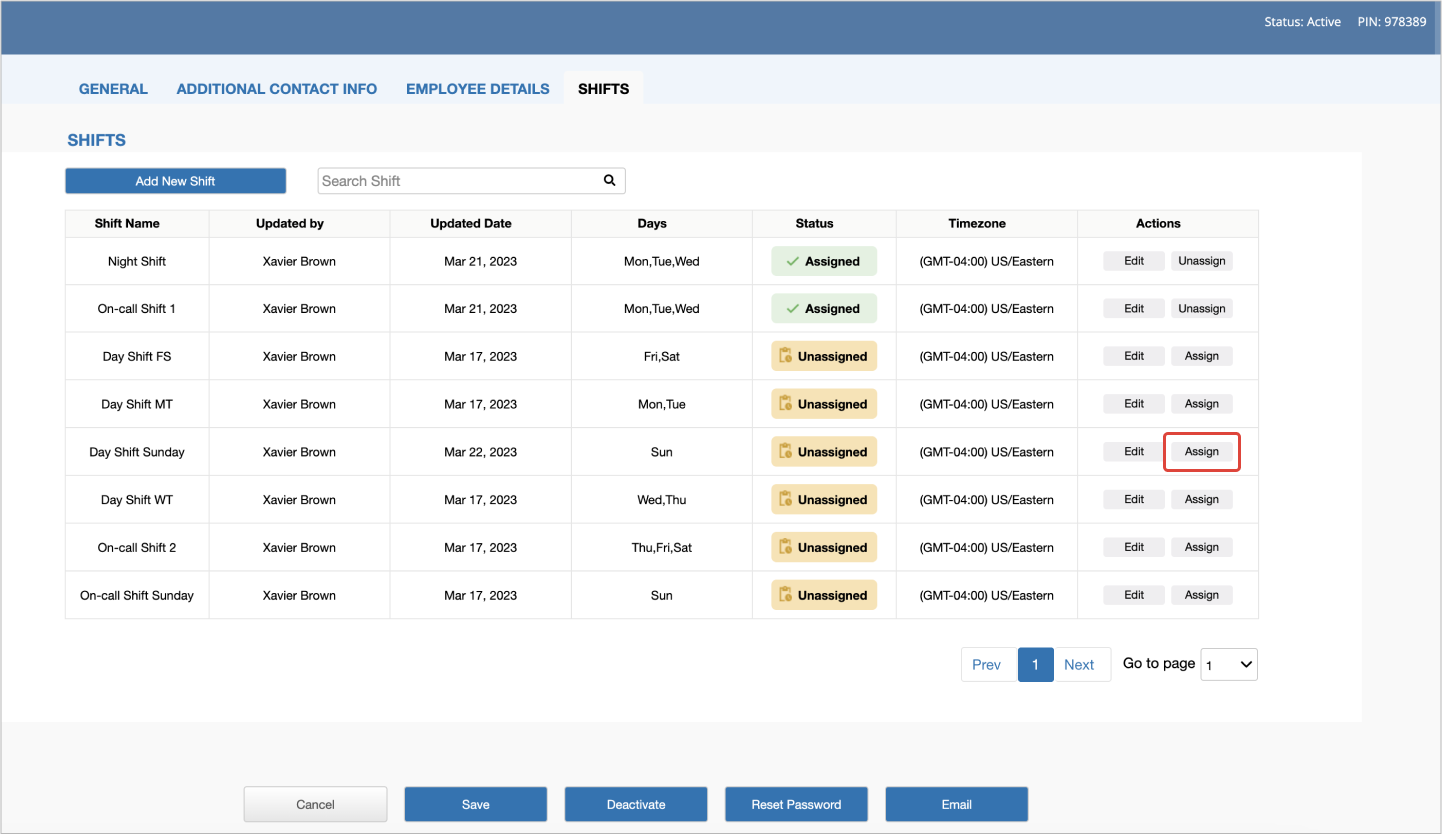
- Click Save at the bottom of the page.
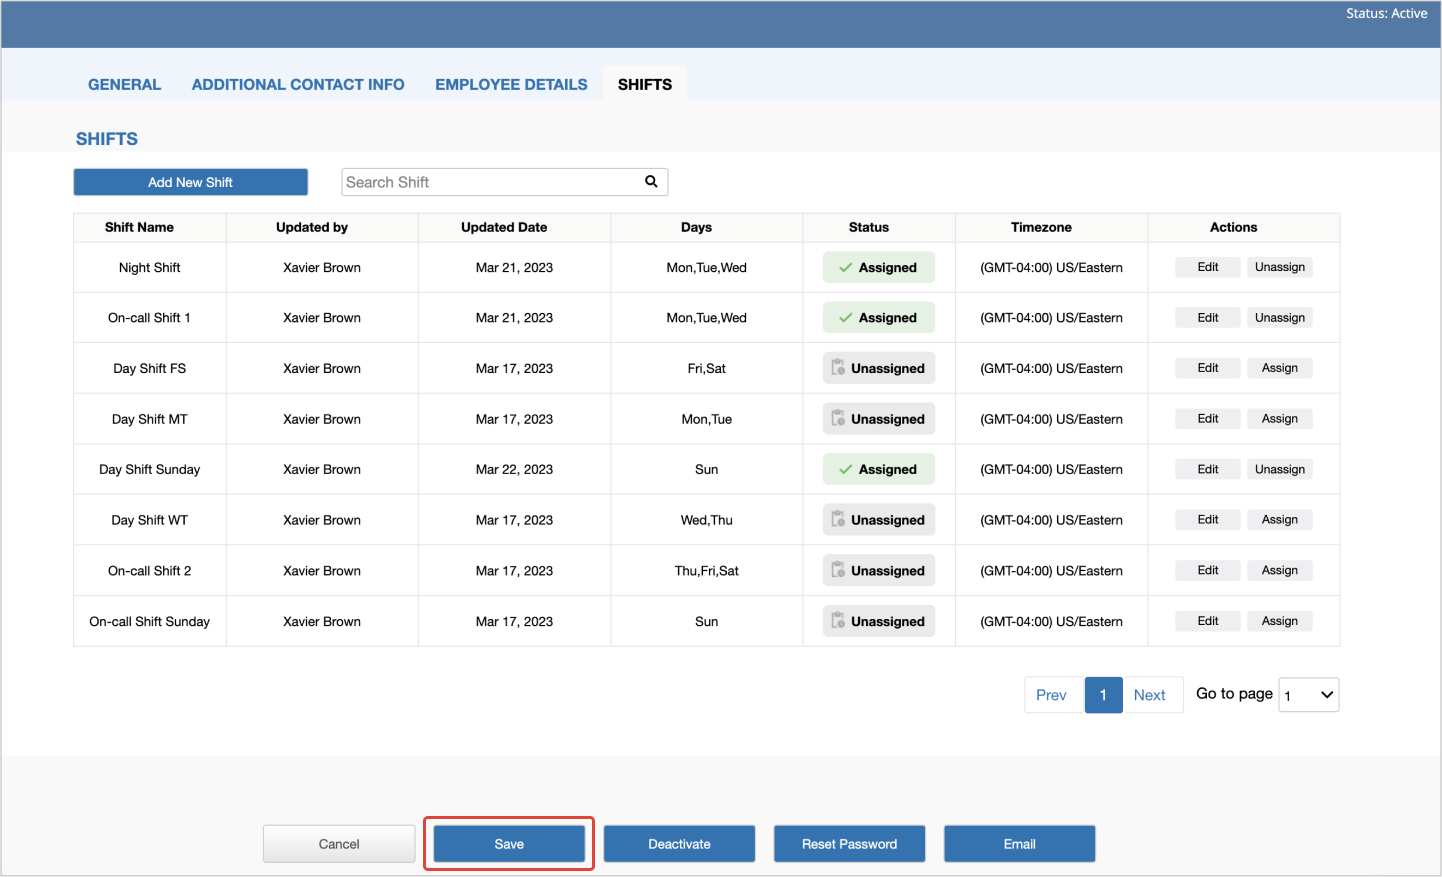
- (Optional) Click Unassign to remove the shift from a technician and save the configuration.
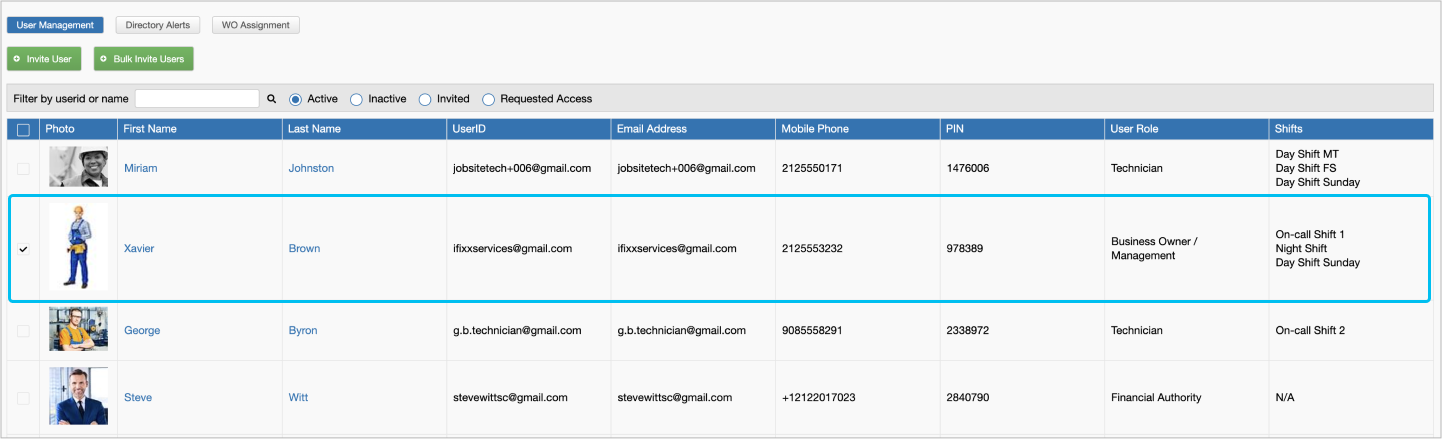
The assigned shifts will appear on the User Management page in the Shifts column.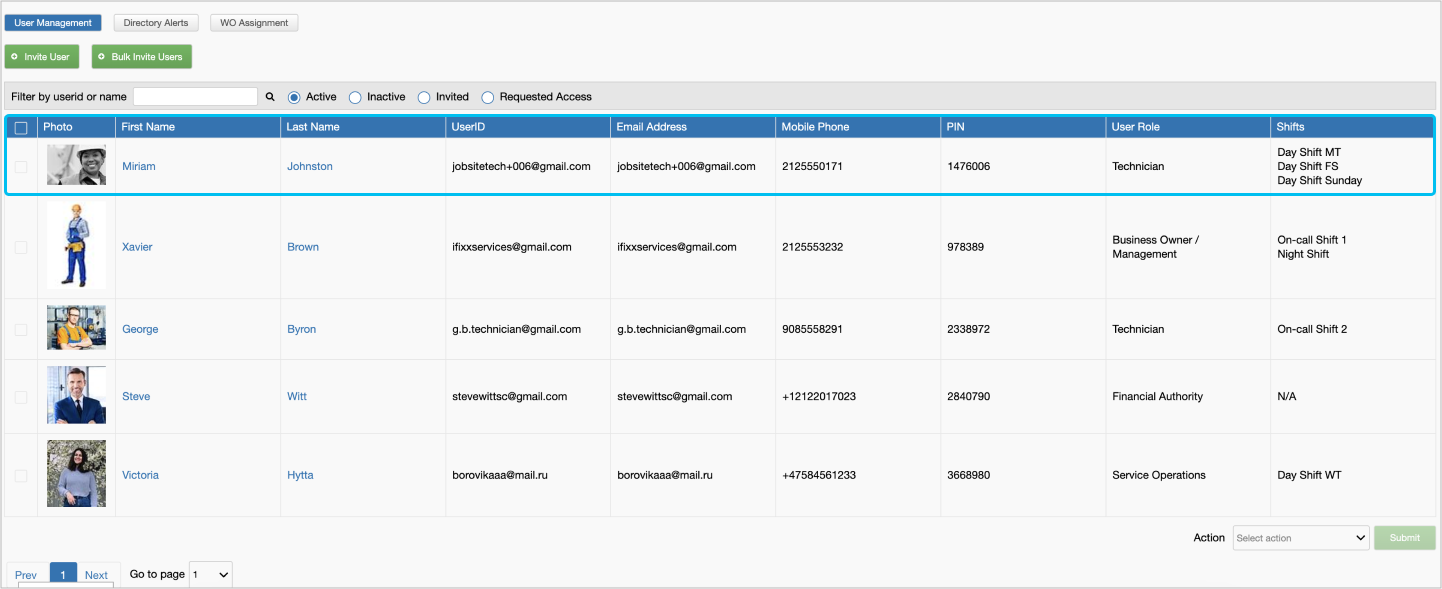
Assigning Shifts to Technicians via the User Management Table
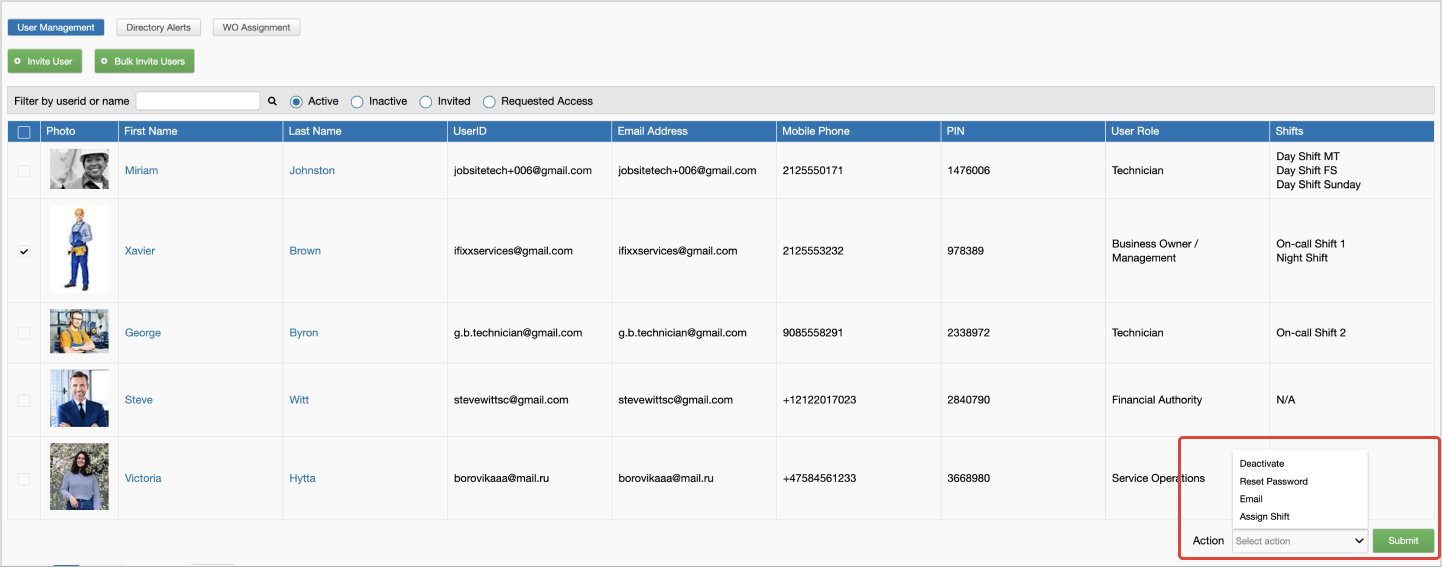
- Click the Hamburger Menu > Administration > User Management.
- Select the checkbox(es) next to the needed technician(s).
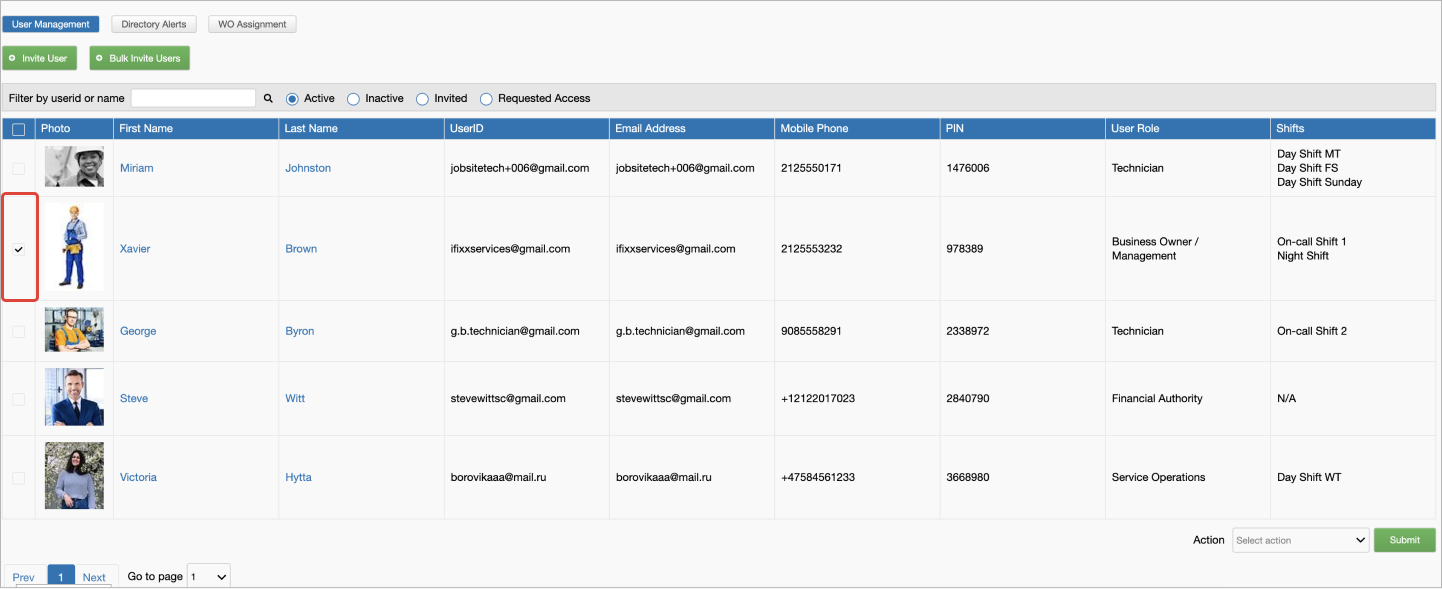
- Click the Select action button in the lower-right corner.
- Select Assign Shift and click Submit.
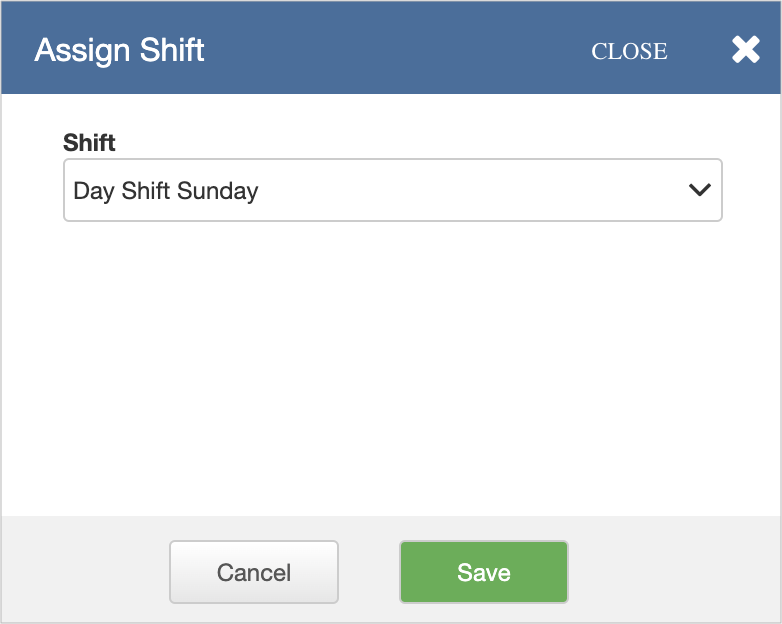
- Select the shift and click Save.
The assigned shifts will appear on the User Management page in the Shifts column.
Technicians assigned to a work order will be shown on this work order's details.

Shifts Auto-Assign
ServiceChannel allows you to automate work order assignments based on your technician shifts. Auto-assign using shifts function assigns new work orders only to those technicians who are on shift for the scheduled dates of the work orders.
See Automating Work Order Assignment to read more about shifts auto-assign configuration.