Managing Client Assets
- Lamont Eddins
In many cases, clients may feel more comfortable with you managing the assets on their behalf. If so, various permissions in Service Automation can be granted that allows for more access into the asset module. You are giving greater capabilities and more responsibilities to ensure assets are added, changed, or updated in an accurate and timely fashion.

Uploading Assets
When permission is granted from your client, you can further assist by uploading assets into Provider Automation. This includes uploading assets with either Standard or Custom Attributes. When assets are uploaded, it becomes immediately available for the client to view and manage.
Assets with a Tag ID already in Provider Automation will not be accepted.
- Click the Download button to expand the list.
- Select the specific attributes template to download the file.

- Complete the required fields on the template then save the file.
- Click the Upload button to expand the list.

- Select the Attribute to open the modal.
- Use the drop-down list to select the client.
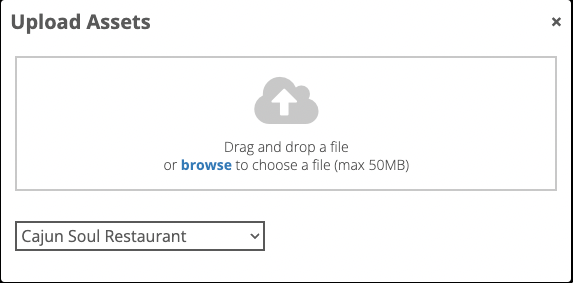
- Add the file into the modal.
- A message appears indicating a successful upload.
You can also view the upload under Imported Asset.
You cannot upload assets with the template if the Asset Type is not established by the client in Service Automation
Updating Asset Tags
When assets require new or updated asset tag, the client can grant you permission to make changes without their assistance. Modifications can be made on asset tags within Provider Automation when a specific asset type has been checked off to edit its details. This helps to ensure accuracy when performing services on specific assets on the client’s behalf.
- Locate a work order with an asset from the list view and click the View Details button to open the details.
- Click the Asset Details tab to view the asset details.
- Click the Pencil icon to edit the asset details.

- Add or change the Asset Tag information in the textbox.

- Click the Save button to update the asset details.

Entering Asset Meter Reading
Clients may want assistance with capturing data on their assets by reporting Asset Meter Reading. This means entering a numerical value based on data points for an asset setup by the client. Collecting meter reading can be done as an individual task and/or while servicing an asset. Records are kept in associating with the meter readings. Inputting data is available in SC Provider Mobile.
- Locate an asset from the list and click its Tag ID or Asset Tag to enter the details
- Click Asset Readings link to enter a meter reading

- Click the Add Reading button to open the modal
- Enter the following information:
- Asset Type Meter
- Optional: Unit of Measure appears after selection
- Date
- Value
- Optional: Add note

- Click Save to add the meter reading

