OCR and Auto-Review Results
Manually filling out the certificates of insurance (COI) content and changing it every year for each client is a time-consuming process. Now, uploading insurance information and checking if it meets clients’ requirements have become faster.
We use the Optical Character Recognition (OCR) technology to scan an Acord 25 insurance certificate and fill in its content to ServiceChannel. Then, ServiceChannel validates the information and shows Auto-Review Results on your compliance with client’s requirements.
While ServiceChannel strives for accuracy, we recommend reviewing the information entered before submission. ServiceChannel cannot be held responsible for any inaccuracies.
The OCR technology can only fill out the information from an Acord 25 insurance document. If the uploaded document is not the Acord 25 document, you will have to manually enter its info. The Auto-Review Results will show you compliance in manual and auto-fill out cases.
Your client should have the feature turned on for you to use the OCR and Auto-Review Results.
Contact your ServiceChannel representative to learn more.
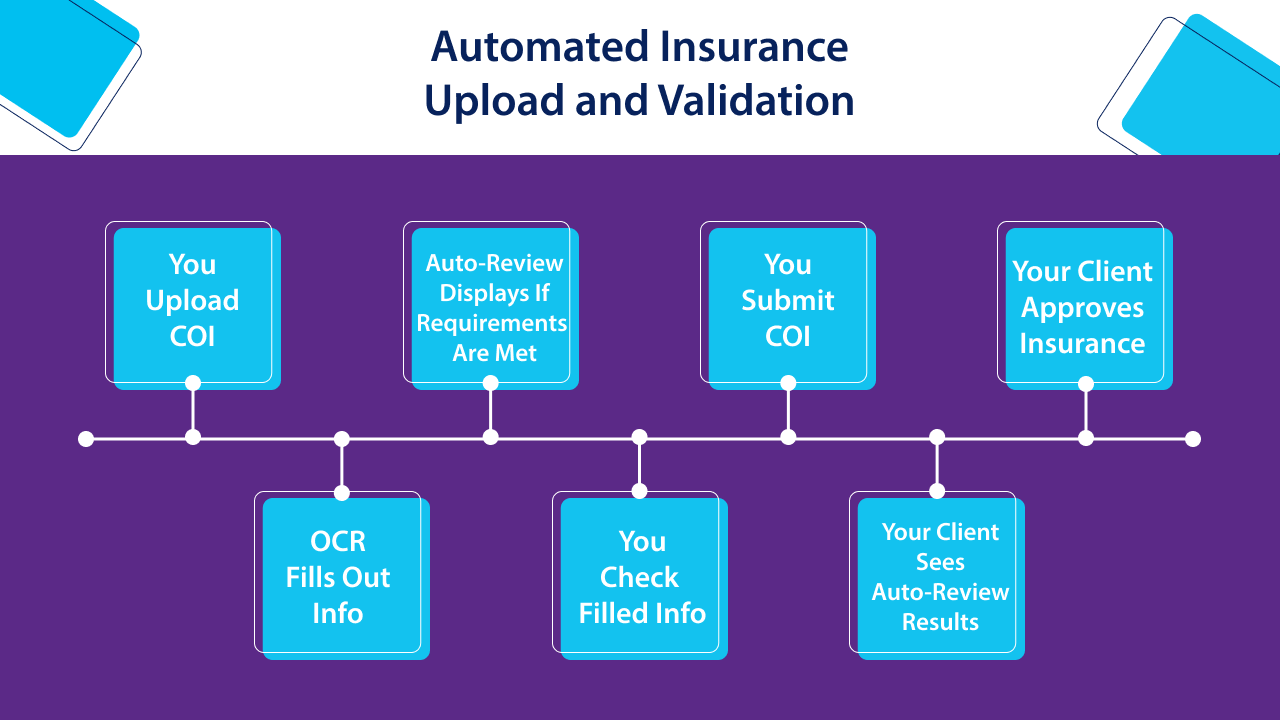
With OCR and Auto-Review Results, your workflow of insurance upload consists of 7 steps:
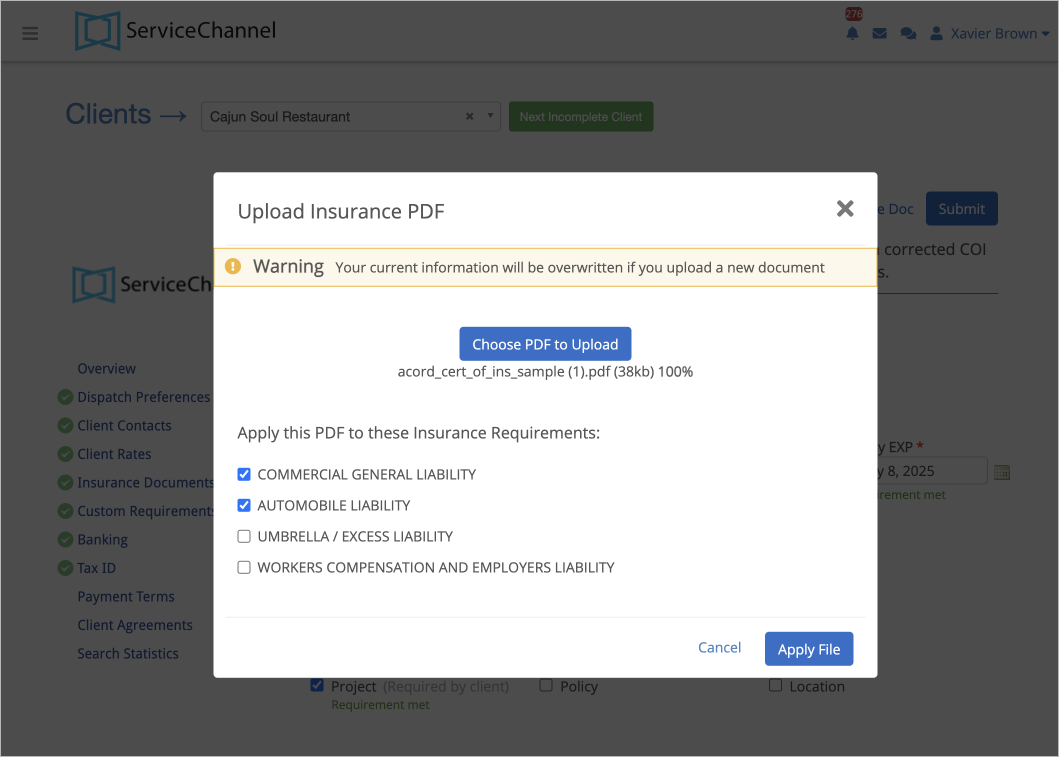
- You upload an Acord 25 insurance certificate.
Our Optical Character Recognition (OCR) technology scans it and fills out the information in the right fields.
If you uploaded the document that is not the Acord 25 form, you should manually enter its content.
- Auto-Review Results show if the information entered meets a client’s requirements.
- You check the correctness of the information entered.
- You submit updated COI(s).
- The Auto-Review Results show your clients how many requirements are met, allowing them to approve or reject insurance certificates faster.
- Your client makes a decision on insurance approval.
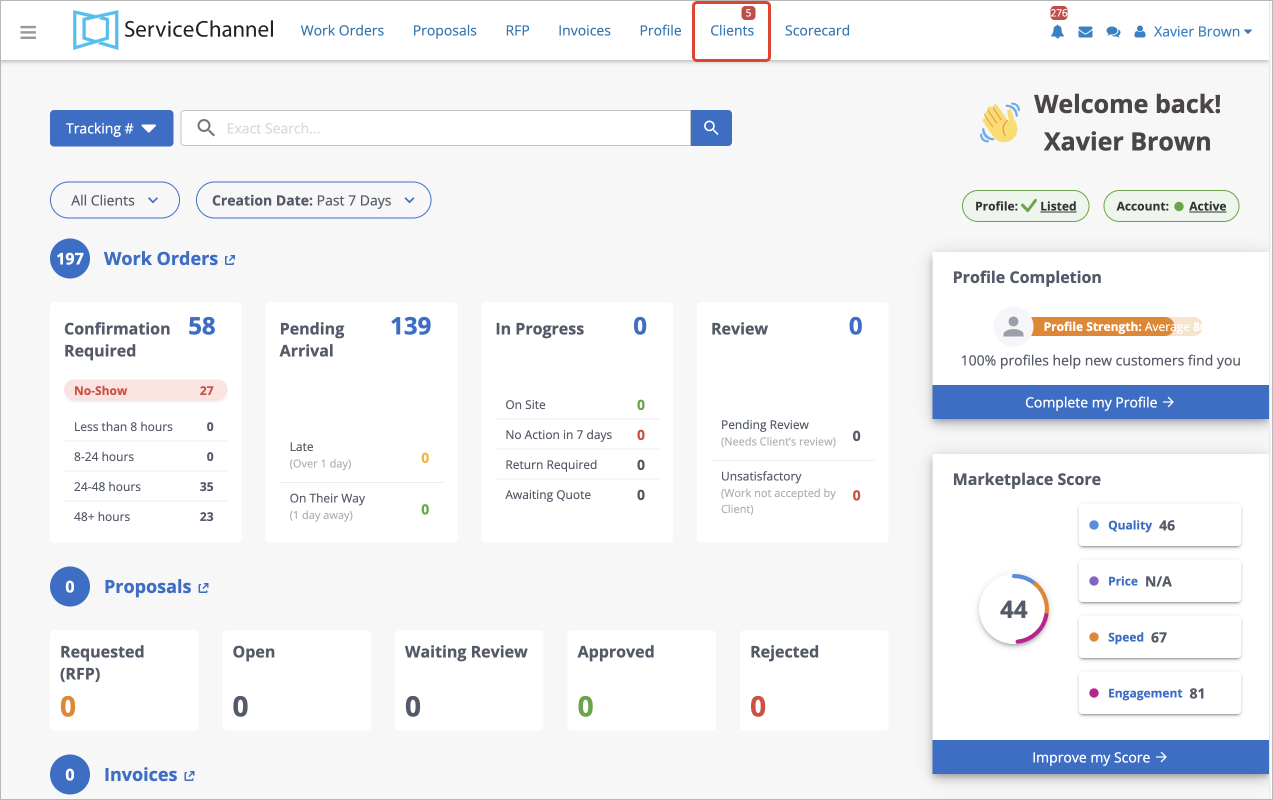
- On the top of the page, click the Clients tab.
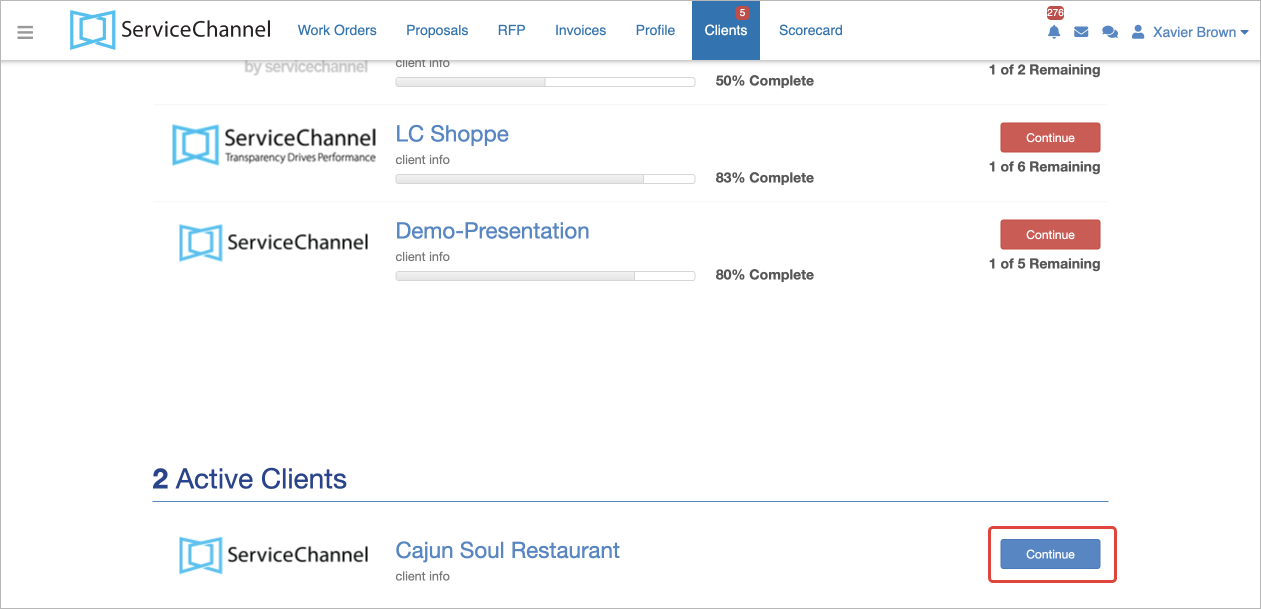
- Click on the client's name from the list or click Continue next to the needed client.
- On the left menu, click Insurance Documents.
The page with insurance types appears.
Reviewing the Insurance Documents Page
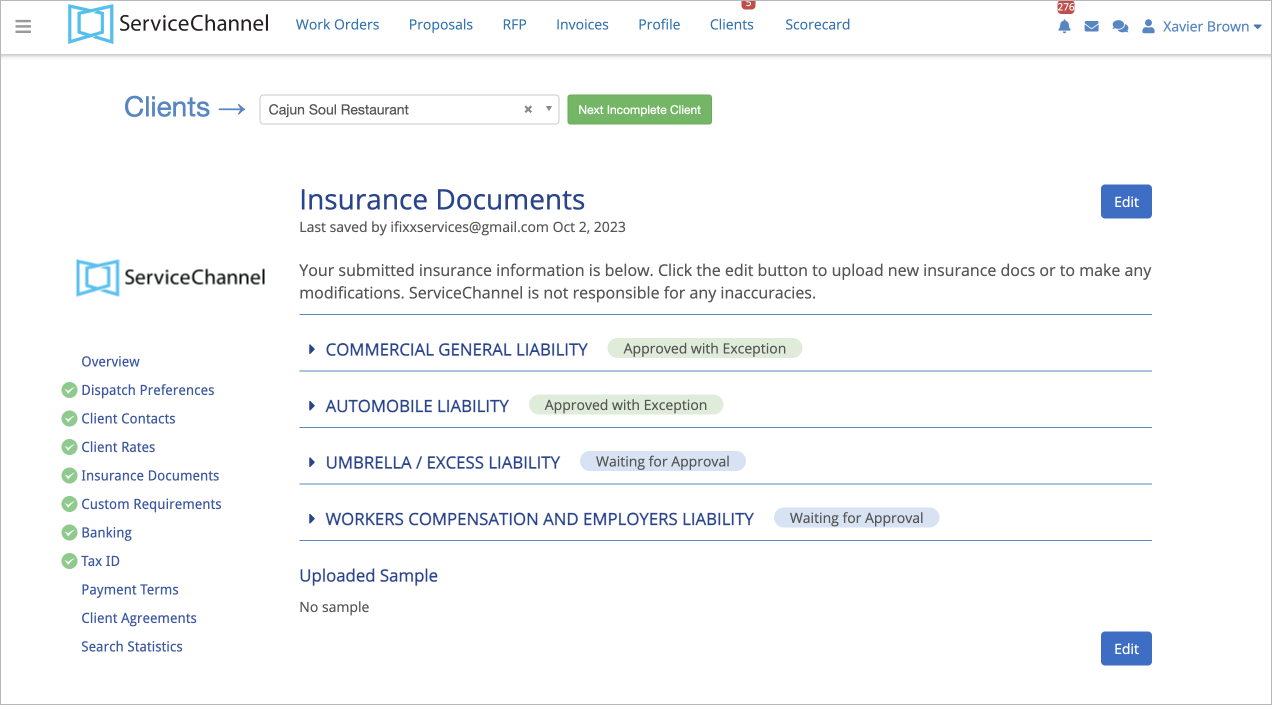
The Insurance Documents page contains 3 sections:
- Client and requirements
- Insurance Types
- The Action buttons
Hover over the purple buttons in the picture to view more information about each section.
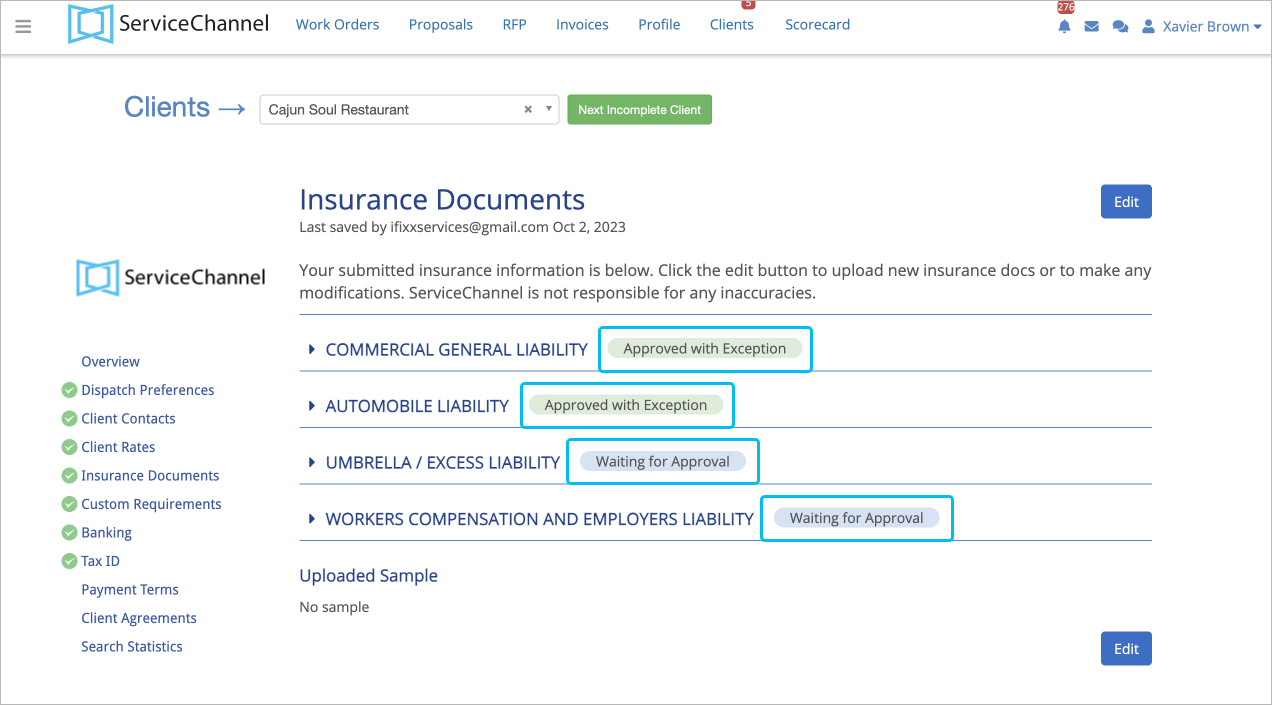
Next to each insurance type, you can see statuses that show at what stage of insurance workflow your insurance types are.
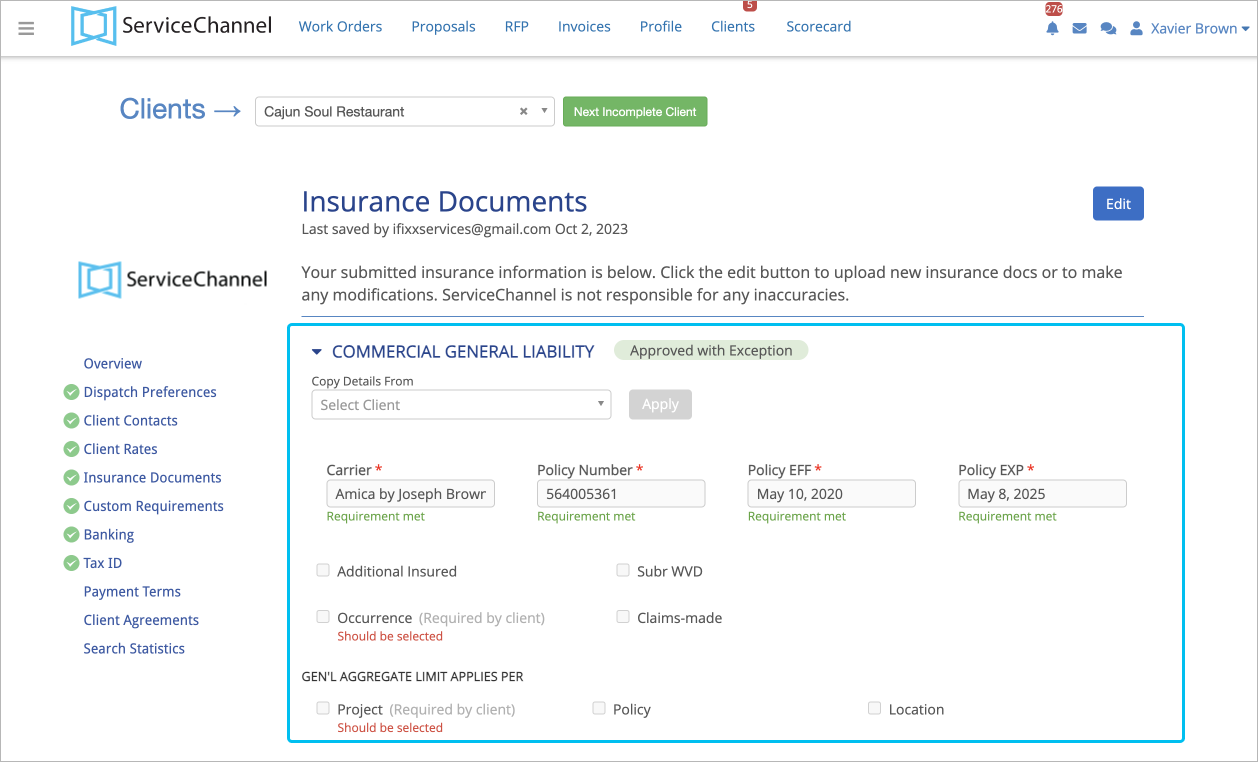
Each insurance type can be expanded by clicking the Arrow icon. The information inside each of the sections varies depending on the insurance type.
When you upload an Acord 25 insurance certificate, the Auto-Review Results show if the entered information complies with your client's requirements for insurance documents.
In each section, you will see markers helping to complete insurance information in line with your clients’ requirements and foresee whether you need to make changes.
| Green Text | Shows that the entered value meets client’s requirements. |
|---|---|
| Red Text | Indicates missing values or values not meeting client’s requirements. |
| Grey Text | Indicates that the value is not detected or missing in the document, and you need to manually enter it. |

