- Created by Jing Tong (Unlicensed) , last modified by Anastasiya Dashuk (Unlicensed) on May 18, 2021
You are viewing an old version of this content. View the current version.
Compare with Current View Version History
« Previous Version 13 Next »
The process of setting up Invoice Rates Validation requires collaboration, in that, the client must reach out to the service providers in their private network and request that they submit rates for the services they provide. In turn, clients will review the submitted rates and then either approve or reject them. Once the rates have been approved, Invoice Rates Validation becomes active from the date agreed upon in the submitted rates proposal.
Requesting Service Rates from Providers
To get started, you need to request service rates from your providers.
- In the hamburger menu, click Compliance (Private Network).
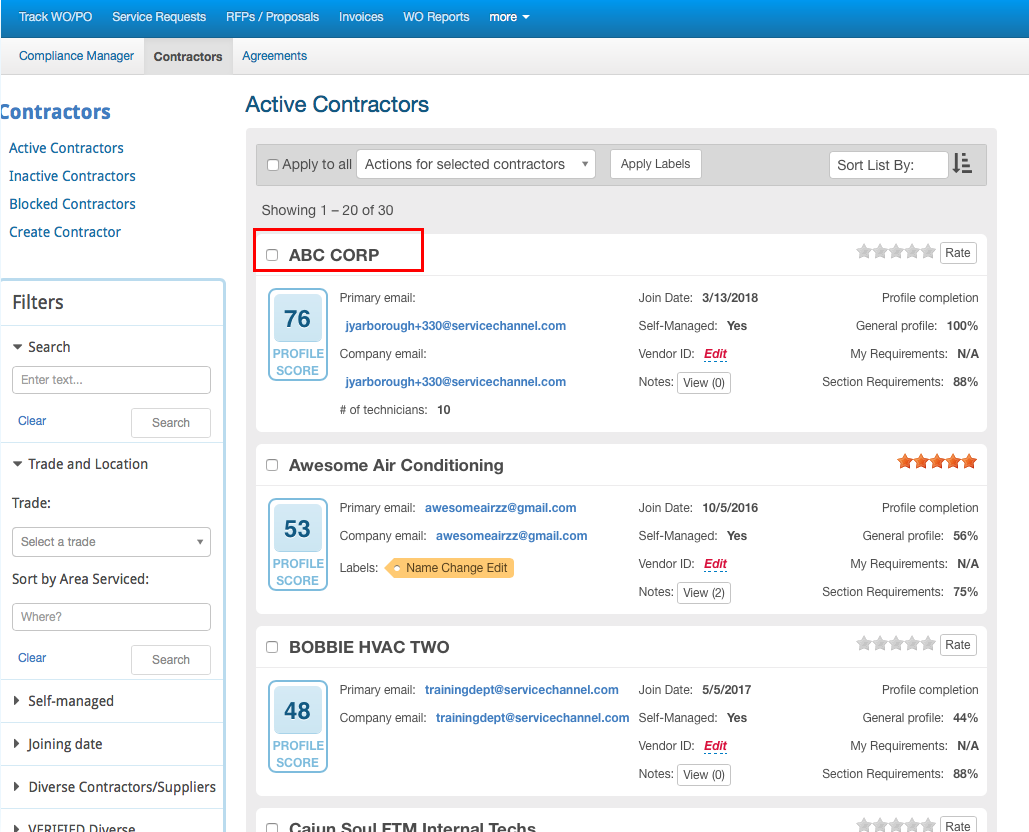
- In Compliance Manager, hover over Contractors, and then click Contractors.

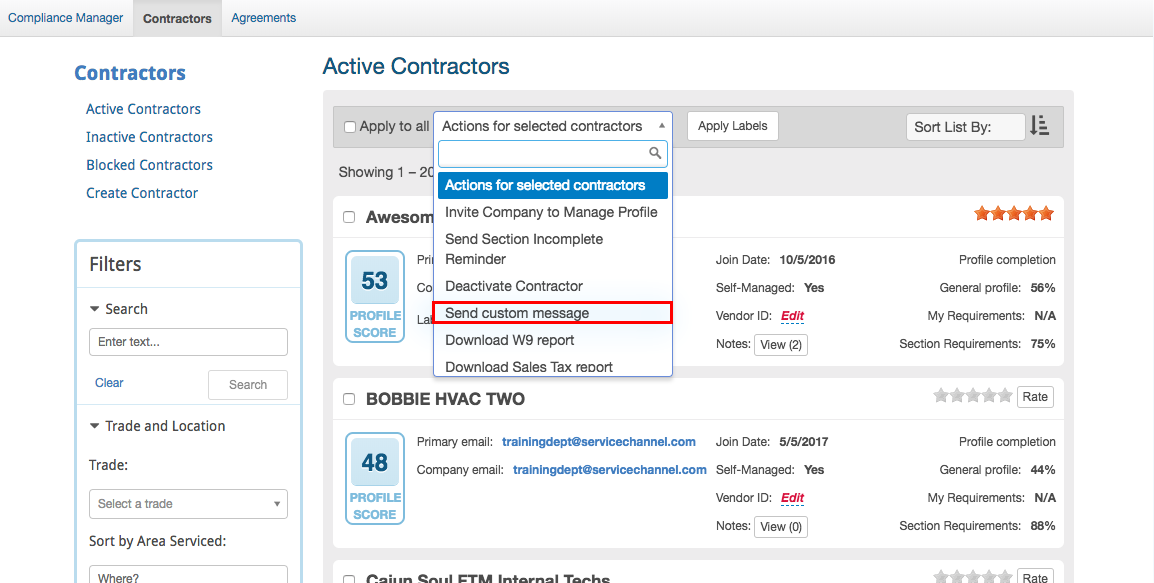
- On the page listing your active contractors, select providers who will receive an email requesting that they submit rates for the services they provide. You can send a request to all service providers by selecting the Apply to All checkbox. Or, you can pick specific providers by selecting the checkbox next to the company name.

- From the Actions for Selected Contractors drop-down list, select Send Custom Message.

- In the overlay that appears, compose a message to the selected providers, then click OK.
Approving or Rejecting Submitted Rates
Once providers have submitted their service rates, you can either approve or reject them.
- In the hamburger menu, click Compliance (Private Network).
- In Compliance Manager, hover over Contractors, and then click Contractors.

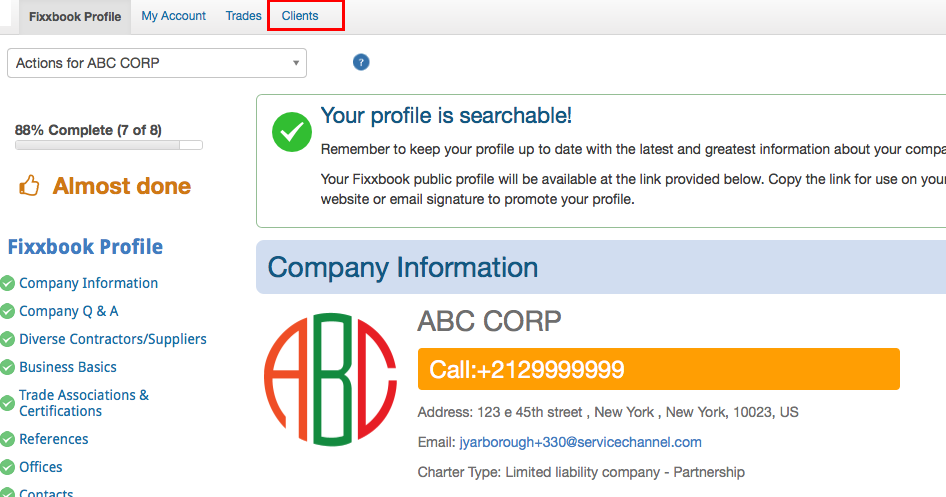
- Click the service provider whose rates you want to review.

- Navigate to the Clients tab.

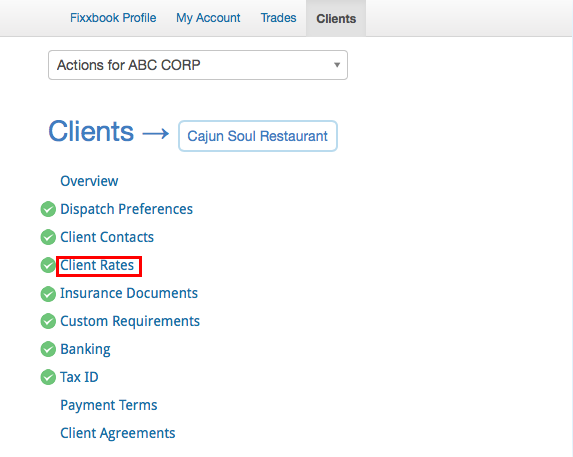
- Under Clients, click Client Rates.

- Navigate to the Propose tab.

Review the submitted rates, and decide whether you accept them or not.
To approve the rates, click Approve.
To reject the rates, click Reject.
 The provider gets an email and a message in their Fixxbook account informing them whether their submitted rates were approved or rejected.
The rates go into effect on the “As of” date, not the date when they are approved.
-
Page:
-
Page:
-
Page:
-
Page:
-
Page:
-
Page:
-
Page:
-
Page:
-
Page:
-
Page:
-
Page:
-
Page:
-
Page:
-
Page:
-
Page:
- No labels