Skip to end of banner
Go to start of banner

Accepting Invitations to Join a Private Network for Existing Providers (LA)

Skip to end of metadata
Go to start of metadata

You are viewing an old version of this page. View the current version.

Compare with Current View Page History

Version 1 Next »

Client Invitations for Existing Service Providers 


As a Service Provider, your company must be invited to join the private network of an existing ServiceChannel Client before you can receive work orders from that client. In addition to being invited by an existing client, your company must also accept the invitation. As an existing registered service provider, you will have already begun the process of completing your company’s profile. Therefore, the process of accepting an invitation will not take you to the beginning of the registration process. However, you will have to complete the “Client Requirements” for each new accepted client invitation.


⦿ How to Accept an Invitation
  1. Locate and open the email invitation sent from the client.

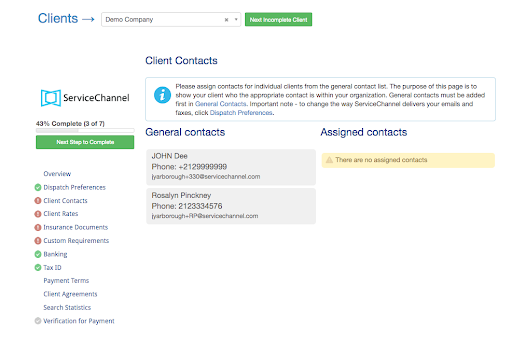
  2. Complete each section until all of the red exclamation marks appear as green check marks.

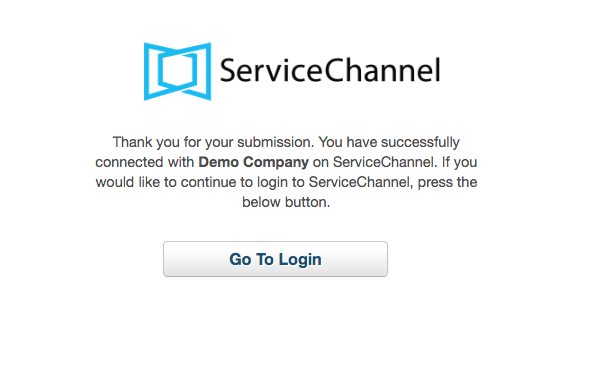
  3. You will receive confirmation that you have successfully connected with the client. Then click the Go To Login button, then follow the prompts to complete the clients requirements.

Client Requirements

As an existing service provider if you accept an invitation to join a client’s private network of providers, you will be required to:

  • Complete that company’s Dispatch Preferences
  • Provide General Contact info; 
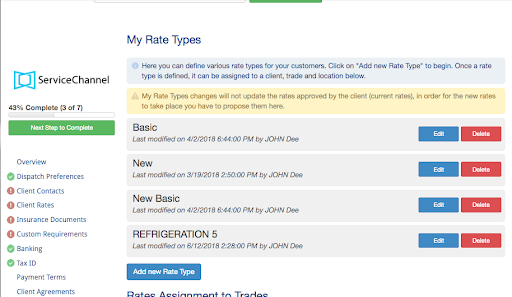
  • Submit Client Rates
  • Submit Insurance coverage documentation; and

And respond to any Custom Requirements that the client may have.

Note:  In the example above, the circled red exclamation mark indicates the areas that still require information.

⦿ How to Complete Client Requirements
  1. Navigate to the Clients tab.
  2. Select the client whose requirements you want to update.


    Note: In the example above, 4 of the 7 client requirements require attention. The percentage bar provides a visual on the progress of completing the requirements for that client.

  3. Click the Continue button.
  4. Click the Next Step to Complete button. The wizard will take you through all of the outstanding client requirement sections.

  5. Complete each section until all of the red exclamation marks appear as green check marks.
  • No labels