- Created by Joseph Yarborough (Unlicensed) , last modified by Anastasia Medovkina (Deactivated) on Jul 23, 2023
You are viewing an old version of this content. View the current version.
Compare with Current View Version History
« Previous Version 38 Next »
Did you receive a warning that you cannot invoice? Check whether your ServiceChannel Usage Fees status is restricted.
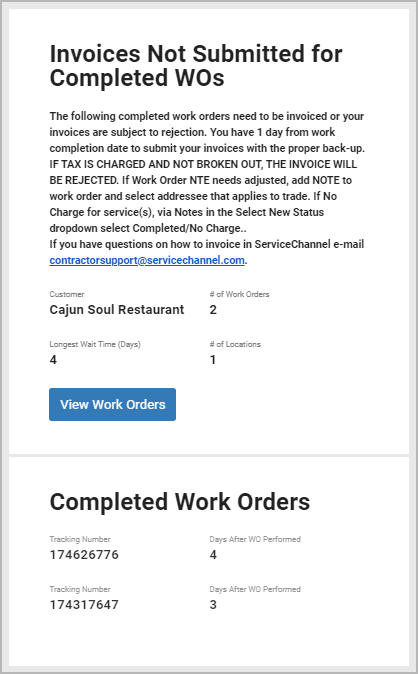
A work order may be invoiced once it is in either the Completed or Completed/Confirmed status. An invoice cannot be submitted for more than its not-to-exceed (NTE) amount.
The Create Invoice button is available for any work order that is ready to be invoiced and is located on the bottom of the Work Order.
You can create an invoice in the system or through the line item invoice template.
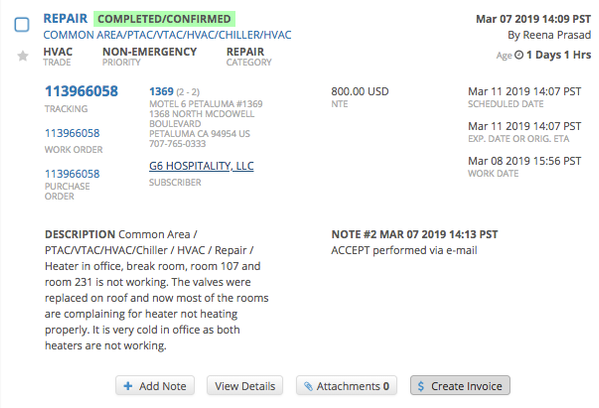
When you have Completed work orders that you have not yet invoiced, you may get notified about it via email.
In the email notification, you can see the following details:
- Notes on submitting invoices and other important information to consider
- Total number of Completed but not invoiced work orders submitted by the specified client
- Among not invoiced work orders for the client, the longest time in days since the request was completed
- Number of locations for which these work orders were created
- Tracking numbers of work orders
- Number of days since each service request was moved to the Completed status
Click View Work Orders in the email to navigate to the Work Orders List where you can create invoices.
Invoice Requirements and Considerations
A few things to consider:
- Depending on your client's requirements, you may create either a Standard Invoice or a Line Item Invoice.
- When creating an invoice, you must enter a unique invoice number; your client may also require you to enter a description of the completed work. You are not able to save the invoice without this information.
- Once an invoice is submitted, it cannot be edited. Should you need to reissue an invoice, you must void the invoice before the client takes action on it. Otherwise, you will need to reach out to your client and ask to reject the wrong invoice.
- Invoices rejected by the client cannot be edited. You must create a new invoice using another unique number — you cannot use the same number that was used for the rejected Invoice.
Creating a Standard Invoice
A Standard Invoice reflects labor, travel, material, and freight charges. It does not, however, break down labor and material costs.
You can also submit a Standard Invoice through the Invoice Template. See Creating Invoices Using Templates for more information.
- On the desired work order, click Create Invoice.
- Enter a unique Invoice Number.
(Optional) Click the calendar icon to change the invoice date.
The invoice date cannot be earlier than the work order completed date.
Click Confirm.
To edit the invoice number or date, click the required field in the upper left corner of the Invoice page.
- Select the correct remit-to address.
- Enter a complete Description for the work done.
- Enter the amounts for Labor, Travel, Material, and Freight, if necessary.
- Select a category from the Other drop-down menu and enter the amount, if necessary.
- Enter the Tax, either the percentage or the monetary amount, if applicable.
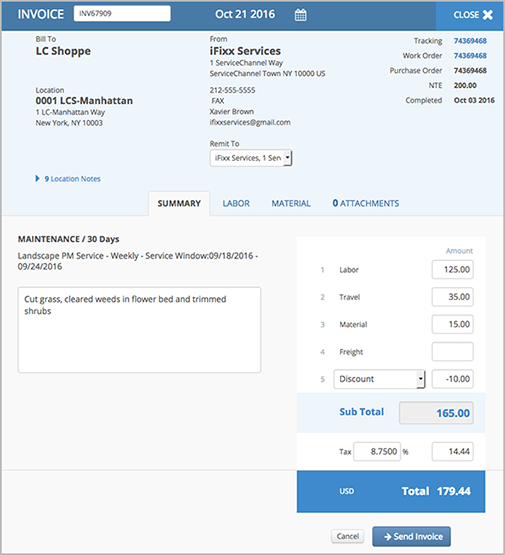
- Click Send Invoice. The invoice is created, and the Invoices List appears.
Creating a Line Item Invoice
When your client asks you to submit a line item invoice, it means that you need to break down invoice charges into line items.
Based on your client’s system configuration, you may be asked to break down only one, two, or all types of charges — labor, material, travel, freight and other costs. Also, your client decides whether you should itemize invoice costs for all work orders or only for work orders of specific trades and categories.
To quickly figure out what charges you should itemize, check the Summary tab on the page for creating an invoice. If you see a link by the charge name, you should itemize this type of costs. If it is a text field, enter the total amount without breaking down the costs.
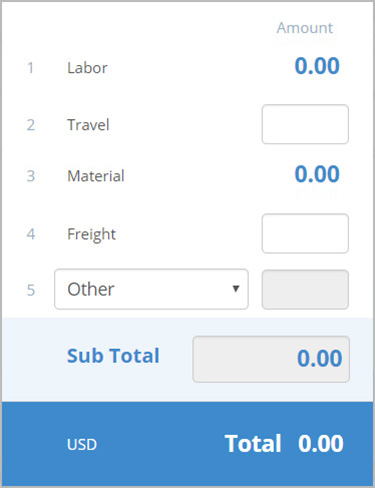
Line items are required for labor and material charges
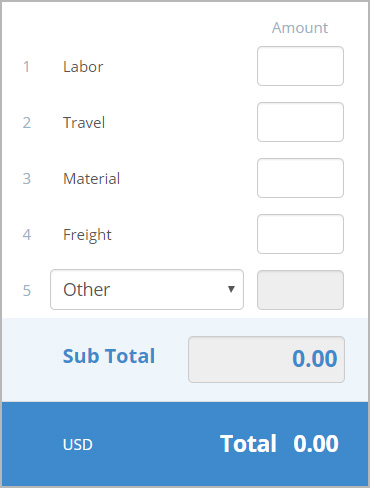
Line items are not required for any charges
Line Item Invoicing is also available through the invoice template. See Creating Invoices Using Templates for more information.
On the Work Orders List, find the desired work order, and click Create Invoice. The page for creating an invoice appears with the Create Invoice overlay opened.
In the overlay, enter a unique invoice number, change the invoice date if required, and click Confirm. The page for providing further invoice details is displayed.
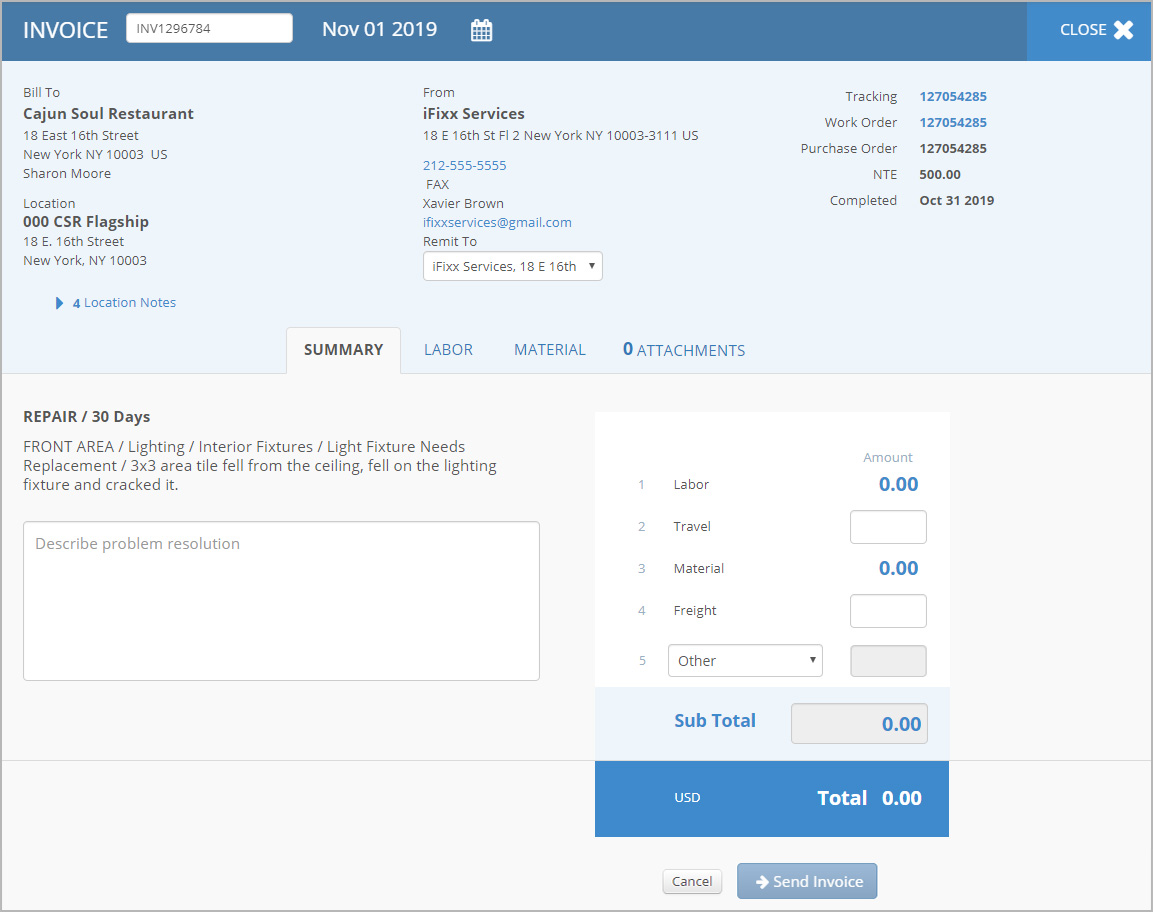
You can change the invoice number and date in the top left corner of the page for creating an invoice. Keep in mind that the invoice date cannot be earlier than the completed date of the work order.
- (Optional) Select another remit-to address under the column with your company info.
- On the Summary tab, provide the following details:
- Complete description of the performed work
- Total amount of labor, travel, material, freight, and other charges if you see a text field by their name
Depending on your client’s requirements, itemize labor, material, travel, freight, or other charges. The costs you need to break down appear as links on the Summary tab. Navigate between the tabs below to check how to break down each type of costs.
- Switch to the Summary tab, and enter the tax amount or tax percentage under the invoice subtotal.
- Review the provided charges, tax, and invoice total. If the invoice information is correct, click Send Invoice at the bottom of the page.
Your line item invoice is submitted to your client, and you get to the Invoices List.
Adding Attachments to Invoices
After an invoice is created, you can add attachments to it.
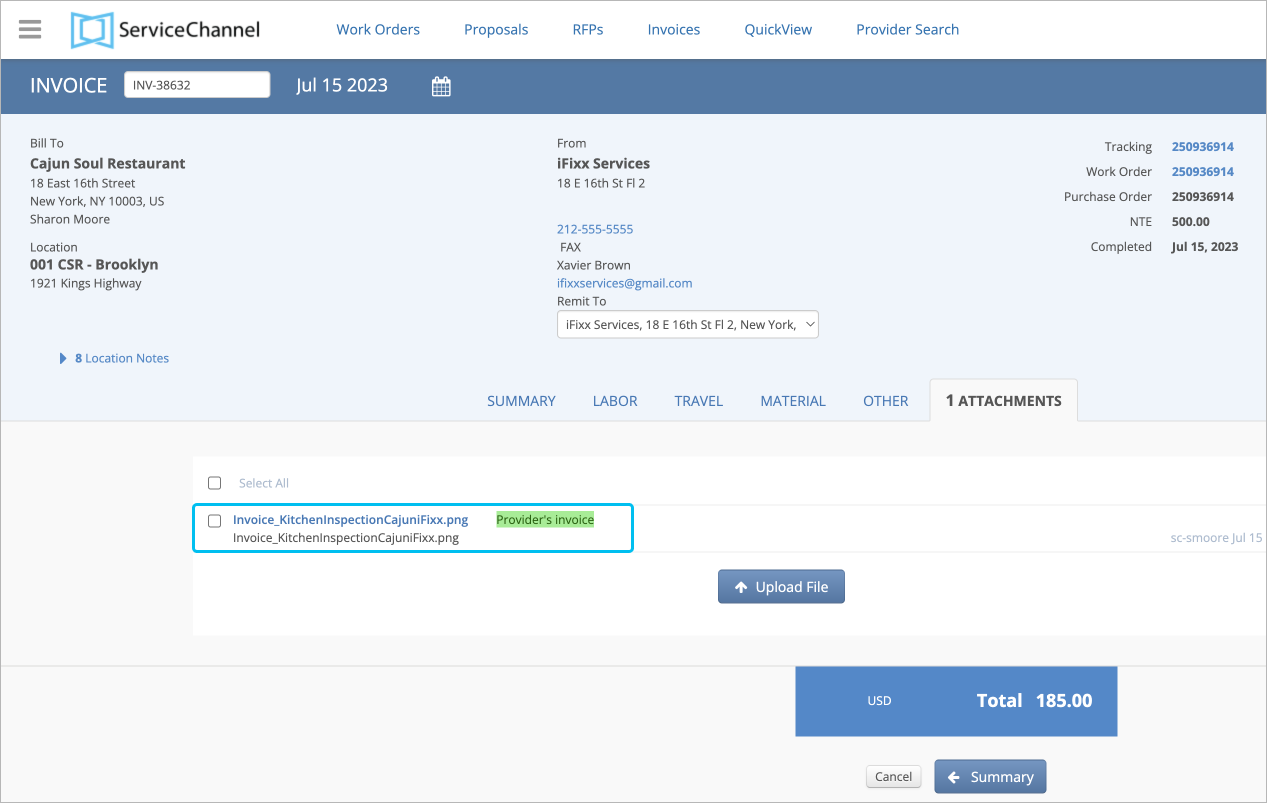
- In the middle of the invoice summary page, click the Attachments tab. The list of current attachments appears.
- Click Upload File. The Upload Attachment overlay appears.
- Click Browse a file and select the applicable file.
- Enter a description of the attachment.
- Click Upload. The attachment is added to the list.
You can attach digital copies of your original invoice. Contact your ServiceChannel manager to mark attachments as digital invoice copies.
-
Page:
-
Page:
-
Page:
-
Page:
-
Page:
-
Page:
-
Page:
-
Page:
- No labels
