| Section |
|---|
|
Adding your Financial Information in Provider Automation ensures that you can do business with ServiceChannel clients. Here, you can manage pertinent financial information that clients need for operational purposes and that need for invoicing and collecting payment faster and easier.
There are two sections to complete:
- Financial Information, which includes Remittance, and Sales Tax, and W-9 form (the United States only), and
- My Account, which includes adding a payment method for platform usage fees.
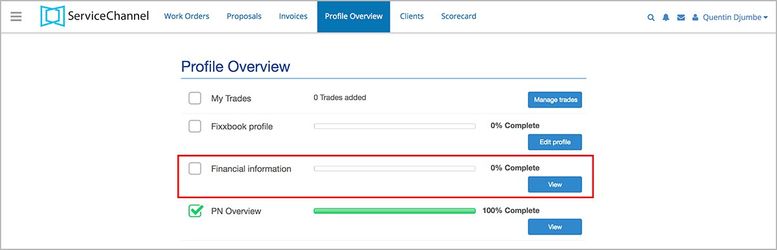
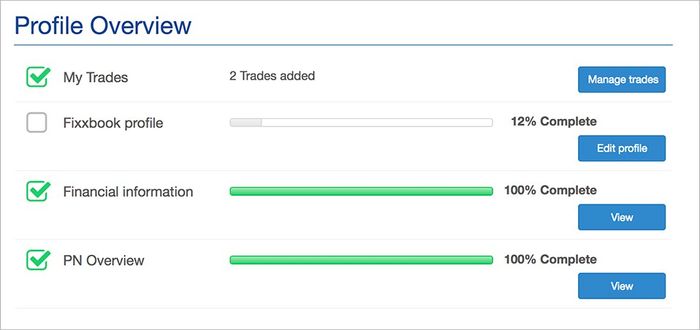
On the Profile Overview page, you will see the Financial Information area.
| Anchor |
|---|
| Financials_FinancialInfo |
|---|
| Financials_FinancialInfo |
|---|
|
Section 1: Financial Information Financial information consists of completing Remittance for invoicing, Sales Tax registration, a W-9 form (U.S.-based businesses only), Verification for Payment, and Banking. This section is visible to clients who invite you into their Private Network.
| Panel |
|---|
| bgColor | #F9F9F9 |
|---|
| titleColor | #0e3367 |
|---|
| titleBGColor | #EAEAEA |
|---|
| borderStyle | none |
|---|
| title | ⦿ How to Add Remittance, Sales Tax, and a W-9 Form |
|---|
|
- In the top navigation bar, click Profile Overview.
Next to Financial Information, click View. The Financial Info page appears with the W-9 form displayed. | Note |
|---|
The W-9 form may prompt you to enter information on another page. Because of this, we will complete this section towards the end. |
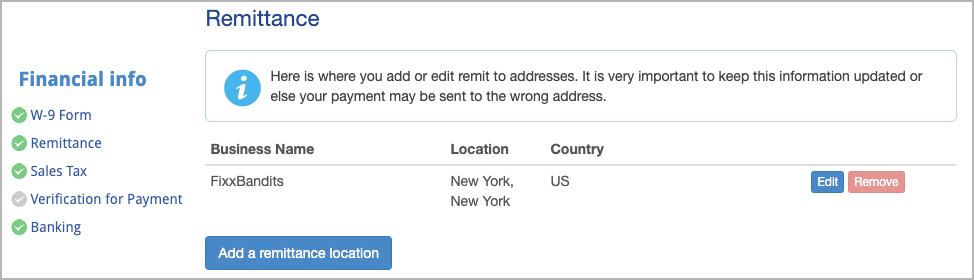
- On the left navigation, click Remittance.
- Click Add a remittance location. The modal appears.
- Enter your Business Name, Address, Phone, and Email, as required, and then click Save. The remittance location is listed on the page.
Repeat steps 4-5 for every remittance location. | Note |
|---|
Once you are accepted into at least 1 client network, your Business Name cannot be edited through this method. You must contact our Support team to edit this information. |
- On the left navigation, click Sales Tax.
- Indicate whether you do or do not collect and remit sales tax:
- To collect and remit sales tax:
- Click Add a new tax record.
Enter a Registration Number and select a State/Province from the drop-down list. | Note |
|---|
Should you not see your states/provinces listed, click Assign Trades to States to complete assigning your trades to regions. |
- Click Add. The tax record lists on the page.
- Repeat steps 9.a.i - 9.a.iii to list all sales tax records.
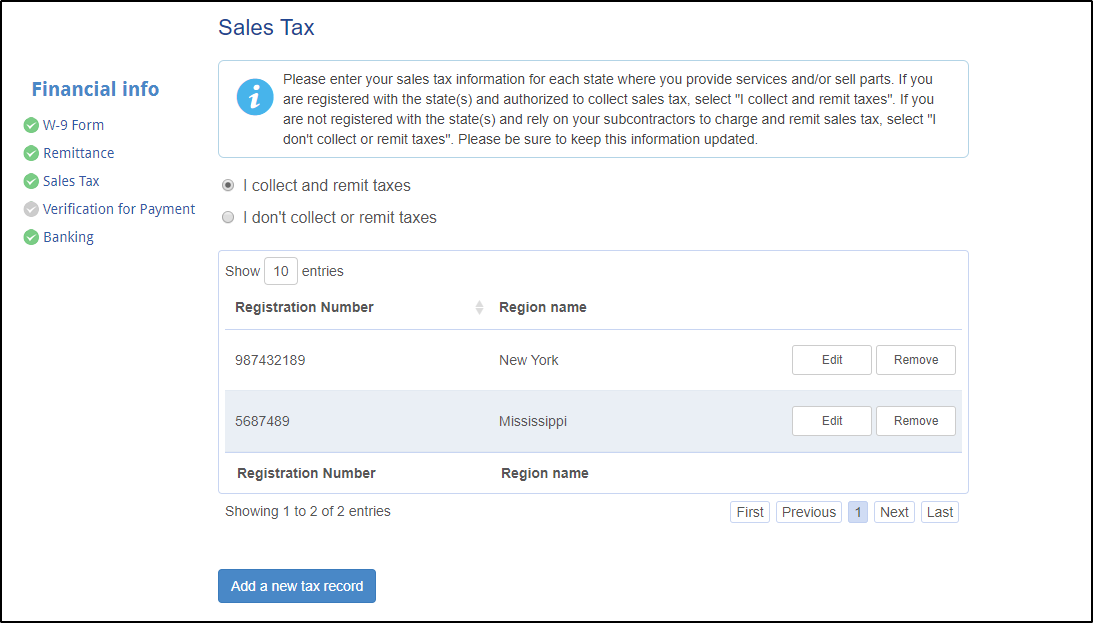
- To indicate that you do not collect sales tax:
- Click I don't collect or remit taxes.
- On the left navigation, click W-9 Form. (U.S.-based companies only. Non-U.S. companies can skip to My Account, below)
- If you do not see your W-9 Form: click Tax Information.
In the Update Company Information modal, make sure all required fields (marked with an asterisk *) are complete, and then click Save. | Note |
|---|
Once you are accepted into at least 1 client network, your Business Name cannot be edited through this method. You must contact our Support team to edit this information. |
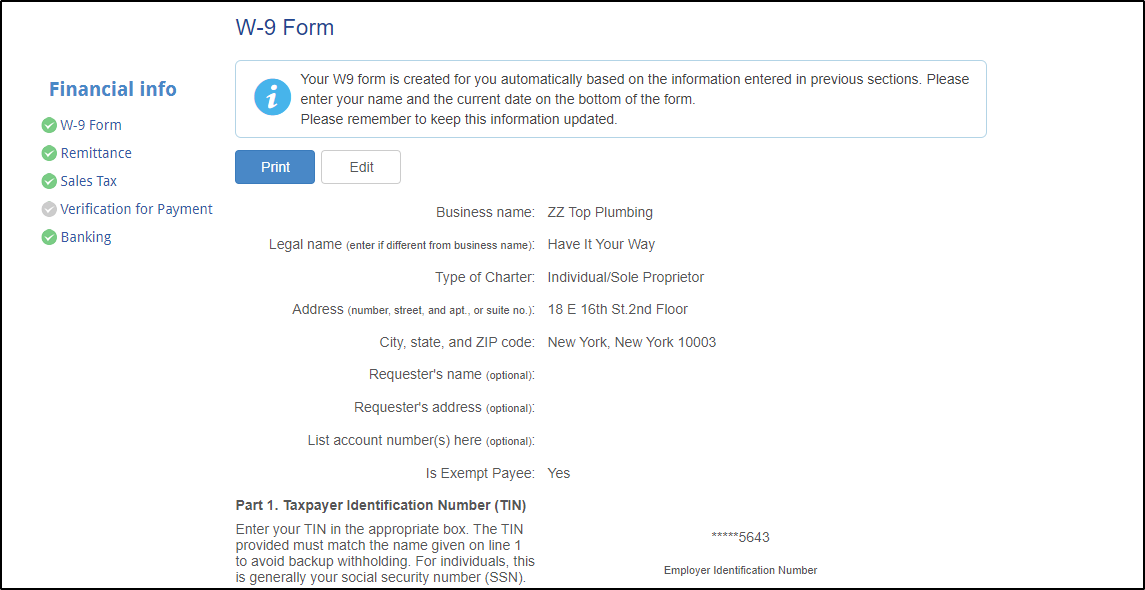
- In the top navigation bar, click Profile Overview, and then next to Financial Information click View. Your W-9 will appear.
- Click Edit. The Edit W9 Form modal appears with your Company Information pulled from your Profile.
- (Optional) Enter a Legal name, Requester’s name and address, and Account number(s), where applicable.
- Indicate whether you are an Exempt Payee.
- Under Part 2 Certification, line item 2, indicate your backup withholding status.
- At the bottom of the form, enter your Signature and today's Date.
- Click Save. The W-9 Form appears with the updated information.
In case when your Clients require that, it is very important to keep your direct deposit information so clients can use this information to pay you via direct deposit. It will reduce the time it takes for you to receive payment. Banking information is also required when you sign up to become a Verified Provider. See more information about Verified Provider /wiki/spaces/UJNK/pages/710313161. The banking section of client requirements is used to collect information so a client can pay you for work done in Service Automation. Only clients that enroll in ServiceChannel’s Payment Manager will use this requirement. Client’s that need to collect this information to pay you outside of ServiceChannel Payment manager will request the information in another way. | Note |
|---|
Note: You can only have one banking record setup for each country. |
| Panel |
|---|
| bgColor | #F9F9F9 |
|---|
| titleColor | #0e3367 |
|---|
| titleBGColor | #EAEAEA |
|---|
| borderStyle | none |
|---|
| title | ⦿ How to add Banking Information |
|---|
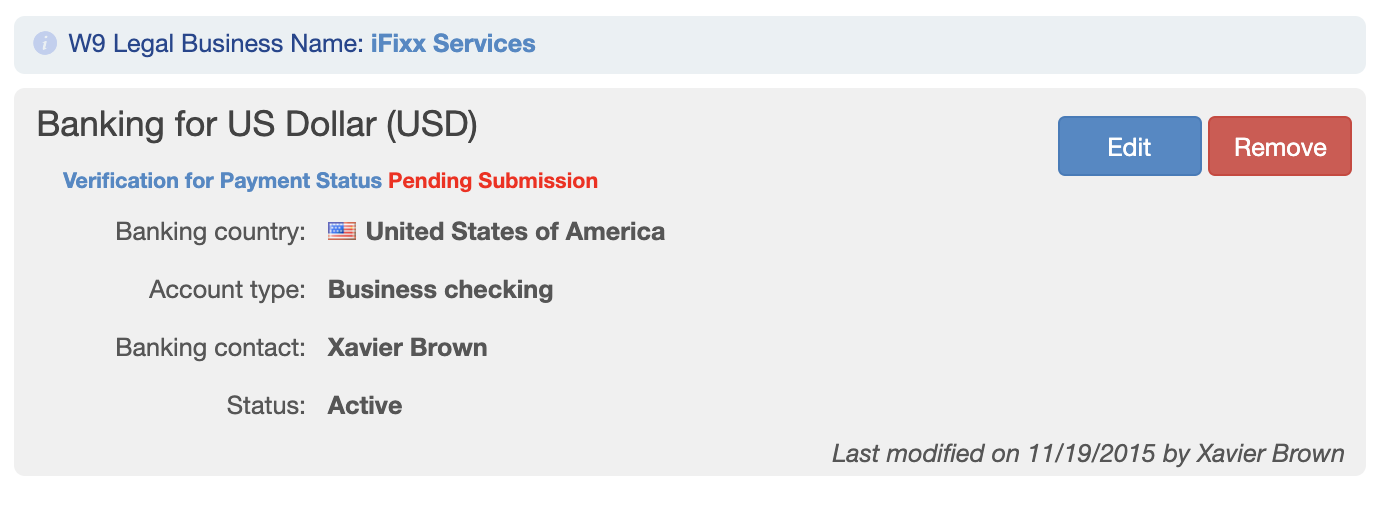
| - On the Financial Info page, click Banking. The Banking page appears.
- Click Add banking button, the Banking info pop-up appears.
- On the Banking info pop-up, fill out the required information, click Save.
- Your banking information has been added to your profile.
|
|
| Anchor |
|---|
| Financials_MyAccount |
|---|
| Financials_MyAccount |
|---|
|
Section 2: My AccountUnder My Account, add payment methods to your Provider Automation account.
Service Providers can use the Directory Profile section of Provider Automation for free, meaning once your profile is complete, potential clients can find you in our Directory and invite you into their private networks in order to do business, at no charge.
Once your clients start doing business with you, ServiceChannel charges all providers a nominal usage fee for each approved invoice (one percent (1%) per approved invoice invoice (1.25%, but no more than two three dollars ($2$3.00 USD) per approved invoice). These small fees help us bring you Provider Automation, our mobile application, and various benefits and services. Please see ServiceChannel Usage Fees for more information.
| Warning |
|---|
|
It is important to complete My Account so you are prepared to invoice your clients. You will not be charged until your clients approves approve your invoices. |
| Panel |
|---|
| bgColor | #F9F9F9 |
|---|
| titleColor | #0e3367 |
|---|
| titleBGColor | #EAEAEA |
|---|
| borderStyle | none |
|---|
| title | ⦿ How to Add a CSA Payment Method |
|---|
|
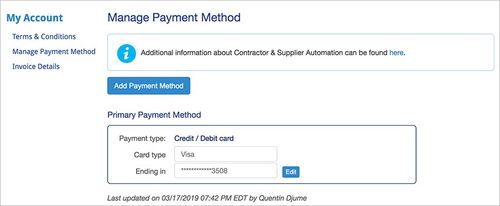
- On the top-left corner of the page, click the menu icon
 , and then Administration > My Account. The Terms & Conditions page appears. , and then Administration > My Account. The Terms & Conditions page appears. - On the left navigation, click Manage Payment Method.
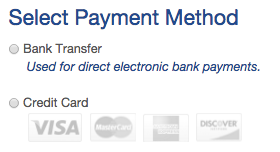
- Click Add Payment Method. The Select Payment Method modal appears.
- Select either Bank Transfer or Credit Card.
- Select Bank Transfer to pay by Electronic Funds Transfer (eCheck Direct Debit) from a bank account.
- Select Credit Card to pay by accepted credit/debit card.
Complete all required fields. | Warning |
|---|
| - Enter the name exactly as it appears on the card. Pay close attention to middle names/initials and the company name.
- Enter the address exactly as it appears on the monthly statement. Pay close attention to abbreviations such as "St." vs. "Street", "Ave." vs. "Avenue" and "Blvd." vs. "Boulevard".
|
Click Authorize Payment. Authorize.net will verify your banking information or your credit card information to ensure accuracy. | Info |
|---|
|  ServiceChannel is an Authorize.net valued merchant, meaning the best in safety and security of financial data. Authorize.Net is committed to providing its merchant customers with the highest level of transaction processing security, safeguarding customer information and combating fraud. ServiceChannel is an Authorize.net valued merchant, meaning the best in safety and security of financial data. Authorize.Net is committed to providing its merchant customers with the highest level of transaction processing security, safeguarding customer information and combating fraud.
|
- When Authorize.net has completed payment authorization, you will receive a confirmation message. Click OK. Your payment method is listed on the page as the Primary Payment Method.
Next, review your financial information in your Profile. |
In the top navigation bar, click Profile Overview to see your Financial Information marked at 100% Complete.
In the next step, complete your Directory Profile so clients can search for your business and potentially invite you into their Private Networks.


